In today’s fast-paced world, many people desire fresh, nutritious vegetables but don’t have access to a traditional garden. Whether you live in a small apartment, a high-rise building, or simply want to experiment with indoor gardening, there’s a simple, high-yield solution: growing sprouts without soil. Sprouts are tiny, young shoots of seeds that are packed with nutrients, vitamins, and enzymes, making them a powerhouse addition to any meal.
In this guide, we’ll explore step-by-step how to grow soil-free sprouts at home, the types of seeds you can use, methods for achieving high yield, and tips for maximizing freshness and nutrition. By the end, you’ll see that you don’t need a garden, soil, or a lot of space to enjoy fresh, homegrown vegetables every day.
🌱 Why Grow Sprouts Without Soil?
Growing sprouts without soil is a revolutionary way to enjoy fresh vegetables, even in limited spaces. Here’s why it’s becoming popular:
- No Garden Needed: Ideal for urban spaces, balconies, or kitchens.
- Quick Growth: Many sprouts are ready to harvest in 2–7 days.
- Nutrient-Rich: Sprouts contain concentrated vitamins, minerals, and antioxidants.
- Low Maintenance: Requires minimal tools, no soil, and little effort.
- High Yield: Dense planting in small containers produces more food per square inch.
Soil-free sprouting is not just convenient—it’s a healthier, cleaner, and sustainable way to grow vegetables indoors.
🧺 Materials Needed for Soil-Free Sprouting
To get started, you don’t need much—just a few basic items:

- Sprouting seeds: Mung beans, lentils, chickpeas, alfalfa, fenugreek, radish, broccoli, or mustard seeds.
- Containers: Glass jars, trays, or plastic bottles.
- Water: Clean, filtered water is ideal.
- Muslin cloth, mesh, or perforated lids: For drainage and air circulation.
- Spray bottle (optional): For gentle watering.
- Tray or plate: To catch excess water during rinsing.
💡 Pro Tip: Choose high-quality, organic seeds for the best germination and nutrient content.
✂️ Step 1: Preparing Seeds for Sprouting
Before starting, seeds need cleaning and soaking:
- Measure the seeds based on your container size. A tablespoon is usually enough for one jar.
- Rinse thoroughly under clean water to remove dust or debris.
- Soak seeds in water for 6–12 hours (or overnight for larger seeds like chickpeas).
Soaking activates enzymes in the seeds, accelerating germination and increasing nutrient availability.
💡 Tip: Avoid over-soaking, as this can lead to seed rot.
🌱 Step 2: Choosing a Container for Soil-Free Sprouting
You can use a variety of containers depending on your space and preference:
- Glass jars: Classic and easy to monitor growth. Use a muslin cloth or mesh lid for drainage.
- Plastic bottles: Cut the top portion to make an open container with good ventilation.
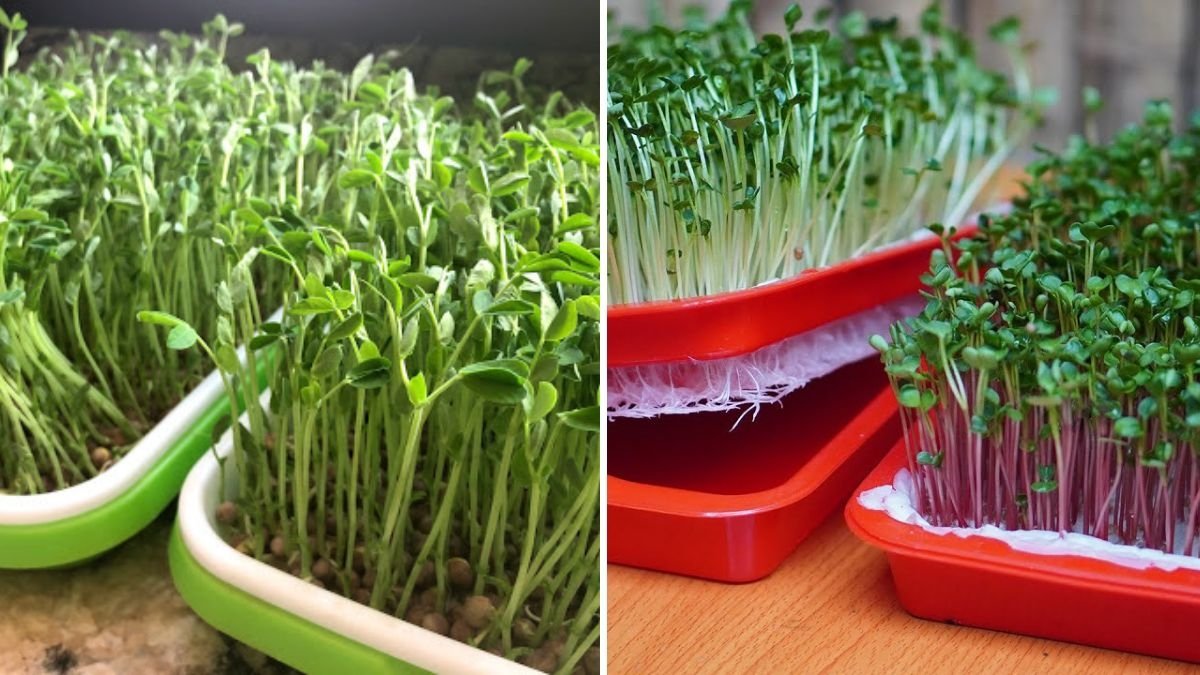
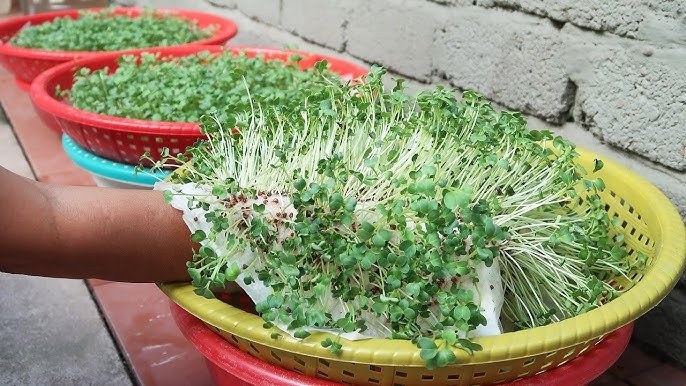
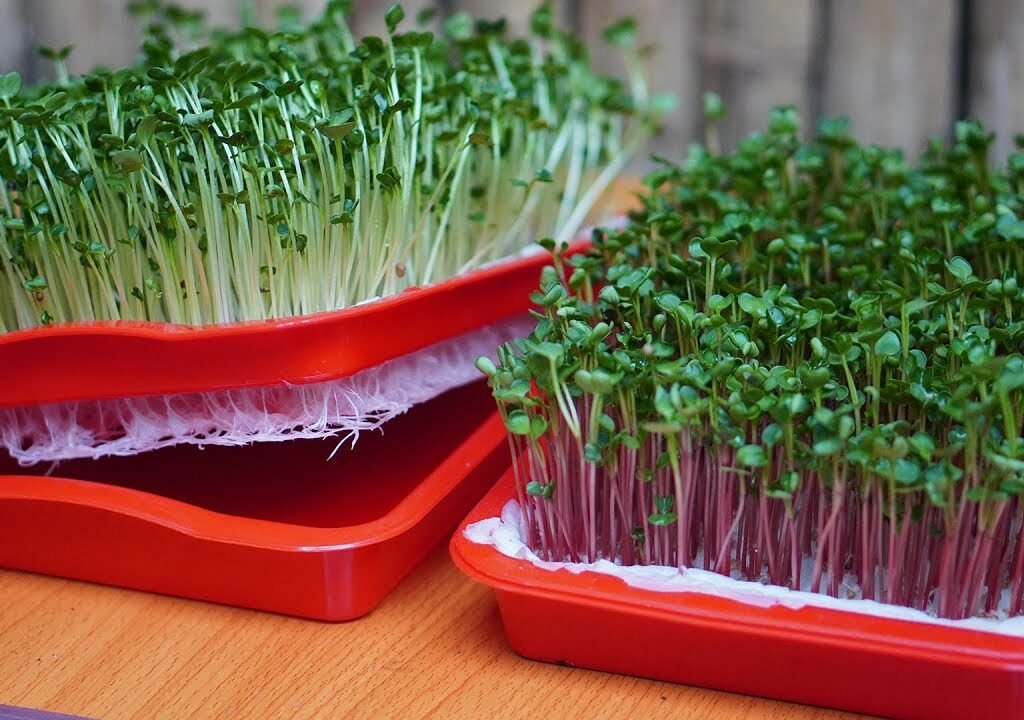
- Sprouting trays: Multi-level trays allow high-density planting and better airflow.
💡 Pro Tip: Transparent containers help you see root growth and moisture levels, but make sure seeds are not exposed to direct sunlight, which can damage sprouts.
🌿 Step 3: The Sprouting Process
Once seeds are soaked and containers are ready:
- Drain the soaking water completely.
- Place seeds in the container and rinse twice daily with fresh water. Drain well each time to avoid soggy seeds.
- Keep the container in a cool, dark place initially to encourage germination.
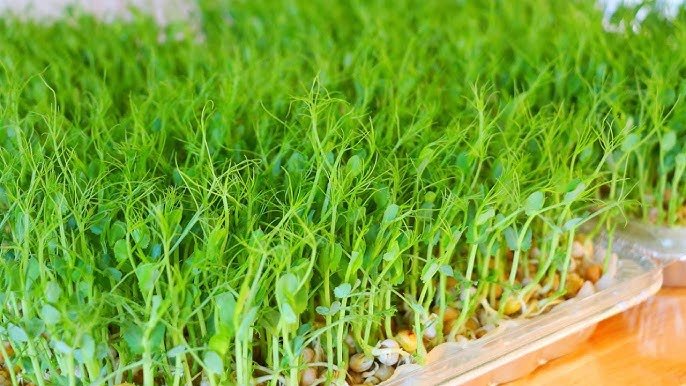
- After 1–2 days, sprouts will start to grow. Move them to indirect sunlight for greener, more nutrient-rich sprouts.
💡 Tip: Ensure good airflow around your containers to prevent mold growth.
🌱 Step 4: Achieving High Yield
To maximize your sprout yield, follow these tips:
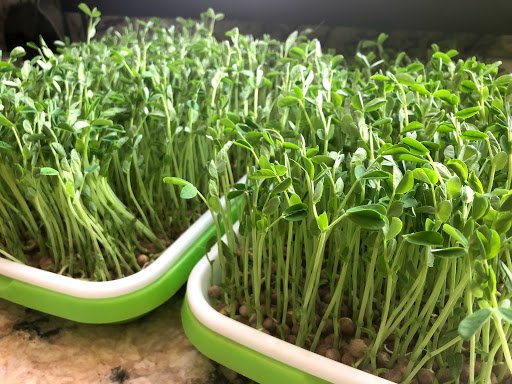
- Dense but not overcrowded planting: Seeds need room for roots to expand.
- Regular rinsing: Keeps seeds clean and hydrated, preventing fungal growth.
- Use multi-tier trays: Increases the number of sprouts you can grow in a small area.
- Rotate containers: Ensures even exposure to light for uniform growth.
- Maintain ideal temperature: 20–25°C is perfect for most sprouts.
💡 Pro Tip: Fenugreek and alfalfa sprouts produce multiple harvests in successive cycles if you reuse the seeds or plant fresh ones after each harvest.

🌿 Step 5: Harvesting Soil-Free Sprouts
The exciting part: harvesting your sprouts.
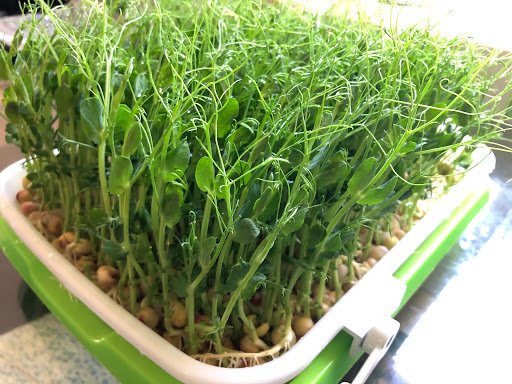
- Most sprouts are ready in 2–7 days, depending on the seed type.
- Look for sprouts that are 2–4 inches long with small green leaves.
- Harvest by cutting or gently twisting off sprouts from the seed base.
- Rinse thoroughly before consumption.
💡 Tip: Harvest in the morning for the freshest taste and maximum nutrients.
🌱 Step 6: Storing and Using Sprouts
Fresh sprouts are highly perishable, so proper storage is key:
- Refrigeration: Store rinsed and drained sprouts in a clean, airtight container for up to 3–5 days.
- Do not soak in water for storage, as this accelerates spoilage.
- Use fresh: Incorporate into salads, sandwiches, soups, smoothies, and stir-fries for maximum benefit.
💡 Tip: Avoid cooking sprouts for long periods; quick sautéing or raw consumption preserves nutrients.
🌿 Step 7: Types of Seeds for Soil-Free Sprouting
Different seeds offer unique flavors, textures, and nutrients:

- Mung beans: Crisp and slightly sweet, high in protein.
- Alfalfa: Mild flavor, delicate sprouts perfect for salads.
- Fenugreek: Strong flavor, excellent for digestion.
- Broccoli: Rich in antioxidants and vitamin C.
- Radish: Spicy, peppery flavor, adds zing to sandwiches.
- Mustard: Pungent flavor, packed with nutrients.
💡 Pro Tip: Mix seeds to create a nutrient-rich and flavorful sprout blend.
🌱 Step 8: Advantages of Soil-Free Sprouting
- No soil required: Perfect for urban living.
- Fast results: Ready in as little as 2–7 days.
- Nutrient-dense: Concentrated vitamins and minerals in sprouts.
- Space-saving: Grow in jars, trays, or bottles without a garden.
- Sustainable: Minimal resources and no pesticides required.
Soil-free sprouting is an excellent way to eat clean, fresh, and homegrown vegetables without any heavy investment or outdoor space.
🌿 Step 9: Troubleshooting Common Issues
Even soil-free sprouting is not completely foolproof. Common challenges include:
- Mold: Caused by poor drainage or insufficient rinsing. Ensure good airflow and rinse twice daily.
- Slow germination: Check seed quality, temperature, and moisture levels.
- Bitter sprouts: Can result from excessive sunlight or prolonged growth—harvest at the right stage.
💡 Pro Tip: Always use fresh, clean water and clean containers to prevent contamination.
🌱 Step 10: Tips for Continuous Harvest
For a constant supply of fresh sprouts:

- Stagger planting: Start a new batch every 2–3 days.
- Multi-tier trays: Allow you to grow multiple batches simultaneously.
- Rotate seeds: Avoid using the same batch repeatedly for long-term health and high yield.
- Monitor moisture and light: Adjust daily based on environmental conditions.
💡 Pro Tip: By planning carefully, you can enjoy fresh sprouts year-round with minimal effort.
🌿 Conclusion: Fresh Vegetables Without a Garden
Growing sprouts without soil is a simple, efficient, and high-yield way to enjoy fresh vegetables at home, no matter your living situation. With just a few containers, clean seeds, water, and a little patience, you can harvest nutrient-dense sprouts in just 7 days.
This method is perfect for urban dwellers, beginners, and anyone seeking a healthy, sustainable, and convenient food source. From mung beans to broccoli and alfalfa, sprouts are versatile, easy to grow, and packed with essential nutrients to enhance your meals.
So, why wait? Grab some seeds, clean containers, and start your soil-free vegetable garden today. In just one week, you’ll enjoy fresh, homegrown sprouts—no garden required!
Leave A Comment