Growing your own oranges at home is a rewarding and practical way to enjoy fresh, juicy fruit year-round, even if you don’t have a large garden. With a little creativity, you can use plastic bottles to grow orange seedlings, making it perfect for kitchen gardens, balconies, or small outdoor spaces. This method is cost-effective, eco-friendly, and easy for beginners who want to experience the joy of growing citrus fruits.
In this blog post, we’ll provide a step-by-step guide to planting oranges in plastic bottles, from seed selection and bottle preparation to care tips and harvesting. By the end, you’ll have all the knowledge you need to start your home-grown orange garden.
🌱 Why Grow Oranges in Plastic Bottles?
Using plastic bottles to grow oranges offers several advantages:
- Space-Efficient: Perfect for kitchens, balconies, and small spaces where traditional gardening isn’t feasible.
- Cost-Effective: Reuse plastic bottles instead of purchasing expensive pots.
- Controlled Growth: Easily manage soil, water, and sunlight for optimal seedling development.
- Eco-Friendly: Reduces plastic waste while promoting sustainable gardening.
- Educational: A fun way to teach kids or beginners about plant growth and sustainability.
This method allows you to grow fruit even in urban environments, turning unused plastic bottles into productive mini-gardens.
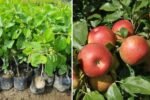
🍊 Step 1: Selecting Orange Seeds or Fruit
The first step in planting oranges is choosing healthy seeds:

- Use fresh, ripe oranges for seed extraction. Avoid overripe or moldy fruits.
- Organic oranges are preferred to prevent chemical residues that may inhibit germination.
- Extract seeds carefully, rinsing off any pulp that may stick to the seed.
- Optional: Soak seeds in water for 24 hours to soften the seed coat and encourage faster germination.
💡 Pro Tip: Select large, plump seeds for a higher chance of successful sprouting.
🌿 Step 2: Preparing Plastic Bottles
Plastic bottles serve as compact planting containers that are perfect for orange seedlings:
- Use 1.5–2 liter bottles or larger for better root space.
- Cut the bottle horizontally, leaving the bottom half as a planter. Keep the top half to use as a mini-greenhouse if needed.
- Punch drainage holes at the bottom to prevent waterlogging.
- Fill the bottle with well-draining soil. A mix of garden soil, compost, and sand works best.
- Leave 2–3 inches of space at the top for watering and growth.
💡 Pro Tip: Transparent bottles allow you to monitor root development and soil moisture.
🌱 Step 3: Planting Orange Seeds
Once your seeds and bottles are ready, it’s time to plant:
- Plant seeds about 1/4–1/2 inch deep in the soil.
- Cover lightly with soil and water gently to avoid disturbing the seeds.
- If planting multiple seeds in one bottle, space them slightly apart.
💡 Pro Tip: Label each bottle with the planting date to track growth and monitor germination.
🌿 Step 4: Providing the Right Conditions
Orange seedlings need warmth, moisture, and sunlight to germinate successfully:
- Temperature: Keep seeds in a warm area between 20–25°C (68–77°F).
- Watering: Keep the soil consistently moist but not waterlogged.
- Light: Place bottles in bright, indirect sunlight. Direct sunlight may overheat the seedlings.
- Humidity: Cover the bottle top or use plastic wrap to maintain humidity during germination.
💡 Pro Tip: Check water levels regularly and change water or mist soil as needed to prevent stagnation.
🌱 Step 5: Germination and Early Growth
Orange seeds typically germinate in 2–4 weeks, depending on freshness and conditions:
- Roots: White, thin roots emerge first, anchoring the seedling.
- Shoots: Green shoots sprout above the soil after roots establish.
- Growth Rate: Healthy seedlings grow faster with consistent moisture, warmth, and light.
💡 Pro Tip: Thin out weaker seedlings if multiple seeds were planted together to allow stronger plants to thrive.
🌿 Step 6: Caring for Orange Seedlings
Once seedlings emerge, proper care ensures strong and healthy growth:

- Watering: Water seedlings gently, keeping soil moist but not soggy.
- Sunlight: Provide 4–6 hours of indirect sunlight daily.
- Fertilization: After 3–4 weeks, use diluted organic fertilizer to boost growth.
- Pruning: Remove dead leaves or weak shoots to encourage strong development.
💡 Pro Tip: Rotate bottles to ensure even sunlight exposure and prevent leggy growth.
🌱 Step 7: Transitioning to Larger Containers (Optional)
As seedlings grow, they may need more space for root development:
- Choose a larger pot or bottle with good drainage.
- Carefully transplant the seedling, preserving roots.
- Water immediately after transplanting and place in partial shade for a few days to reduce shock.
💡 Pro Tip: You can grow oranges in bottles for months before transplanting to bigger pots or even an outdoor garden.
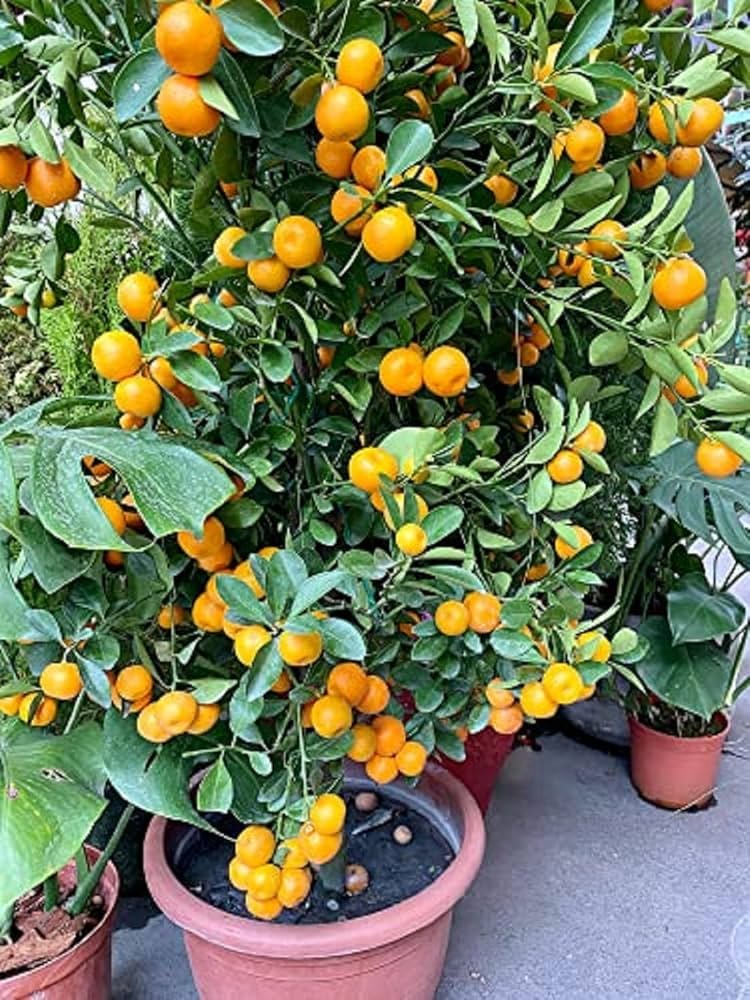
🌿 Step 8: Long-Term Care for Orange Plants
Orange trees require consistent care for long-term growth and fruit production:
- Sunlight: Ensure 6–8 hours of sunlight daily once the plant matures.
- Watering: Water deeply and regularly, adjusting based on soil moisture.
- Fertilization: Use organic compost or citrus-specific fertilizer to promote growth.
- Pruning: Remove dead or damaged leaves and shape the plant for optimal growth.
💡 Pro Tip: Keep an eye on pests and diseases; natural remedies like neem oil can protect seedlings.

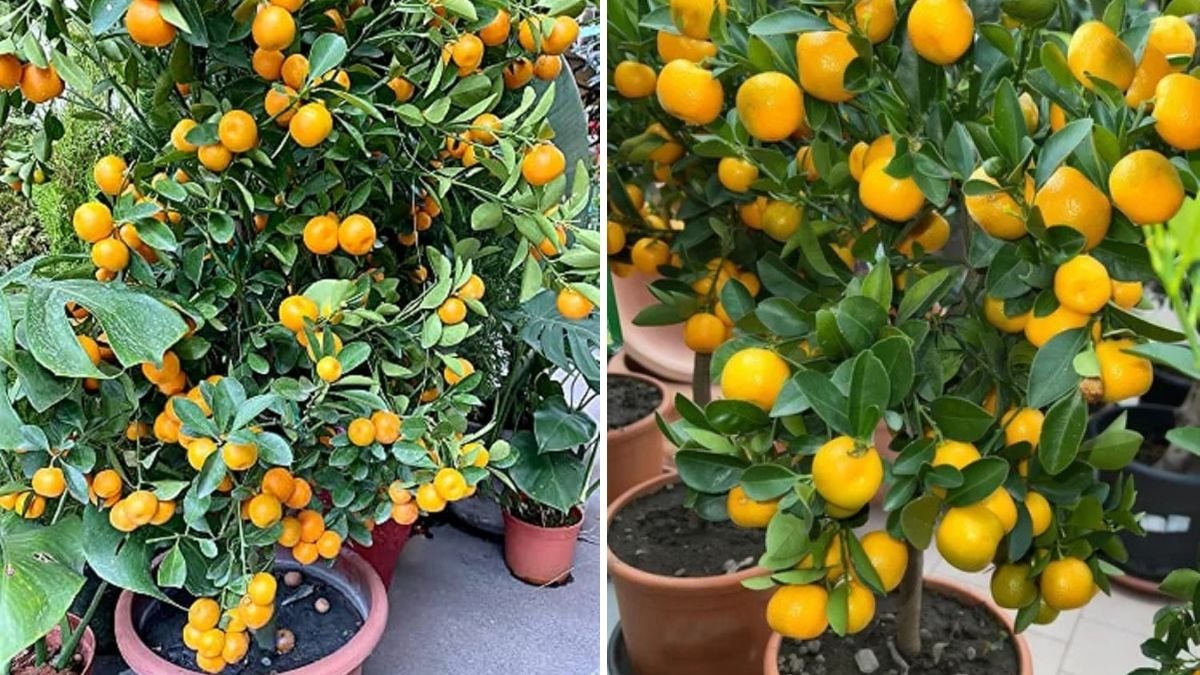
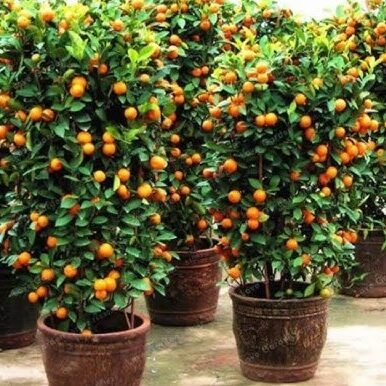
🌱 Step 9: Harvesting and Enjoying Homegrown Oranges
Orange plants grown from seeds take time to mature:
- Indoor or bottle-grown oranges may take 2–3 years to bear fruit.
- Outdoor plants in tropical climates may produce fruit in 12–18 months under ideal conditions.
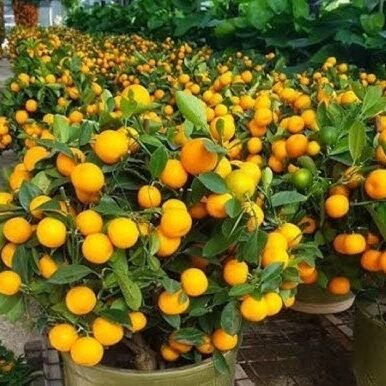
- Harvest oranges when they are fully colored and aromatic, indicating ripeness.
💡 Pro Tip: Even if fruiting takes years, bottle-grown orange plants provide lush greenery and educational opportunities.
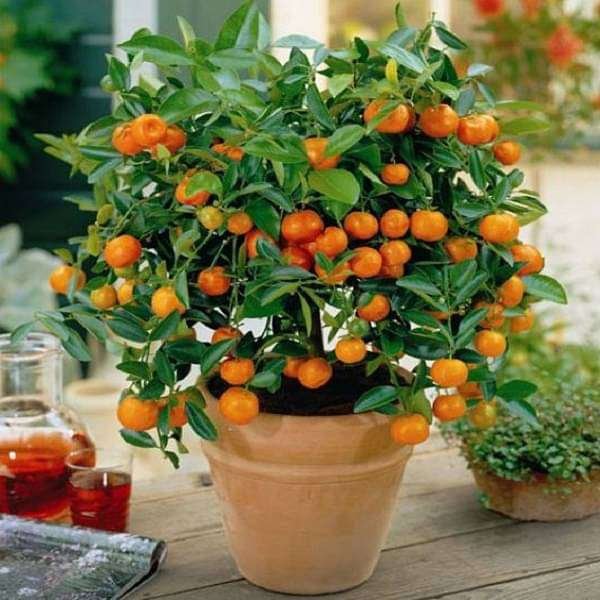
🌿 Step 10: Advantages of Orange Planting in Plastic Bottles
- Urban-Friendly: Grow fruit even with limited space.
- Budget-Friendly: Use recycled bottles and minimal soil.
- Sustainable: Reduces plastic waste while producing fresh fruit.
- Educational: Teaches children and beginners about plant growth.
- Easy Monitoring: Transparent bottles help observe root and soil conditions.
💡 Pro Tip: Plastic bottle planting can be applied to other fruits and herbs, creating a complete kitchen garden.
🌱 Step 11: Troubleshooting Common Issues
- Slow Germination: Ensure seeds are fresh and soil is moist.
- Root Rot: Check drainage and avoid overwatering.
- Leggy Seedlings: Provide adequate light to prevent weak, stretched growth.
- Pests: Monitor regularly and use organic solutions for indoor seedlings.
💡 Pro Tip: Consistent care and observation are key to healthy orange seedlings.
🌿 Step 12: Expanding Your Kitchen Garden
Once you master oranges, you can expand your plastic bottle kitchen garden:

- Grow lemons, limes, and other citrus in bottles.
- Combine with herbs like basil, mint, or coriander for a mixed kitchen garden.
- Rotate planting cycles to ensure a constant supply of fresh produce.
💡 Pro Tip: A small balcony or kitchen window can become a productive, green oasis with minimal effort.
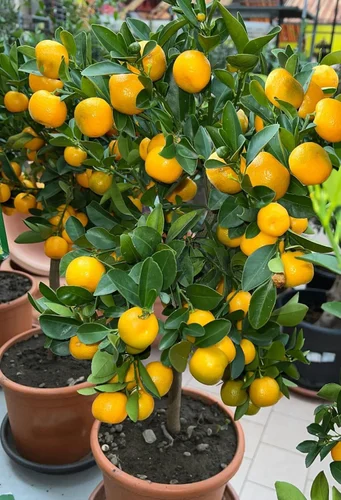
🌱 Conclusion: Enjoy Fresh Oranges from Your Kitchen Garden
Planting oranges in plastic bottles is easy, educational, and rewarding. This method allows anyone, regardless of space, to grow citrus plants at home. From selecting seeds and preparing bottles to caring for seedlings and eventually harvesting fruit, bottle planting transforms simple materials into a thriving kitchen garden.
With patience, consistent care, and proper sunlight and watering, your orange plants will flourish, providing fresh fruit, greenery, and a fulfilling gardening experience. Start today and turn your kitchen space into a mini orchard—one plastic bottle at a time!
Leave A Comment