Growing your own green beans is one of the easiest and most rewarding gardening experiences you can enjoy at home. Whether you have a small balcony, a sunny patio, or a backyard, you can grow fresh, crunchy green beans right in containers. These nutrient-rich vegetables not only taste great but also enrich your soil naturally.
In this detailed, step-by-step guide, we’ll walk you through the entire process of growing bush green beans in containers—from seed to harvest—so you can enjoy a bountiful homegrown harvest no matter how much space you have.
Why Grow Green Beans in Containers?
Green beans, also known as snap beans or string beans, are among the easiest vegetables to grow in small spaces. They grow quickly, require minimal maintenance, and produce abundantly.
Here are a few reasons to grow them in containers:
- Perfect for small spaces: Ideal for balconies, patios, or rooftops.
- Soil control: You can provide nutrient-rich, well-draining soil to ensure healthy plants.
- Less pest pressure: Containers reduce exposure to soil-borne diseases and pests.
- Easy to manage: You can move containers to follow sunlight or protect them from bad weather.
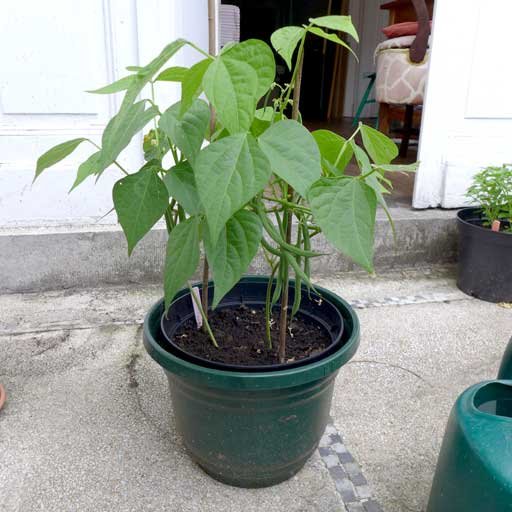
Among the two main types—bush beans and pole beans—bush beans are best suited for container gardening since they grow compactly and don’t require tall supports.
Step 1: Choosing the Right Variety
For successful container gardening, you’ll need to choose compact, bush-type green beans that don’t sprawl too much.
Here are some popular container-friendly varieties:
- Provider: Early-maturing and high-yielding.
- Contender: Grows quickly and tolerates different climates.
- Bush Blue Lake: Classic flavor and very reliable for container growing.
- Tendergreen Improved: Excellent taste and heat tolerance.
These varieties are perfect for containers because they produce short, sturdy plants that don’t require much staking.
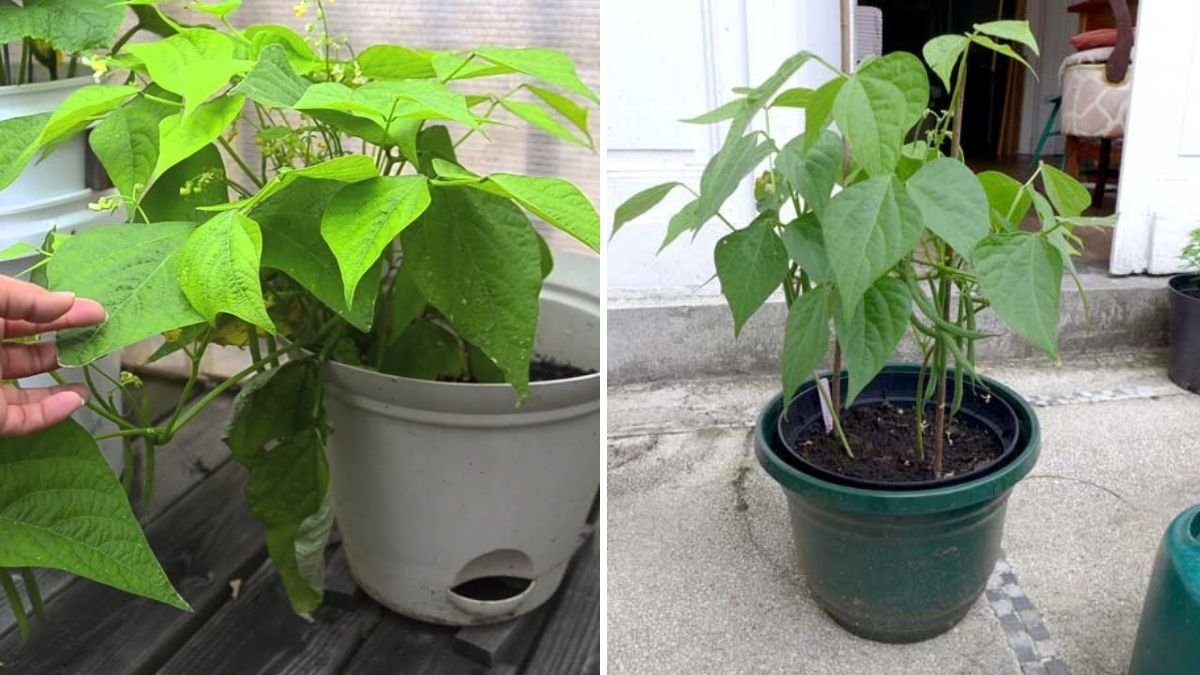
Step 2: Selecting the Container
Green beans have moderately deep roots, so your container should be large enough to accommodate them.
Container requirements:
- Depth: At least 12 inches deep to allow root growth.
- Width: Minimum 18 inches across for several plants.
- Material: Plastic, terracotta, or fabric grow bags all work fine.
- Drainage: Make sure your container has several drainage holes to prevent root rot.
If you want multiple plants, you can use rectangular planters or multiple pots grouped together for efficient watering.
Step 3: Preparing the Soil Mix
Green beans thrive in well-draining, nutrient-rich soil with a slightly acidic to neutral pH (6.0–7.0).
You can prepare the perfect potting mix by combining:
- 40% garden soil or organic compost,
- 30% coco peat or peat moss for moisture retention,
- 20% perlite or coarse sand for aeration,
- 10% well-rotted manure or organic fertilizer for nutrients.
Avoid compacted or heavy clay soil—it can suffocate the roots and reduce yield.
Before sowing, mix in some slow-release organic fertilizer or bone meal to support early growth.
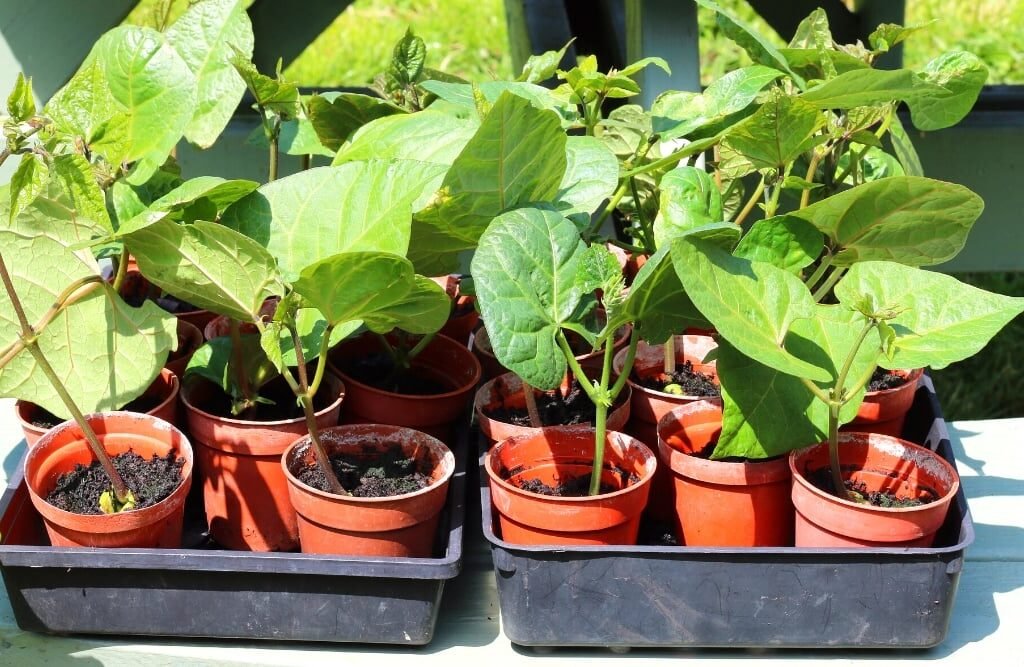
Step 4: Sowing the Seeds
Green beans are best grown directly from seeds because they don’t transplant well.
Planting steps:
- Sow seeds about 1 inch deep into the soil.
- Space each seed 3–4 inches apart if planting in one large container.
- Lightly cover the seeds with soil and water gently.
- Keep the soil consistently moist but not soggy until germination.
Under warm conditions (around 20–30°C / 68–86°F), seeds will germinate within 5–7 days.
Step 5: Providing the Right Growing Conditions
Green beans love warmth and sunlight. To grow healthy, productive plants:
- Sunlight: Place your containers where they’ll receive at least 6–8 hours of direct sunlight daily.
- Temperature: Maintain between 18°C and 30°C for best results.
- Watering: Water regularly to keep the soil evenly moist. Beans don’t tolerate drought or overwatering—both can affect flowering and pod formation.
- Mulching: Add a thin layer of mulch (straw or dry leaves) to retain soil moisture and regulate temperature.
Avoid splashing water on the leaves, as this can encourage fungal diseases.
Step 6: Fertilizing and Feeding
Green beans are light feeders compared to many other vegetables because they can fix their own nitrogen through root nodules.
Here’s how to feed them properly:
- At planting time: Add compost or a small amount of organic fertilizer (like vermicompost or cow manure).
- After 3–4 weeks: Apply a balanced fertilizer such as 5-10-10 (low in nitrogen, high in phosphorus and potassium) to promote flowering and pod growth.
- Organic feeding: Seaweed extract, banana peel fertilizer, or compost tea work great for container-grown beans.
Avoid excessive nitrogen, which encourages leafy growth instead of pods.
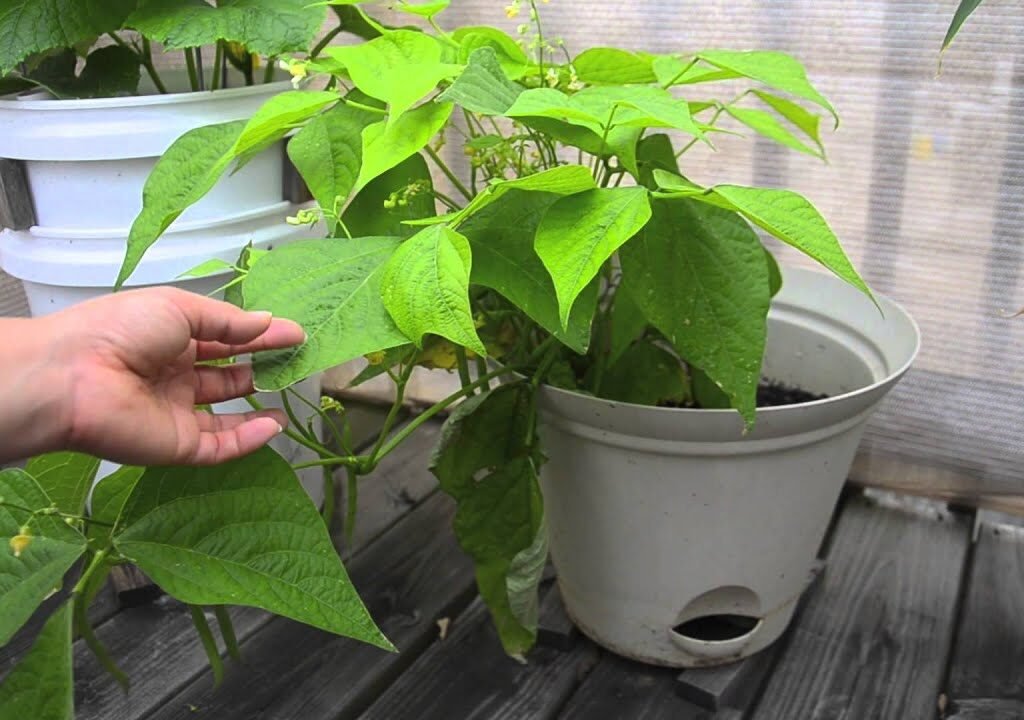
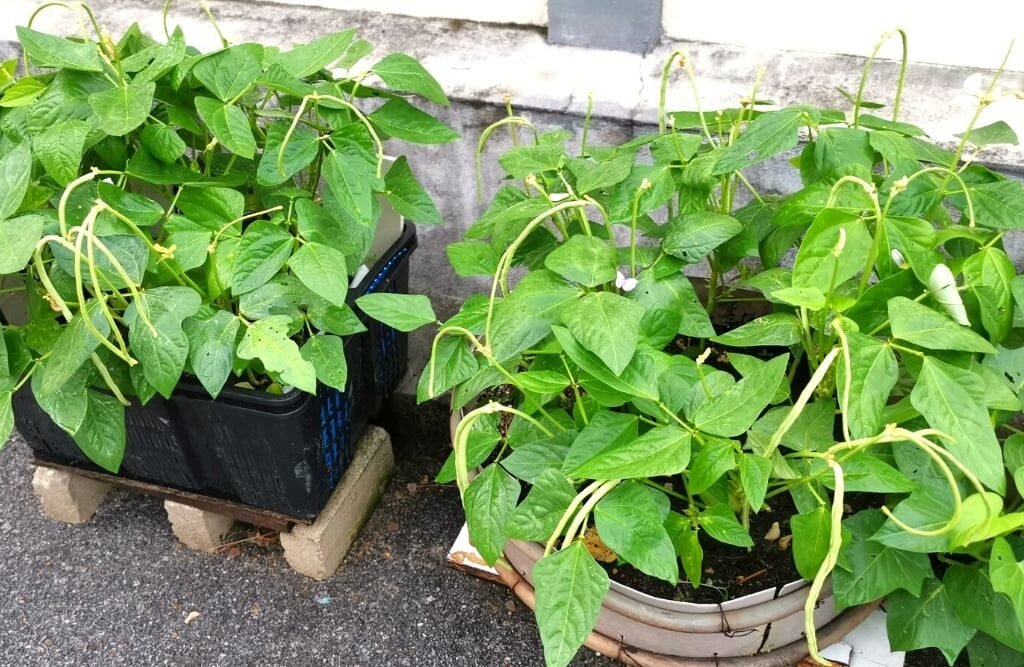
Step 7: Supporting the Plants
Although bush beans are shorter and sturdier than pole beans, they can still benefit from light support as they grow heavy with pods.
Use small bamboo stakes or a simple circular cage around the container to keep the plants upright. This also improves air circulation and reduces disease risk.
Step 8: Pollination and Flowering
Green beans are self-pollinating plants, which means they don’t need insects or manual help to produce pods.
When flowering begins (usually 30–40 days after planting):
- Keep watering regularly but gently.
- Avoid disturbing the plants too much, as this can cause flowers to drop.
- Ensure your plants get enough sunlight to encourage healthy pod formation.
Within a few days of flowering, you’ll start noticing tiny pods developing along the stems.
Step 9: Pest and Disease Management
Container-grown green beans are relatively pest-resistant, but some common issues can arise.
Common pests:
- Aphids: Suck sap from leaves; spray neem oil or insecticidal soap weekly.
- Spider mites: Cause yellow speckles; control with neem oil or by misting leaves.
- Cutworms or beetles: Hand-pick or sprinkle diatomaceous earth around the base.
Common diseases:
- Powdery mildew: Avoid overhead watering and improve air circulation.
- Root rot: Ensure proper drainage and don’t let soil stay soggy.
Regularly inspect plants and remove any damaged leaves to prevent spread.
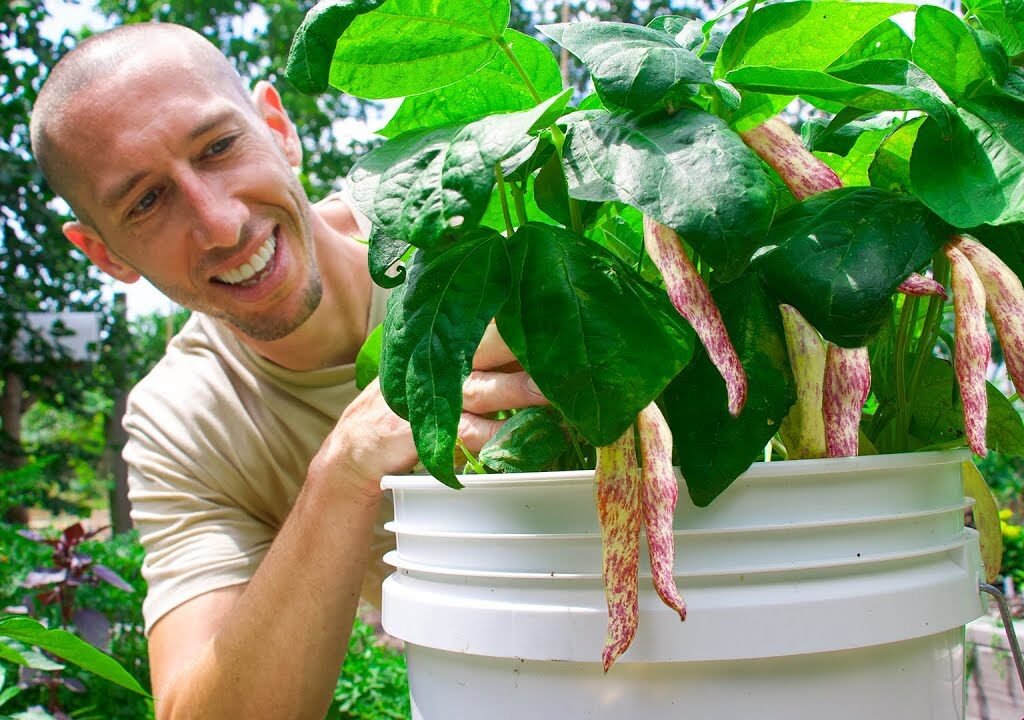
Step 10: Harvesting Green Beans
Green beans grow fast—most bush varieties are ready to harvest within 50–60 days after planting.
Here’s how to know when they’re ready:
- The pods are firm, crisp, and about 4–6 inches long.
- Harvest before the seeds inside become too large.
- Gently snap the pods off the stem or use scissors to avoid damaging the plant.
Harvest regularly every 2–3 days to encourage more production. The more you pick, the more beans your plant will produce!
Step 11: Post-Harvest Care and Second Crop
After the first harvest, your bush bean plants may continue producing for another few weeks. Once production slows, you can replant fresh seeds in the same container after rejuvenating the soil.
To refresh your container soil:
- Remove old roots and debris.
- Mix in fresh compost and organic fertilizer.
- Let the soil rest for a few days before sowing new seeds.
This ensures continuous bean production throughout the growing season.
Step 12: Companion Planting Tips
Green beans grow well alongside certain plants that benefit their growth and repel pests.
Good companions:
- Carrots – loosen the soil for bean roots.
- Marigolds – deter aphids and beetles.
- Cucumbers – share similar growing conditions.
Avoid planting with:
- Onions, garlic, or leeks—they can inhibit bean growth.
Step 13: Troubleshooting Common Problems
Here are some quick fixes for common container bean issues:
| Problem | Possible Cause | Solution |
|---|---|---|
| Yellow leaves | Overwatering or nutrient deficiency | Check drainage and add compost |
| No pods forming | Excess nitrogen or poor sunlight | Use low-nitrogen fertilizer and ensure full sun |
| Flowers falling off | Heat stress or irregular watering | Maintain consistent moisture and provide light shade in extreme heat |
| Slow growth | Poor soil aeration | Add perlite or loosen soil regularly |
Step 14: Health Benefits of Green Beans
Homegrown green beans aren’t just delicious—they’re also packed with nutrients!
They’re rich in:
- Vitamin C for immunity
- Fiber for healthy digestion
- Vitamin K for bone strength
- Antioxidants that help protect against free radicals
Plus, since you’re growing them organically, you’ll enjoy pesticide-free, fresh vegetables full of natural flavor and nutrition.

Final Thoughts
Growing green beans in containers is one of the most beginner-friendly and space-saving ways to start your home garden. With just a bit of sunlight, proper watering, and care, you can harvest basketfuls of fresh, crisp beans in a matter of weeks.
From seed to harvest, the process is simple yet deeply satisfying. Whether you’re a first-time gardener or a seasoned grower experimenting with container setups, green beans are the perfect choice for a rewarding and productive crop.
So grab a few seeds, fill up your pots, and start your container green bean garden today—you’ll be amazed at how easy and fulfilling it is to enjoy your own fresh, homegrown harvest right at your doorstep!
Leave A Comment