If you’ve ever enjoyed the crisp, refreshing taste of jicama, you know why this tropical root vegetable has earned a place in kitchens and gardens around the world. Known for its sweet, nutty flavor and juicy crunch, jicama (pronounced hee-kah-ma) is not only delicious but also packed with nutrients like fiber, vitamin C, and antioxidants.
While jicama is often found in grocery stores, few gardeners realize how easy and rewarding it can be to grow jicama from seed right at home. Whether you live in a warm climate or are planning to grow it in containers, this step-by-step guide will walk you through how to start jicama seeds successfully, from germination all the way to healthy, thriving plants.
What Is Jicama?
Jicama (Pachyrhizus erosus), also called the Mexican yam bean or Mexican turnip, is a legume grown primarily for its large, starchy root. It’s native to Mexico and Central America and thrives in warm, frost-free climates.
While jicama is part of the bean family, it’s important to note that only the root is edible — the seeds, leaves, and pods are toxic because they contain rotenone, a natural insecticide.
The edible root is crisp like an apple and slightly sweet, making it a popular addition to salads, stir-fries, and snacks.
Step 1: Choose Fresh, Viable Jicama Seeds
Start with high-quality seeds from a reputable supplier. Jicama seeds are small, round, and brown, resembling dried beans. Because they are tropical plants, freshness matters — older seeds may have a low germination rate.
If you’re saving seeds from a previous harvest, ensure they are fully mature and completely dry before storing or planting. For store-bought seeds, check the packet date to make sure they’re from the most recent season.
Step 2: Pre-Soak Seeds for Faster Germination
Jicama seeds have a tough outer coat, which can slow down germination. To help them sprout faster:
- Place the seeds in a small bowl of warm water.
- Let them soak for 12–24 hours before planting.
- Discard any seeds that float — these are usually not viable.
- After soaking, drain and lightly pat them dry.
This simple step softens the seed coat, allowing moisture to penetrate more easily and helping the seeds germinate faster.
Step 3: Prepare the Soil Mix
Jicama prefers loose, well-draining soil rich in organic matter. Since it’s a root crop, heavy or compacted soils can cause the roots to grow small or misshapen.
For seed starting, use a high-quality seed-starting mix or make your own by combining:
- 1 part coco peat or peat moss
- 1 part compost
- 1 part perlite or sand
Aim for a soil pH between 6.0 and 7.5 — slightly acidic to neutral.
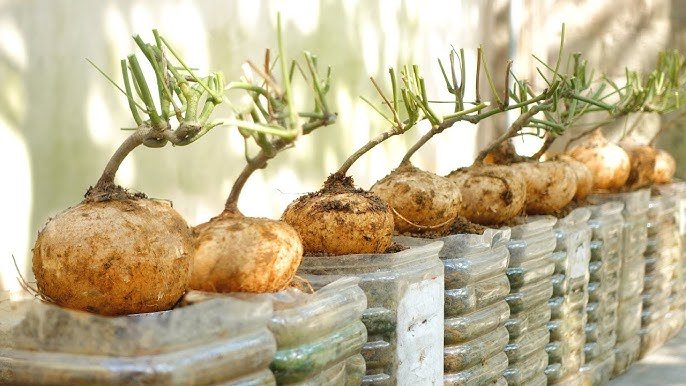
If you’re growing in containers or grow bags, make sure they’re at least 12–16 inches deep to allow enough space for root development.
Step 4: Planting the Seeds

Timing:
Jicama is a warm-season crop that requires a long growing season (5–9 months). Plant seeds after the last frost, when the soil has warmed to above 65°F (18°C).
How to plant:
- Fill seed trays or pots with your prepared soil mix.
- Sow seeds ½ inch (1.25 cm) deep.
- Cover lightly with soil and mist with water.
- Keep the soil consistently moist but not soggy.
Place the containers in a warm, sunny spot or on a heat mat to maintain a temperature around 75–85°F (24–29°C) — ideal for germination.
Seeds usually germinate in 7–14 days, though it may take up to 3 weeks in cooler conditions.
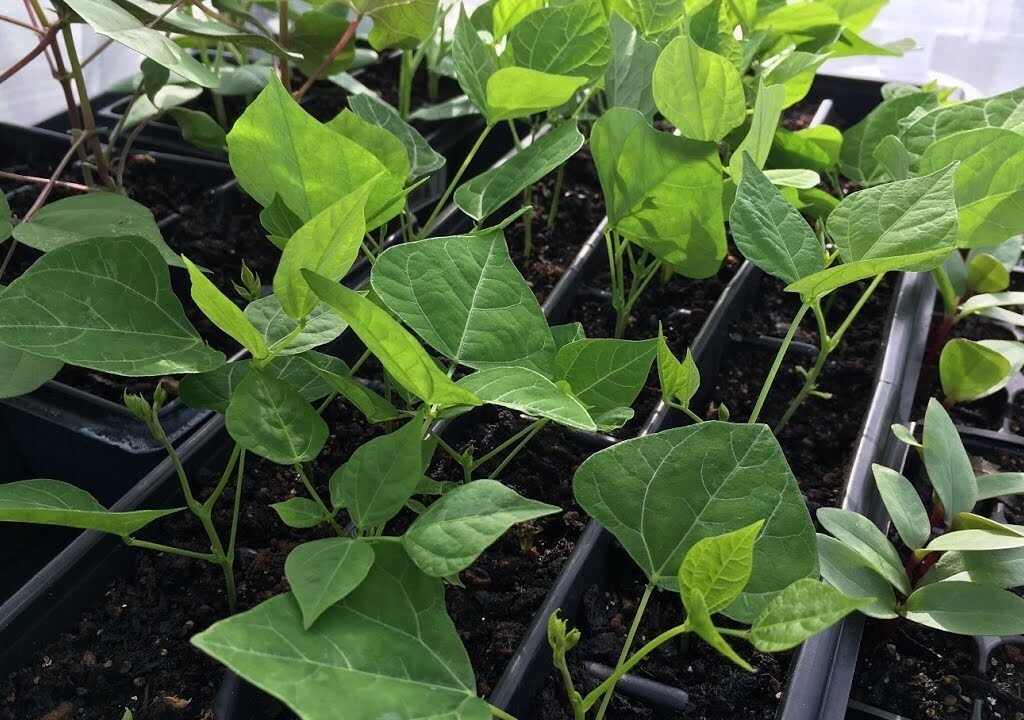
Step 5: Provide Light and Warmth for Seedlings
Once the seeds sprout, move the seedlings to a bright, sunny location. Jicama loves full sun, so make sure they receive at least 6–8 hours of direct light daily.
If you’re growing indoors, consider using grow lights to supplement natural light, keeping the lights about 3–4 inches above the plants.
Maintain temperatures between 70–85°F (21–29°C) during the day and avoid exposing seedlings to temperatures below 60°F (15°C), as they are sensitive to cold.
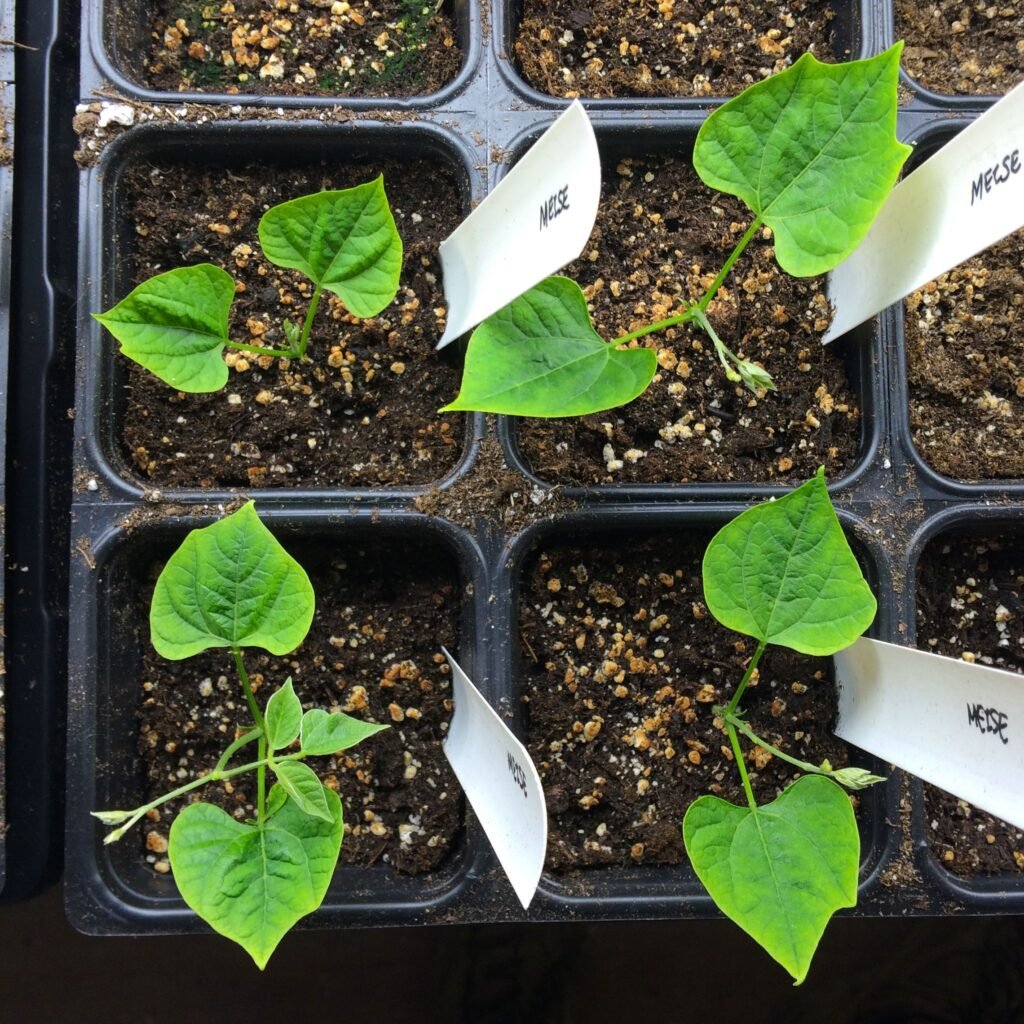
Step 6: Transplanting Jicama Seedlings
When the seedlings are 4–6 inches tall and have a few sets of true leaves, they are ready to be transplanted outdoors or into larger containers.
Before transplanting:
- Harden off the seedlings by gradually exposing them to outdoor conditions over 7–10 days.
- Choose a sunny location with well-drained soil.
- Enrich the soil with compost or aged manure before planting.
Spacing:
Plant jicama seedlings 12–18 inches apart, with 3 feet between rows if you’re growing multiple plants. This spacing allows plenty of room for the vines to spread and for the roots to grow large.
If you’re using grow bags or containers, plant one seedling per bag for best results.
Step 7: Watering and Fertilizing
Jicama needs consistent moisture to produce large, juicy roots. However, avoid overwatering, as soggy soil can lead to root rot.
Watering tips:
- Keep soil evenly moist, especially during dry spells.
- Water deeply once or twice a week, depending on weather conditions.
- Mulch around the plants to retain moisture and regulate soil temperature.
Fertilizing:
Jicama doesn’t need heavy feeding. Apply a balanced fertilizer (10-10-10) every 4–6 weeks or side-dress with compost. Avoid excessive nitrogen, which promotes leaf growth at the expense of root development.
Step 8: Training and Support
Jicama is a climbing vine, much like beans. The vines can grow up to 10–15 feet long, so providing support early helps manage growth.
Use trellises, bamboo poles, or netting to keep vines off the ground. This improves air circulation, reduces disease risk, and makes harvesting easier later on.
Step 9: Flowering and Pod Formation
About 3–4 months after planting, your jicama plants will begin to flower, producing small blue or white blossoms followed by seed pods.
Important: Do not eat the pods or seeds. They contain rotenone, which is toxic to humans and animals. The plant naturally directs its energy into these pods — if you want larger roots, you can pinch off the flowers and pods as they appear to encourage the plant to focus on root growth.
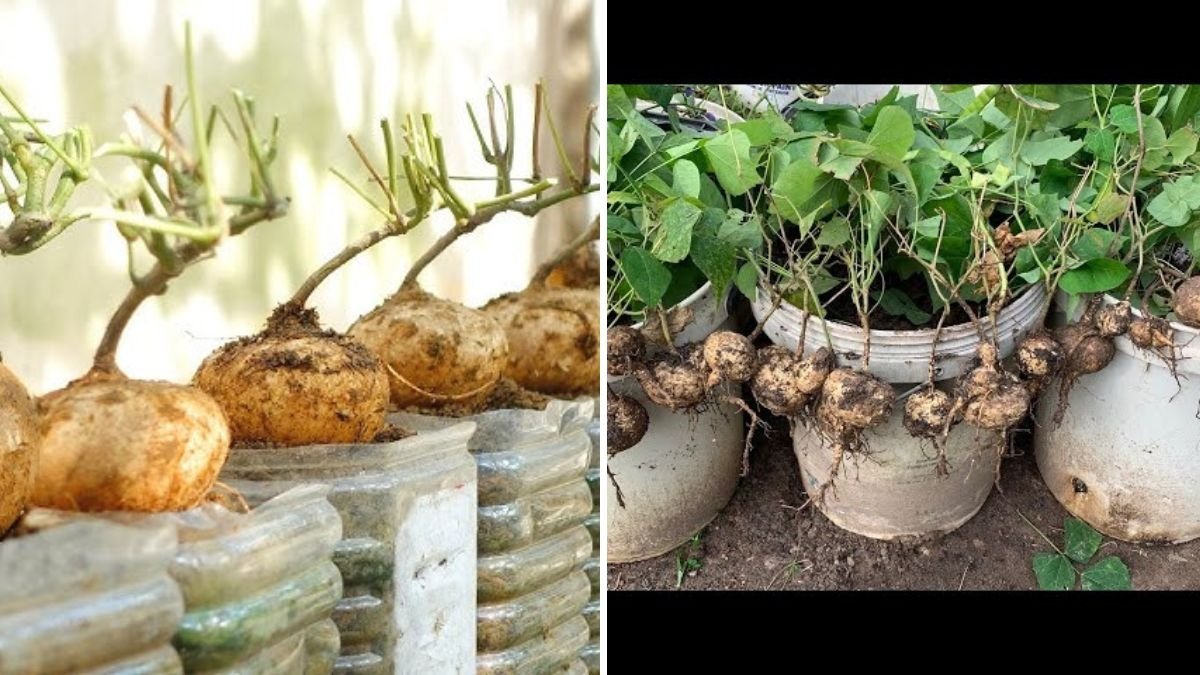
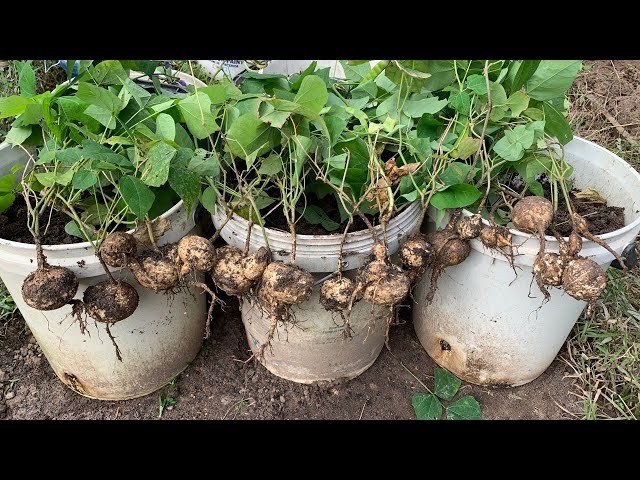
Step 10: Harvesting Jicama Roots
Jicama roots typically take 5–9 months to mature, depending on your growing conditions. The longer the plant grows, the larger the root becomes — but harvest before the first frost, as cold weather damages the roots.
Signs your jicama is ready:
- The leaves and vines start to yellow and die back.
- The root feels firm and heavy when you dig around it.
Use a garden fork or your hands to gently lift the root from the soil. Be careful not to damage the skin, as wounds can lead to decay.
For best flavor and texture, harvest roots when they’re about 4–6 inches in diameter — large enough to be crisp and sweet but not woody.
Step 11: Storing and Using Jicama
After harvesting:
- Brush off excess soil (do not wash until ready to eat).
- Allow the roots to air-dry for a few hours.
- Store in a cool, dry place with good ventilation.
Jicama can last 2–4 weeks at room temperature or longer in the refrigerator.
To use, simply peel the tough outer skin and enjoy the crisp flesh raw in salads, or cook it in stir-fries, soups, or fries. Its mild sweetness pairs beautifully with lime juice, chili powder, and salt — a classic Mexican snack!
Step 12: Saving Seeds (Optional)
If you want to grow jicama again next year, you can collect seeds — but remember that they are toxic and should not be consumed.
To save seeds:

- Let some pods mature and dry on the vine.
- Harvest when brown and brittle.
- Remove seeds and store them in a cool, dry place for up to 3 years.
Always label them clearly as non-edible to avoid confusion.
Final Thoughts
Learning how to start jicama seeds is the first step to growing one of the most unique and rewarding crops in your home garden. Though it requires a long growing season and warm temperatures, the payoff — crisp, juicy roots packed with flavor — makes the effort worthwhile.
By pre-soaking your seeds, using loose, nutrient-rich soil, and maintaining warmth and moisture, you can achieve high germination rates and healthy seedlings. With proper care, even container gardeners can enjoy a bountiful jicama harvest.
So go ahead — start your seeds today, give them sunshine and patience, and in a few months, you’ll be rewarded with sweet, crunchy jicama straight from your garden. It’s a true tropical treasure that brings both flavor and freshness to your table.
Leave A Comment