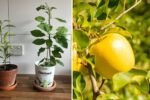
Ghost peppers—also known as Bhut Jolokia—are one of the hottest peppers in the world, famous for their fiery flavor and intense heat. Despite their intimidating reputation, growing ghost peppers at home is a thrilling experience for gardeners who love a challenge. Watching these plants progress from delicate seedlings to fiery fruit-bearers is deeply satisfying. However, ghost peppers require some special care and attention to produce healthy peppers.
In this guide, we’ll walk through the entire process of growing ghost pepper plants, understanding their growth stages, and learning how to help them form peppers successfully. Whether you’re growing in containers or in the garden, this step-by-step post will help you nurture your plants all the way to harvest.
1. Understanding Ghost Peppers
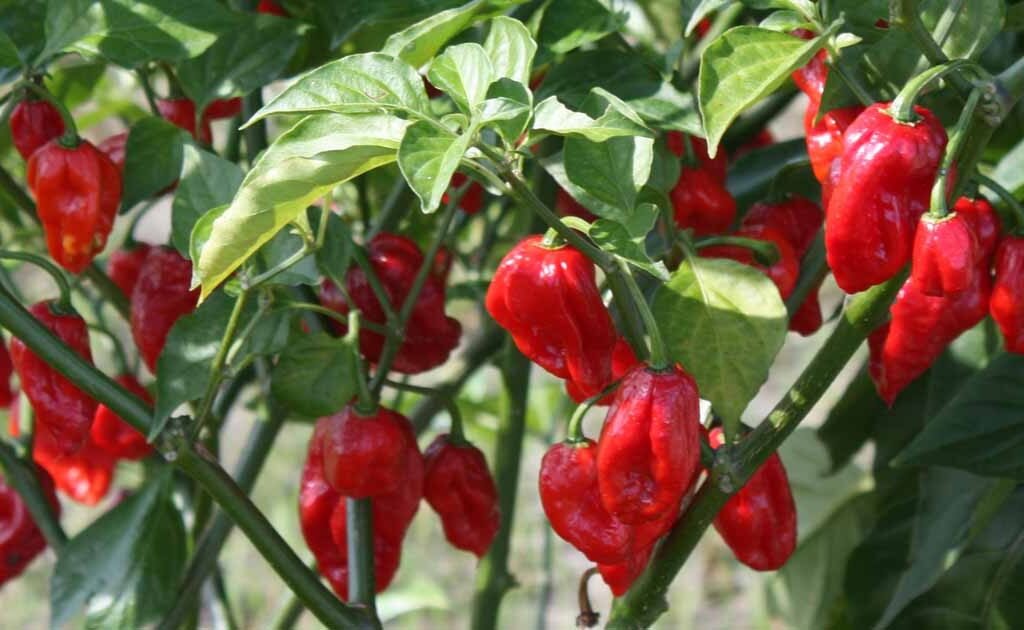
Ghost peppers originate from the northeastern regions of India, especially Assam and Nagaland. The name Bhut Jolokia translates to “ghost chili,” a nod to its mysterious and lingering heat. With a Scoville rating of over 1,000,000 SHU, this pepper once held the title of the world’s hottest chili.
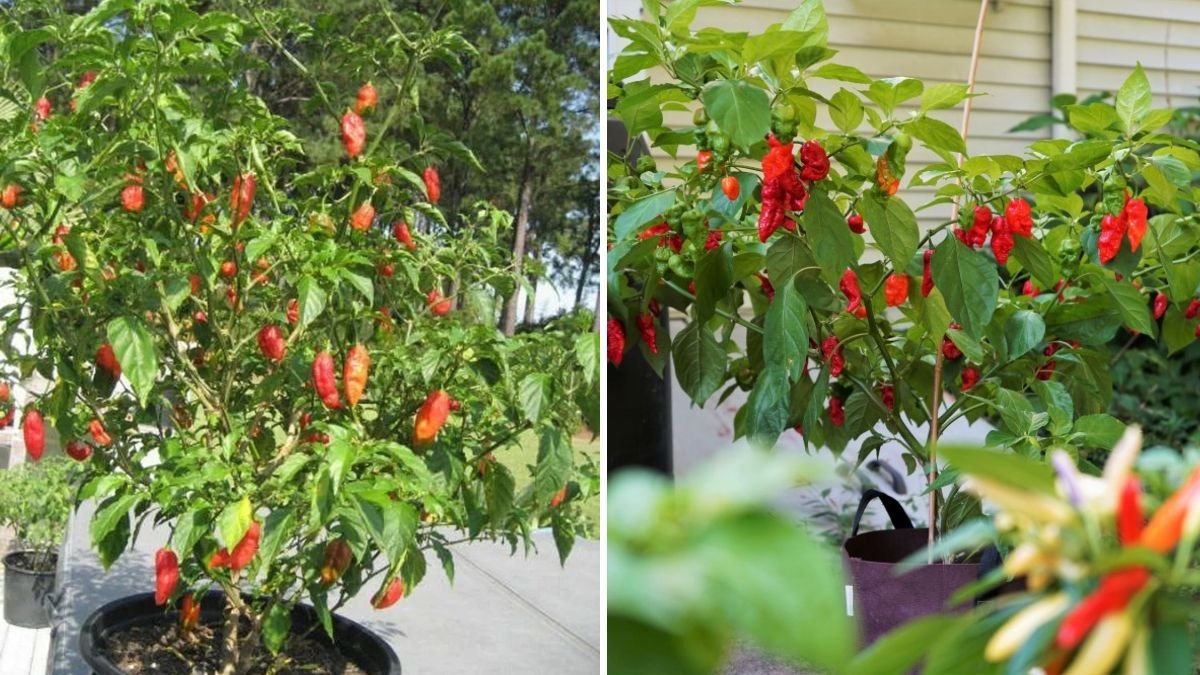
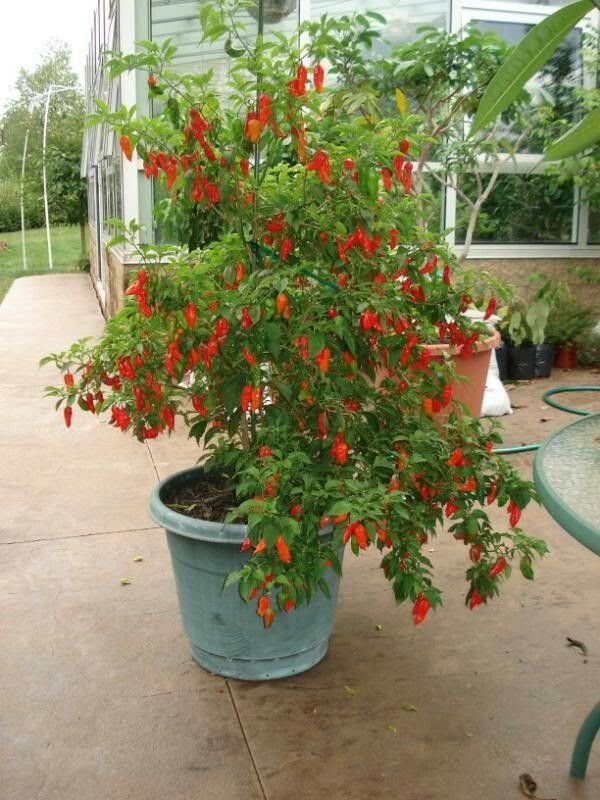
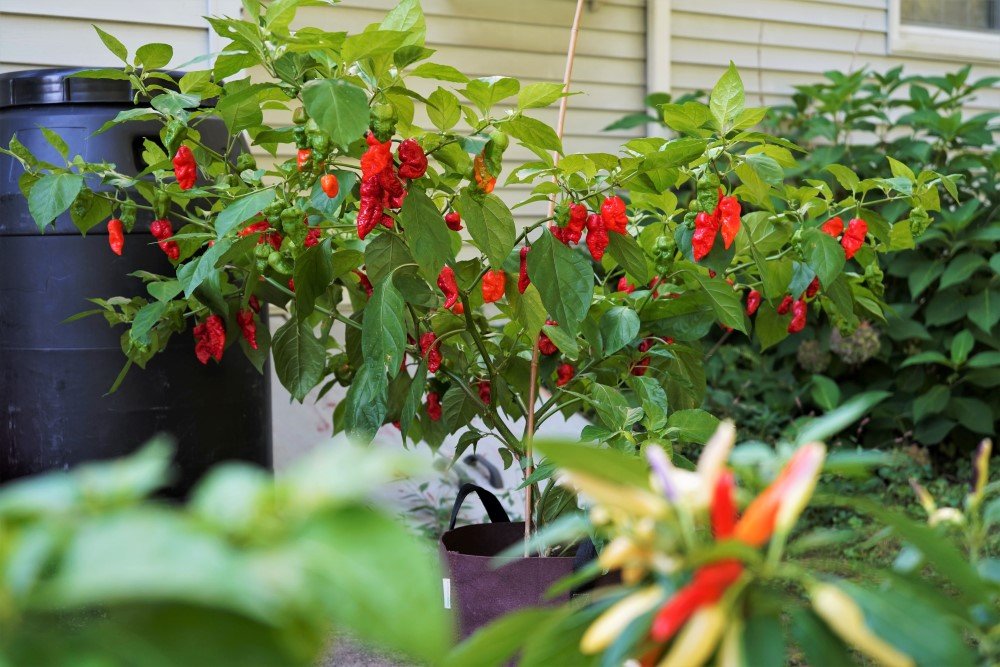
Ghost pepper plants typically grow between 3 to 4 feet tall and produce small, wrinkled, red or orange fruits about 2–3 inches long. They need warm temperatures, high humidity, and long growing seasons—making them ideal for tropical and subtropical climates.
2. Starting Ghost Peppers from Seed
Ghost pepper seeds are a bit tricky to germinate because they need consistent warmth. Start seeds indoors 8–10 weeks before the last frost date to give them a head start.
Steps to Start Seeds:
- Use a seed-starting mix: Choose a light, well-draining mix instead of regular potting soil.
- Soak the seeds: Soak ghost pepper seeds in warm water overnight to soften the seed coat and encourage germination.
- Sow the seeds: Plant them about ¼ inch deep in small pots or seed trays.
- Maintain warmth: Ghost pepper seeds need temperatures around 80–90°F (26–32°C) to germinate. Use a heat mat for best results.
- Provide light: Once seedlings appear (usually after 2–3 weeks), place them under grow lights or near a sunny window.
Transplanting Seedlings:
When the seedlings have at least 4–6 true leaves and the weather is warm (night temperatures above 65°F or 18°C), they’re ready to move outdoors or into larger containers. Harden them off gradually by exposing them to outdoor conditions a few hours each day for a week.
3. Choosing the Right Location
Ghost peppers thrive in full sunlight—at least 6–8 hours daily. They prefer slightly acidic soil (pH 6.0–6.5) that drains well.
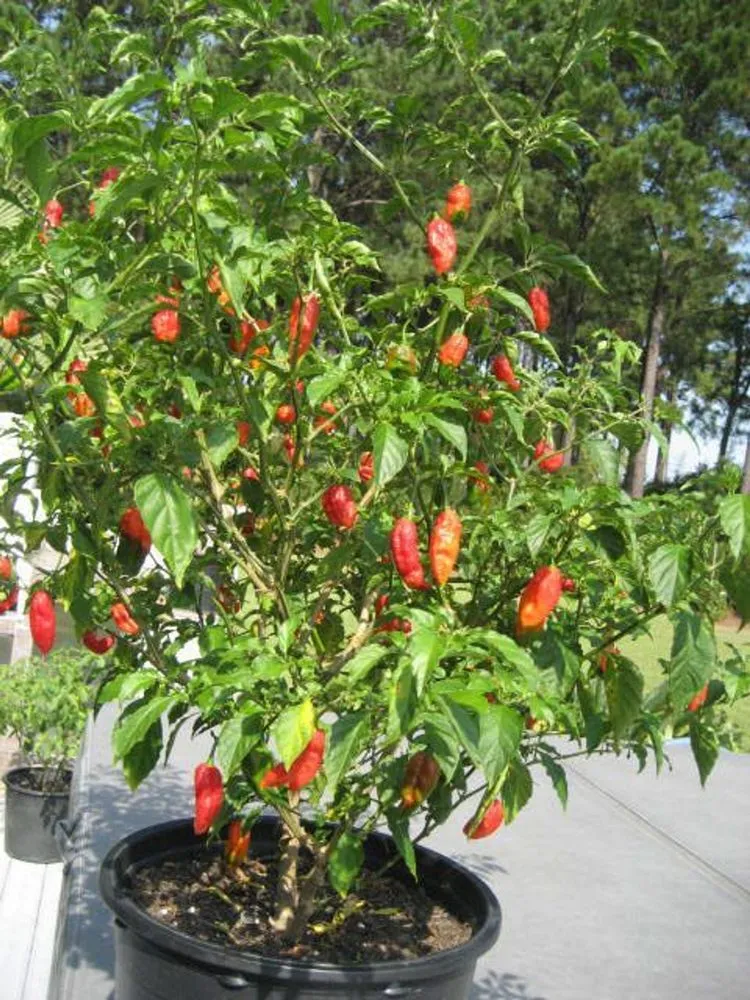
If you’re growing in containers, choose a 5-gallon or larger pot with drainage holes. Use high-quality potting soil enriched with compost or organic matter.
Soil Mix Recommendation:
- 40% high-quality potting mix
- 30% compost
- 20% perlite or coarse sand
- 10% coco coir or peat moss
This mix ensures good drainage while retaining enough moisture for consistent growth.
4. Caring for Ghost Pepper Plants
Ghost peppers are heat-loving plants that require steady care to produce peppers.
Watering:
Keep the soil consistently moist but not soggy. Overwatering can lead to root rot, while underwatering can stress the plant and delay fruit formation. During hot spells, water deeply 2–3 times a week.
Fertilizing:
Feed your plants every 2–3 weeks with a balanced fertilizer during early growth. Once flowering begins, switch to a fertilizer high in potassium and phosphorus to encourage fruiting.
Suggested feeding schedule:
- Early stage (vegetative): 10-10-10 or 5-5-5 organic fertilizer
- Flowering and fruiting: 5-10-10 or a tomato fertilizer formula
Pruning:
Prune off lower leaves to improve air circulation and prevent fungal infections. Pinching off early flower buds can also help the plant grow stronger before it starts producing peppers.
5. Managing Temperature and Light
Ghost peppers need warm temperatures (70–90°F or 21–32°C) to thrive. If your climate is cooler, consider using row covers or growing the plants in a greenhouse or sunroom.
During the flowering and fruiting phase, consistent light exposure is crucial. Insufficient sunlight can cause weak plants and fewer peppers.
If you’re growing indoors, use LED grow lights that provide at least 14–16 hours of light daily.
6. Flowering and Fruit Formation
The most exciting stage is when your ghost pepper plants start forming flower buds. However, many gardeners face a common issue—flowers dropping without forming fruits.
Causes of Flower Drop:
- Temperature stress: Ghost peppers won’t set fruit if temperatures fall below 65°F (18°C) or exceed 95°F (35°C).
- Overfertilization: Too much nitrogen can cause lush foliage but few flowers or fruits.
- Lack of pollination: If you’re growing indoors or in an enclosed space, pollinators like bees can’t reach the flowers.
Fixing Flower Drop:
- Maintain consistent temperatures using shade cloth or covers.
- Shake the plant gently or use a small brush to hand-pollinate flowers.
- Ensure your plant gets proper nutrition, focusing on phosphorus and potassium.
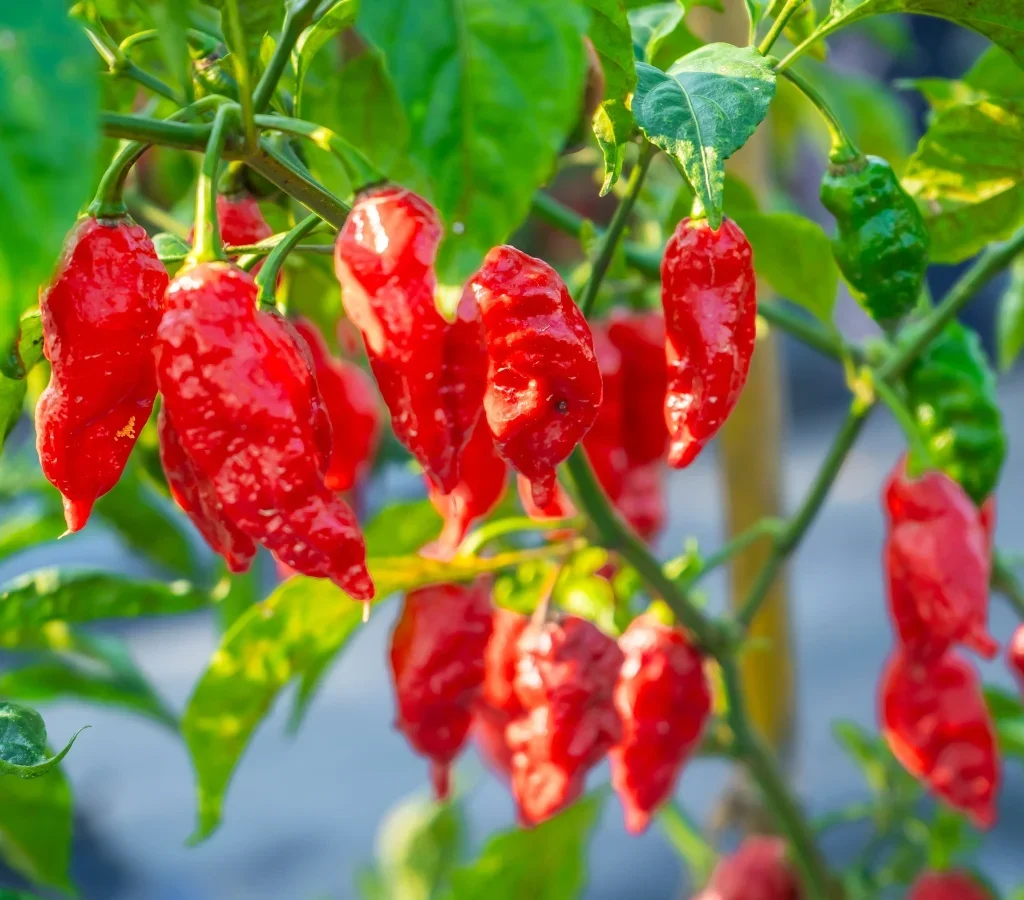
Once pollinated, flowers will fade and tiny green peppers will begin to form. Over the next few weeks, they’ll grow and change color from green to orange, red, or chocolate, depending on the variety.
7. Supporting Healthy Pepper Development
Once your ghost peppers begin forming fruits, focus on providing steady moisture, warmth, and nutrients.
Tips for Better Fruit Growth:
- Mulch around the base of the plant to retain soil moisture and suppress weeds.
- Avoid splashing water on leaves to prevent fungal diseases.
- Stake or cage taller plants to keep them upright under the weight of peppers.
If your plant’s peppers are forming slowly, don’t worry—ghost peppers can take 100–120 days from transplant to fully mature. Patience pays off!
8. Pest and Disease Control
Common pests like aphids, whiteflies, and spider mites may attack ghost pepper plants. Inspect leaves regularly and treat infestations early.
Natural pest control options:

- Spray diluted neem oil once a week.
- Introduce beneficial insects like ladybugs.
- Wipe leaves with a mild soap-water solution.
Diseases such as bacterial spot and powdery mildew can also occur. Avoid overhead watering and rotate crops yearly to minimize risks.
9. Harvesting Ghost Peppers
Ghost peppers are ready to harvest once they reach their mature color—usually red or orange. The longer you leave them on the plant, the hotter they become.
Use pruning shears or scissors to cut the peppers instead of pulling them off. This prevents damage to the plant.
After harvesting, wash your hands thoroughly and avoid touching your face, as the capsaicin can cause intense burning sensations.
Storage Tips:
- Fresh: Store in a cool, dry place or refrigerate for up to two weeks.
- Dried: Dehydrate and store in airtight containers for months.
- Frozen: Freeze whole or chopped for long-term use.
10. Enjoying Your Homegrown Ghost Peppers
You can use ghost peppers fresh in sauces, salsas, and marinades—or dry them for spicy powders and flakes. Always use them sparingly!
For a flavorful hot sauce, blend a few ghost peppers with vinegar, garlic, and salt, then age the mixture for a week to develop a deep, smoky flavor.

Final Thoughts
Growing ghost peppers is an adventure for any gardener who loves bold flavors and unique challenges. From seed to harvest, these fiery plants demand patience, warmth, and care—but the reward is worth it. Once your ghost pepper plant starts forming peppers, you’ll have one of the hottest and most satisfying crops in your garden.
By providing the right conditions—plenty of sun, warmth, and balanced nutrition—you’ll enjoy a steady supply of ghost peppers ready to heat up your kitchen all season long.
Leave A Comment