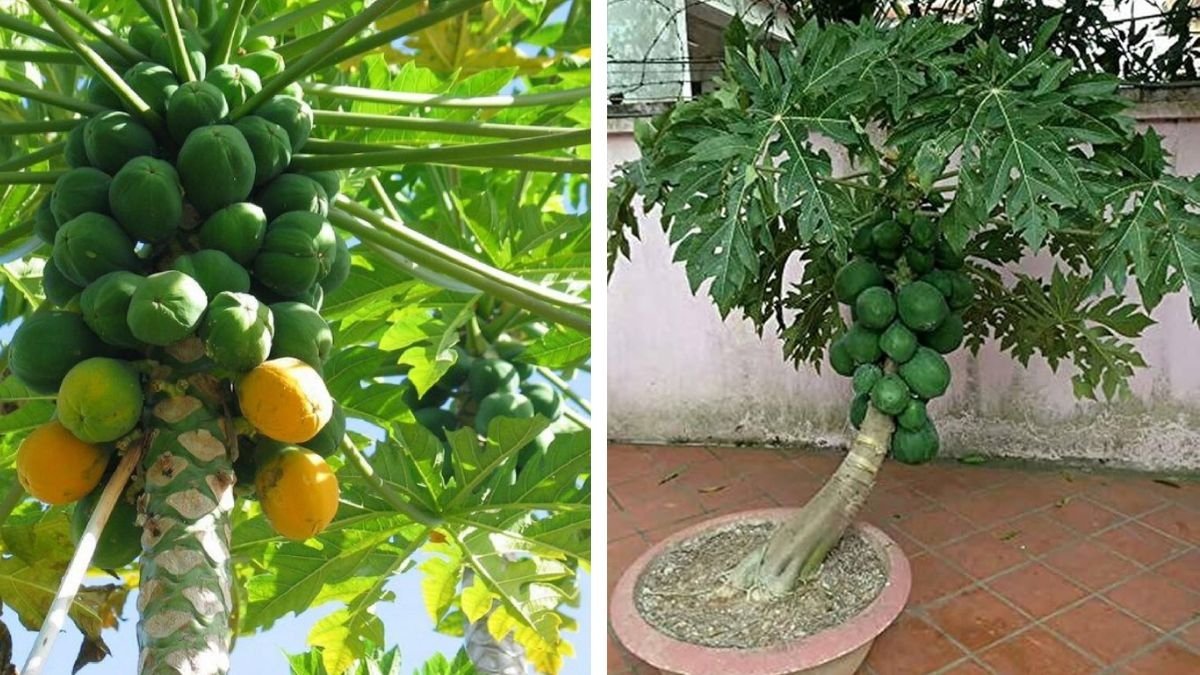
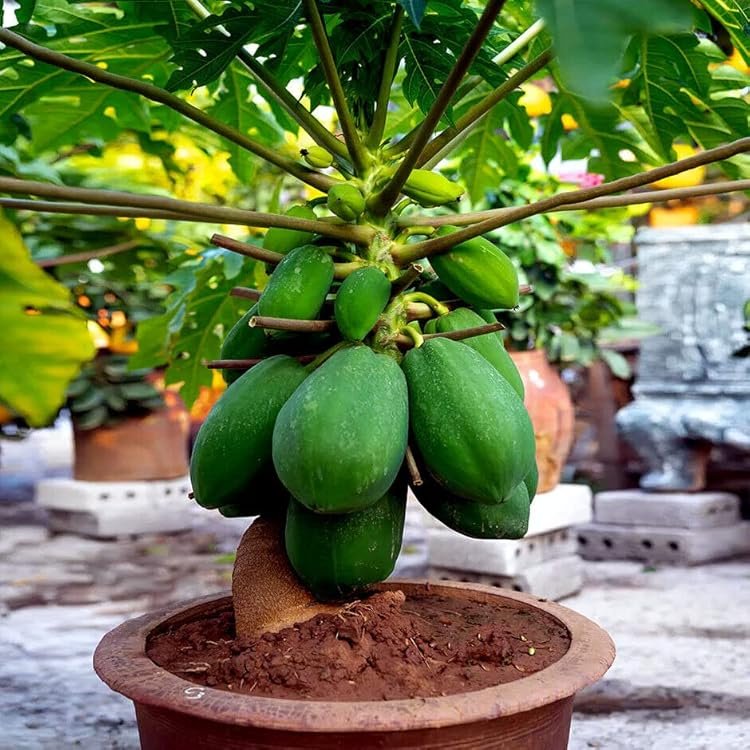
Papayas are one of the most delicious and nutrient-rich tropical fruits, loved for their sweet taste, vibrant orange flesh, and incredible health benefits. The good news? You don’t need a large garden or farm to grow them! With the right care, papaya plants can be successfully grown in containers — even on your balcony, terrace, or small backyard.
In this complete step-by-step guide, we’ll show you how to grow papaya in containers from seeds to harvest, so you can enjoy fresh, homegrown papayas right from your own space. Whether you’re a beginner gardener or someone looking to try something new, this guide will make growing papayas simple, rewarding, and fun.
Why Grow Papaya in Containers?
Papayas are fast-growing, highly productive plants that can thrive in containers with proper care. Growing them in pots is not only space-saving but also allows you to control soil quality, sunlight exposure, and watering easily.
Here’s why container-growing papayas is a great idea:
- Space-saving: Perfect for balconies, rooftops, and small gardens.
- Easier maintenance: You can control pests, drainage, and nutrition better.
- Portable: Move the containers to sunnier spots or protect them during heavy rains or frost.
- Quick results: Papayas grown from seeds can start producing fruit within 8–10 months under ideal conditions.
Now, let’s dive into the detailed process from seed to harvest.
Step 1: Choose and Prepare the Papaya Seeds

The first step is choosing the right papaya variety and preparing the seeds for germination.
You can use seeds from a fresh, ripe papaya fruit — preferably from a locally grown variety. Local varieties adapt better to your regional climate. Avoid hybrid or genetically modified papayas, as their seeds might not produce fruit-bearing plants.
Here’s how to prepare the seeds:
- Scoop out seeds from a ripe papaya fruit.
- Rinse them under running water to remove the sticky pulp.
- Rub them gently with a paper towel to remove the gelatinous coating — this speeds up germination.
- Spread the cleaned seeds on a paper towel and let them dry in shade for 2–3 days.
You can plant the seeds directly after drying or store them in a paper envelope for up to a few weeks.
Step 2: Germinate the Papaya Seeds
To get faster and healthier seedlings, pre-germinating the seeds before planting is a smart move.
Here’s an easy germination method:
- Moisten a paper towel and spread 10–15 seeds on it.
- Fold the towel, keeping the seeds inside, and place it in a zip-lock bag.
- Store it in a warm, dark place (like a kitchen cabinet) for 5–10 days.
- Check every two days to ensure the towel stays moist but not soggy.
You’ll soon notice small white roots emerging — this means your papaya seeds are ready for planting!
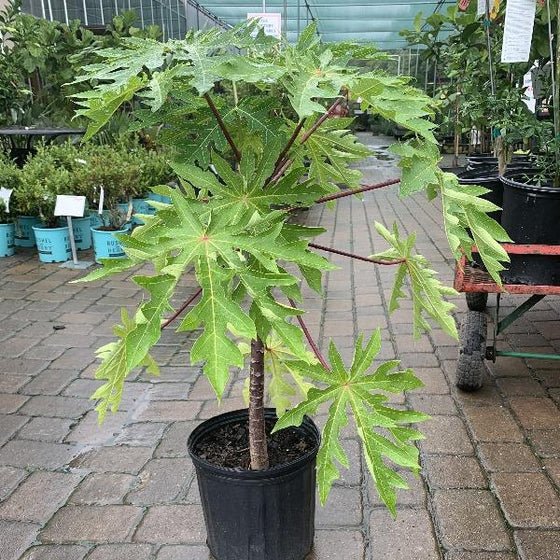
Step 3: Select the Right Container
Papaya plants have a strong taproot system, so they need deep containers for healthy growth.
Ideal container size:
- Minimum 20–24 inches deep and 18 inches wide.
- Material: Plastic tubs, grow bags, clay pots, or old buckets — as long as they have good drainage holes.
You can even repurpose waste containers or paint tubs after cleaning and drilling drainage holes at the bottom.
Step 4: Prepare the Perfect Soil Mix
Papayas love rich, well-draining soil that’s slightly acidic to neutral (pH 6–7).
Recommended soil mix:
- 40% garden soil
- 30% organic compost or cow manure
- 20% cocopeat or sand
- 10% perlite or rice husk for aeration
Mix everything thoroughly before filling your container. This mixture ensures excellent drainage while retaining enough moisture and nutrients for steady growth.
Step 5: Planting the Papaya Seeds
Once your container and soil mix are ready, it’s time to plant the germinated seeds.
Planting steps:
- Fill the container with soil, leaving about 2 inches from the top.
- Make small holes about ½ inch deep.
- Place 3–4 germinated seeds in the center (for better chances of getting a female or hermaphrodite plant).
- Cover lightly with soil and water gently.
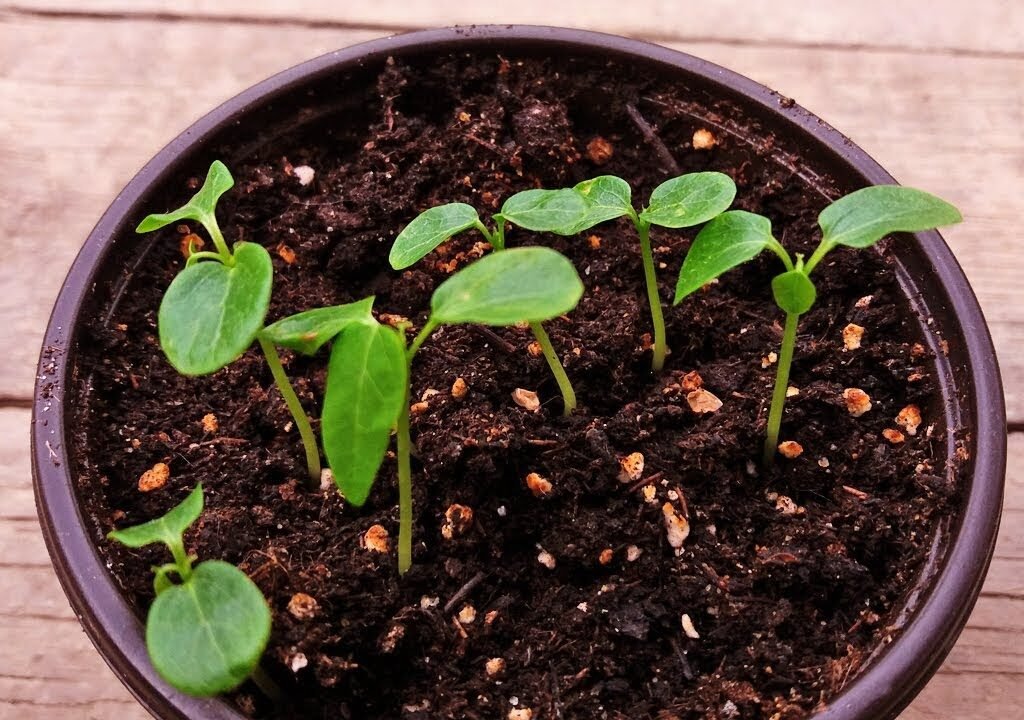
Keep the container in a warm, sunny area where it receives 6–8 hours of direct sunlight daily. Germination usually takes 1–3 weeks.
Once the seedlings reach about 6–8 inches tall, choose the healthiest one and remove the rest.
Step 6: Watering and Sunlight Requirements
Papayas love warmth and moisture but dislike waterlogged conditions. Consistent watering and proper sunlight exposure are key to a thriving plant.
Watering tips:
- Keep the soil slightly moist, especially during germination and early growth.
- Once established, water 2–3 times a week, depending on weather conditions.
- Avoid letting water sit at the base — it can lead to root rot.
Sunlight:
Papayas are tropical plants and need full sunlight for at least 6–8 hours daily. Keep the container in a bright, sunny location — balconies, terraces, or near a south-facing wall are ideal.
Step 7: Feeding Your Papaya Plant
Papayas are heavy feeders and grow rapidly, so they need regular nutrients to stay healthy and productive.
Fertilizing schedule:
- During early growth (first 2 months): Apply organic compost or vermicompost every 3–4 weeks.
- From the third month onward: Feed with a balanced NPK fertilizer (10:10:10) or organic alternatives like banana peel fertilizer, fish emulsion, or compost tea every 4–6 weeks.
- When flowering begins: Switch to a fertilizer rich in phosphorus and potassium to encourage better fruiting.
You can also foliar feed your plant by spraying diluted seaweed or compost tea on the leaves every 2–3 weeks.
Step 8: Supporting and Maintaining the Papaya Plant
Papayas can grow tall (up to 5–8 feet even in containers), so supporting them helps prevent the stem from bending or breaking, especially when fruits start to form.
Maintenance tips:
- Insert a bamboo stick or wooden stake near the plant for support.
- Tie the main stem gently with a soft cloth or twine.
- Remove weeds regularly to prevent competition for nutrients.
- Prune damaged or yellow leaves to promote airflow and prevent fungal infections.
Papayas are self-pollinating if they’re hermaphrodite varieties. If your plant has separate male and female flowers, you might need to hand-pollinate by transferring pollen from the male flower to the female using a small brush.
Step 9: Managing Pests and Diseases
Like most fruit plants, papayas can attract pests such as aphids, mealybugs, and whiteflies.
Natural pest control tips:
- Spray neem oil once every two weeks as a preventive measure.
- Use soap water spray (1 teaspoon of mild soap in 1 liter of water) for small infestations.
- Keep the area around the plant clean and remove fallen leaves to reduce fungal problems.
Papaya plants can also suffer from fungal leaf spots or root rot. Ensure proper drainage and avoid overwatering to prevent these issues.
Step 10: Flowering and Fruit Formation
Papaya plants usually begin flowering within 5–6 months after planting, depending on growing conditions.
Types of flowers:
- Male flowers: Appear in clusters and do not produce fruit.
- Female flowers: Appear singly and have a small bulge at the base (the future fruit).
- Hermaphrodite flowers: Contain both male and female parts — ideal for container growing.
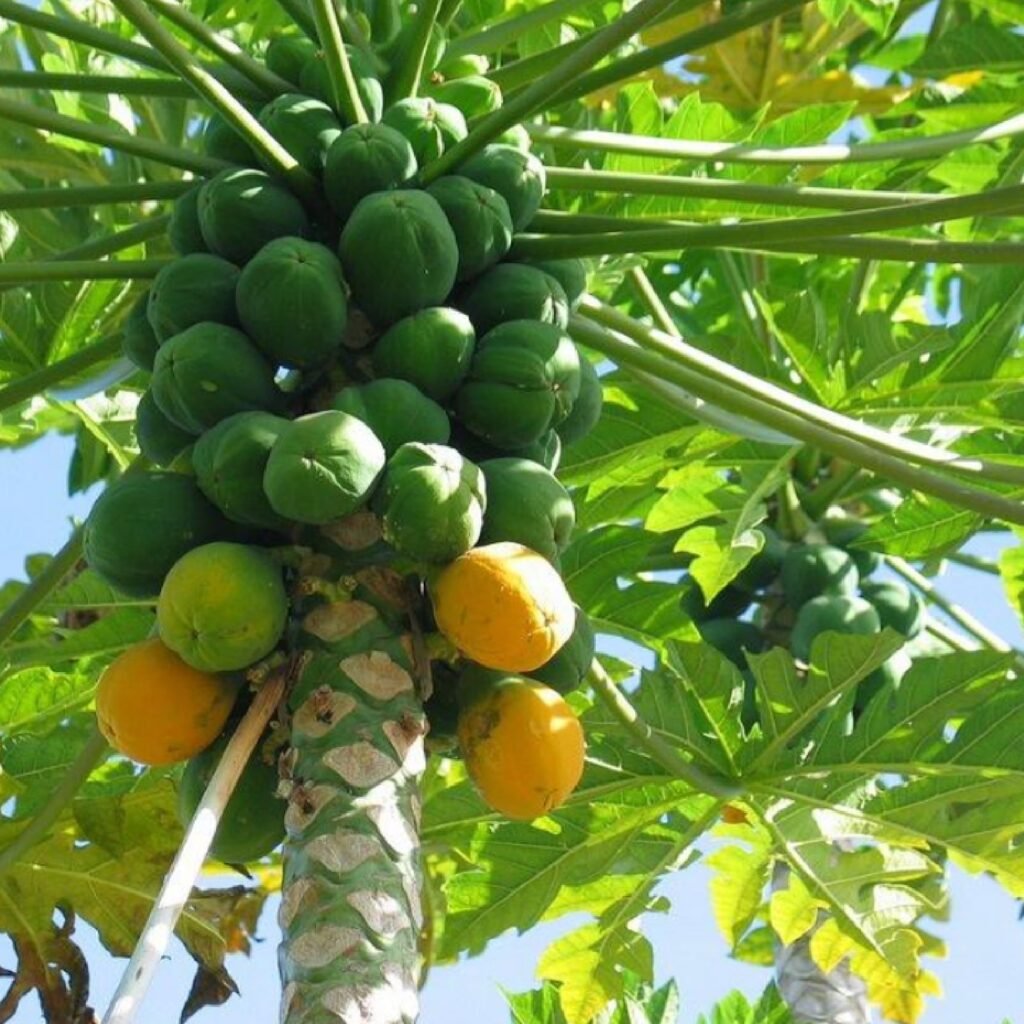
Once pollinated, small green fruits will start developing. These will grow larger and turn golden yellow as they ripen.
Step 11: Harvesting Your Homegrown Papayas
Papayas usually take around 8–10 months from seed to harvest in containers. You’ll know it’s time to harvest when the fruit turns yellow-orange and feels slightly soft to the touch.
Harvesting tips:
- Cut the fruit carefully with a knife, leaving a short stalk attached.
- Handle gently to avoid bruising.
- Store at room temperature to ripen completely if needed.
One healthy papaya plant can yield 15–30 fruits in a single growing cycle, depending on variety and care.

Step 12: Rejuvenating and Propagating Your Papaya Plant
After a few harvests, the plant’s productivity may decline. You can easily grow new plants using seeds from your best fruits or cuttings from side shoots.
To keep your container papaya garden going:
- Replace old soil every season.
- Add compost to maintain fertility.
- Reuse containers by planting new seedlings.
This cycle ensures a steady supply of fresh papayas year after year.
Bonus Tips for Success
- Choose dwarf or hybrid varieties like ‘Red Lady’ for container growing.
- Avoid moving the pot frequently once the plant starts flowering.
- Protect your plant from strong winds or heavy rain using a shade net.
- During winter, place the container in a warmer spot or indoors near a sunny window.
Final Thoughts
Growing papayas in containers from seeds to harvest is easier than you might think — all it takes is patience, sunlight, and a bit of love. From watching the first seed sprout to enjoying your own sweet, juicy papayas, the journey is deeply satisfying and rewarding.
You’ll not only enjoy the fruits of your labor but also add a touch of tropical greenery to your home garden. Whether you’re gardening on a balcony or rooftop, papayas are the perfect addition to your edible paradise.
So, the next time you eat a ripe papaya, don’t throw away those seeds — plant them! With this easy guide, you’ll be on your way to growing your very own papayas in containers — from seed to harvest.
Leave A Comment