
If you’ve ever tasted the creamy, custard-like flavor of a ripe Cherimoya (also known as the custard apple), you know why it’s often called the most delicious fruit in the world. Its tropical aroma, smooth texture, and sweet taste make it a must-have for any home gardener who loves exotic fruits. However, growing cherimoya from seed can sometimes be tricky — the seeds are slow to germinate and require specific conditions.
But don’t worry! In this guide inspired by Toni’s Organic Vegetable Garden, we’ll walk you through the fastest and most effective way to germinate cherimoya seeds at home. You’ll also learn how to care for the seedlings, transplant them successfully, and eventually enjoy your very own homegrown cherimoya tree.
What Is Cherimoya?
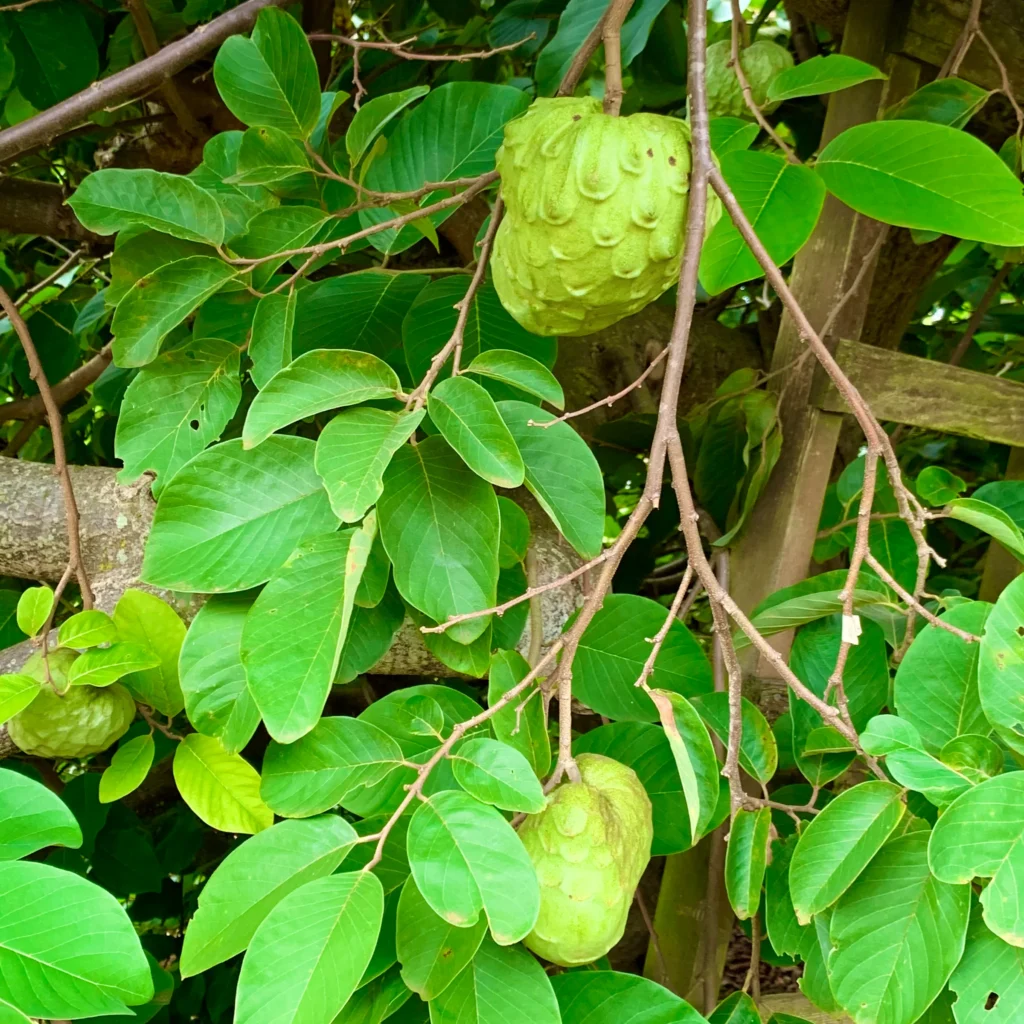
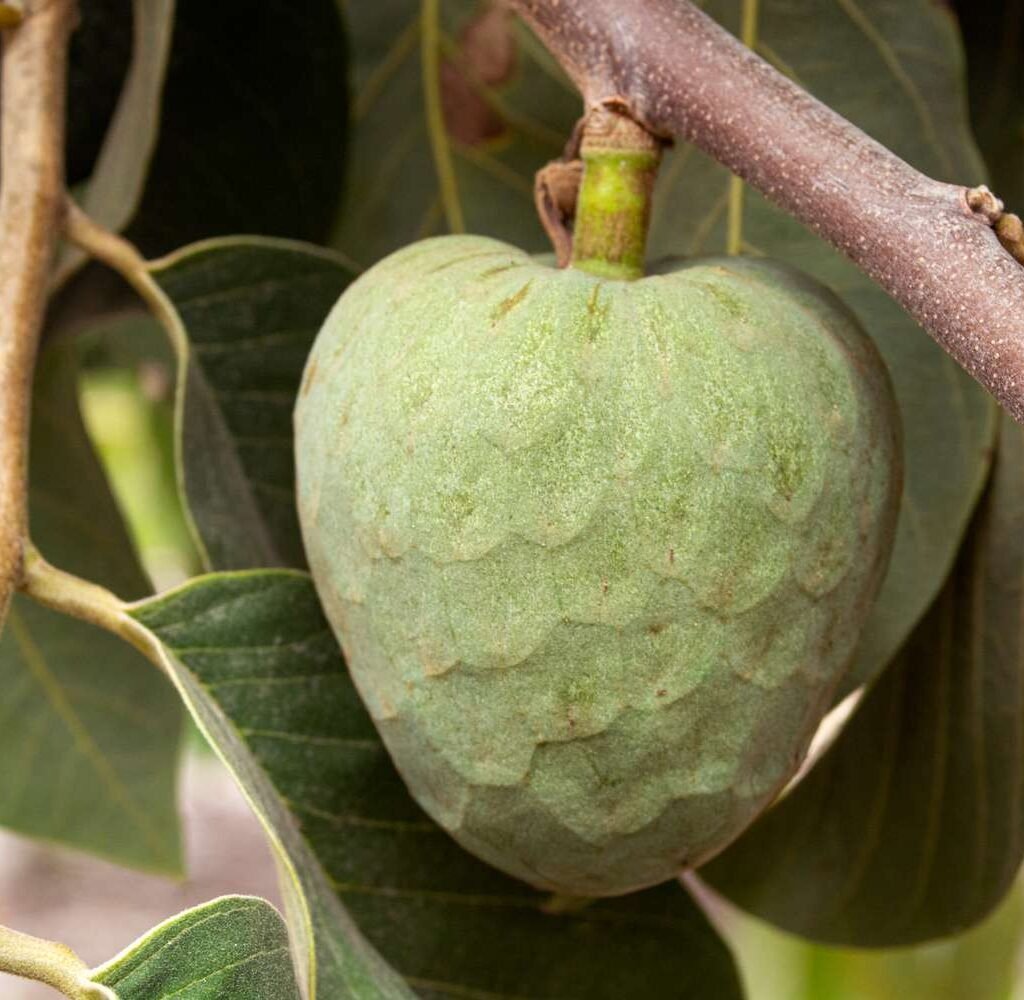
Cherimoya (Annona cherimola) is a subtropical fruit tree native to South America, especially the highlands of Peru and Ecuador. It belongs to the Annonaceae family — the same as soursop (Annona muricata) and sugar apple (Annona squamosa). The tree produces heart-shaped fruits with a green scaly skin and a creamy, custard-like flesh filled with large black seeds.
Cherimoya thrives in mild, frost-free climates, making it ideal for warm regions or as a potted plant for indoor gardeners in cooler areas. It’s not only delicious but also packed with nutrients like vitamin C, B6, potassium, and fiber.
Collecting and Preparing the Seeds
The first step is to collect high-quality seeds. You can do this from a ripe, healthy cherimoya fruit — preferably one that’s organically grown. Gently scoop out the seeds, wash them thoroughly under running water, and remove any clinging pulp. The pulp can contain germination inhibitors, so ensure they’re completely clean.
After cleaning, dry the seeds in the shade for 2–3 days. Do not dry them in direct sunlight, as this can reduce their viability. Once dry, the seeds are ready for the next crucial step — pre-treatment.
The Secret to Fast Germination — Pre-Treatment

Cherimoya seeds have a tough outer shell that naturally delays germination. Without pre-treatment, germination can take up to 3 months! But with this amazing method, you can speed up the process and see results in as little as 10–15 days.
Here’s the proven fast germination method:
- Scarification:
Gently nick the seed coat with a nail file or sandpaper. Be careful not to damage the inner embryo — you just want to scratch the surface enough to allow moisture to penetrate. - Soaking:
After scarifying, soak the seeds in warm water (about 40°C or 104°F) for 24 hours. This softens the outer shell and activates the embryo inside. - Paper Towel Method:
Place the soaked seeds on a damp paper towel, fold it over, and put it inside a zip-lock plastic bag. Seal it to retain moisture. - Warm Environment:
Keep the bag in a warm, dark place — ideally between 25–30°C (77–86°F). You can place it on top of your refrigerator or near a warm window sill. - Observation:
Within 10–15 days, you’ll notice small roots emerging from the seeds. At this stage, they’re ready to be planted in soil.
This simple yet effective process mimics natural germination conditions while drastically reducing waiting time.
Planting the Germinated Seeds
Once your cherimoya seeds sprout, it’s time to plant them in small pots. Use a well-draining, fertile soil mix — a combination of garden soil, compost, and sand (in equal parts) works perfectly.
Planting Steps:
- Fill each pot with the soil mix, leaving about 1 inch from the top.
- Make a small hole about 1 inch deep.
- Place the germinated seed with the root facing downward.
- Cover lightly with soil and water gently to keep it moist.
Keep the pots in a warm, partially shaded area. Avoid direct sunlight during the first few weeks, as young seedlings can be delicate.
Water regularly but don’t overwater. The soil should be moist but never soggy — cherimoya roots dislike standing water.
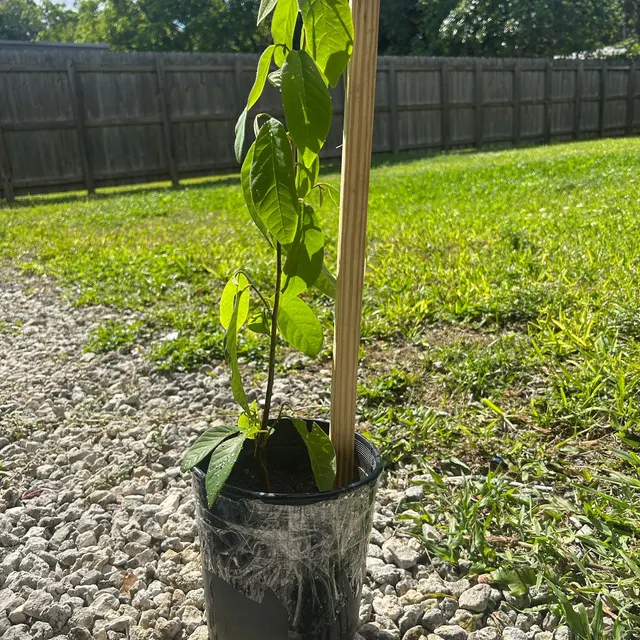
Caring for Young Cherimoya Seedlings
After about 2–3 weeks, your cherimoya seedlings will develop their first true leaves. At this point, they’ll start growing more vigorously.
Key Care Tips:

- Sunlight: Gradually expose the seedlings to more sunlight as they grow stronger. Mature cherimoya plants need at least 6 hours of direct sunlight daily.
- Watering: Maintain consistent moisture but allow the soil to dry slightly between watering.
- Temperature: Cherimoya thrives in temperatures between 20–28°C (68–82°F). Protect young plants from cold winds or frost.
- Fertilizer: Feed your seedlings every 2–3 weeks with a balanced organic fertilizer or compost tea to promote healthy growth.
As the seedlings reach 8–12 inches in height, they’ll be ready for transplanting.
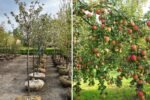
Transplanting Cherimoya to the Ground or Large Pots

When your cherimoya seedlings outgrow their small pots, you can transplant them either into larger containers or directly into the ground. Choose a location that receives plenty of sunlight and has well-draining soil.
Transplanting Steps:
- Dig a hole twice the size of the root ball.
- Carefully remove the seedling from its pot without disturbing the roots.
- Place it in the hole, ensuring the top of the root ball is level with the soil surface.
- Backfill with soil and gently press down to eliminate air pockets.
- Water thoroughly after planting.
If growing in containers, use a 20–25 liter pot with drainage holes. Container-grown cherimoya trees are easier to move indoors during colder months.
Encouraging Growth and Flowering
Cherimoya trees usually begin to flower and fruit within 3–4 years when grown from seed. However, you can speed up this process with consistent care.
Tips for Faster Growth and Fruiting:
- Pruning: Regularly prune your tree to shape it and remove dead or crossing branches. This improves air circulation and encourages new growth.
- Pollination: Cherimoya flowers are both male and female but open at different times. Hand pollination using a small brush can significantly increase fruit set.
- Mulching: Apply organic mulch around the base to retain soil moisture and regulate temperature.
- Protection: Keep an eye out for pests like aphids and scale insects. Use organic neem oil or insecticidal soap if needed.
Harvesting and Enjoying Your Cherimoya
When your cherimoya tree starts fruiting, patience will be rewarded. The fruits are ready to harvest when they change from dark green to light green and yield slightly to pressure. Do not wait until they fall — pick them and let them ripen indoors at room temperature.
Once ripe, the flesh becomes soft and fragrant. Scoop it out with a spoon and enjoy its rich, tropical sweetness. You can also use it in smoothies, desserts, or even ice creams.
Conclusion
Growing cherimoya from seeds doesn’t have to be a long, uncertain process. With Toni’s organic method — scarification, soaking, and warm paper towel germination — you can sprout healthy cherimoya seeds in just two weeks!
By following these simple steps, providing proper care, and nurturing your seedlings with patience, you’ll soon have a thriving cherimoya tree right at home. Whether you grow it in your backyard or a large container, this tropical delight will reward you with its unmatched flavor and beauty.

Leave A Comment