
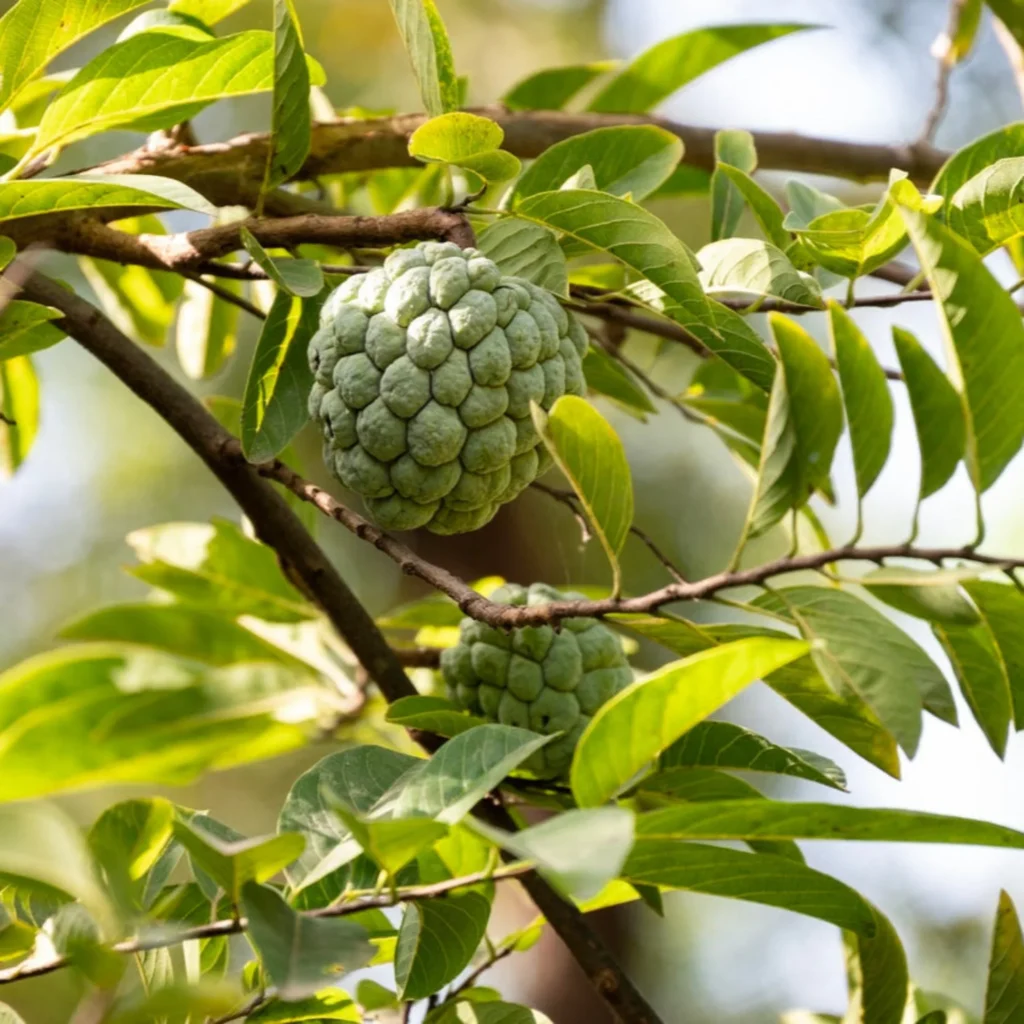
The sugar apple (Annona squamosa), also known as sitaphal or sweetsop, is one of the most delightful tropical fruits you can grow right in your backyard or garden. With its scaly green exterior and creamy, sweet flesh that tastes like custard and vanilla, this fruit is a favorite among home gardeners across tropical and subtropical regions.
If you’ve ever wondered how to grow sugar apples — whether from seeds or seedlings — this detailed guide will walk you through everything you need to know, from seed germination to harvesting juicy fruits. Let’s dive into the world of sugar apple cultivation and learn how you can successfully grow this tropical gem at home.
Understanding the Sugar Apple Tree
The sugar apple belongs to the Annonaceae family and is closely related to cherimoya, soursop, and atemoya. Native to tropical America, it thrives in warm climates and well-drained soil. The tree is small to medium-sized, reaching 10 to 20 feet in height, with spreading branches and bright green leaves.
Sugar apple fruits are round to heart-shaped and covered with knobby segments. When ripe, the fruit turns soft and slightly yellowish-green, revealing creamy white pulp filled with glossy black seeds.
The flavor is rich, sweet, and custard-like — which is why it’s also known as the “custard apple.”
Step 1: Seed Selection and Preparation

To begin your sugar apple growing journey, start with fresh, mature seeds from a fully ripe fruit. Older or dried seeds have lower germination rates, so always choose recently harvested ones.
How to prepare sugar apple seeds for planting:
- Extract the seeds from a ripe fruit and wash them thoroughly to remove all pulp.
- Dry the seeds in a shaded area for 2–3 days. Avoid direct sunlight as it may damage the seed embryo.
- Scarify the seeds by lightly rubbing them with sandpaper or nicking the seed coat with a knife tip. This helps water penetrate and speeds up germination.
- Soak the seeds in warm water for 24 hours before planting. This softens the seed coat and stimulates early sprouting.
With proper preparation, sugar apple seeds usually germinate within 3–4 weeks, though pre-treatment can reduce this to about 10–14 days.
Step 2: Germinating Sugar Apple Seeds
Germination is one of the most exciting steps in growing sugar apples. You can germinate them in seed trays, pots, or even using the paper towel method.
Best Germination Method (Fast & Simple):
- Moisten a paper towel and place the soaked seeds inside.
- Fold the towel, put it in a plastic zip-lock bag, and seal it.
- Store the bag in a warm, dark place (around 25–30°C or 77–86°F).
- Check every few days to make sure the towel stays moist but not soaked.
Within 10–15 days, the seeds will sprout small roots. Once you see this, they are ready for potting.
Step 3: Preparing the Ideal Soil Mix
Sugar apples prefer well-draining, sandy loam soil with a pH between 6.0 and 7.5. Heavy clay soil should be avoided, as it retains too much water and can lead to root rot.
You can create the perfect soil mix at home using:
- 40% garden soil
- 30% coarse sand or perlite (for drainage)
- 30% compost or organic matter
Mix well before filling your seedling pots. This combination encourages strong root development and healthy early growth.
Step 4: Planting Sugar Apple Seeds
Once your seeds have sprouted, plant them about 1 inch deep in individual pots. Place the sprouted root facing downward and cover lightly with soil.
Water gently to moisten the soil, but do not overwater. The young roots are delicate and can easily rot in soggy soil.
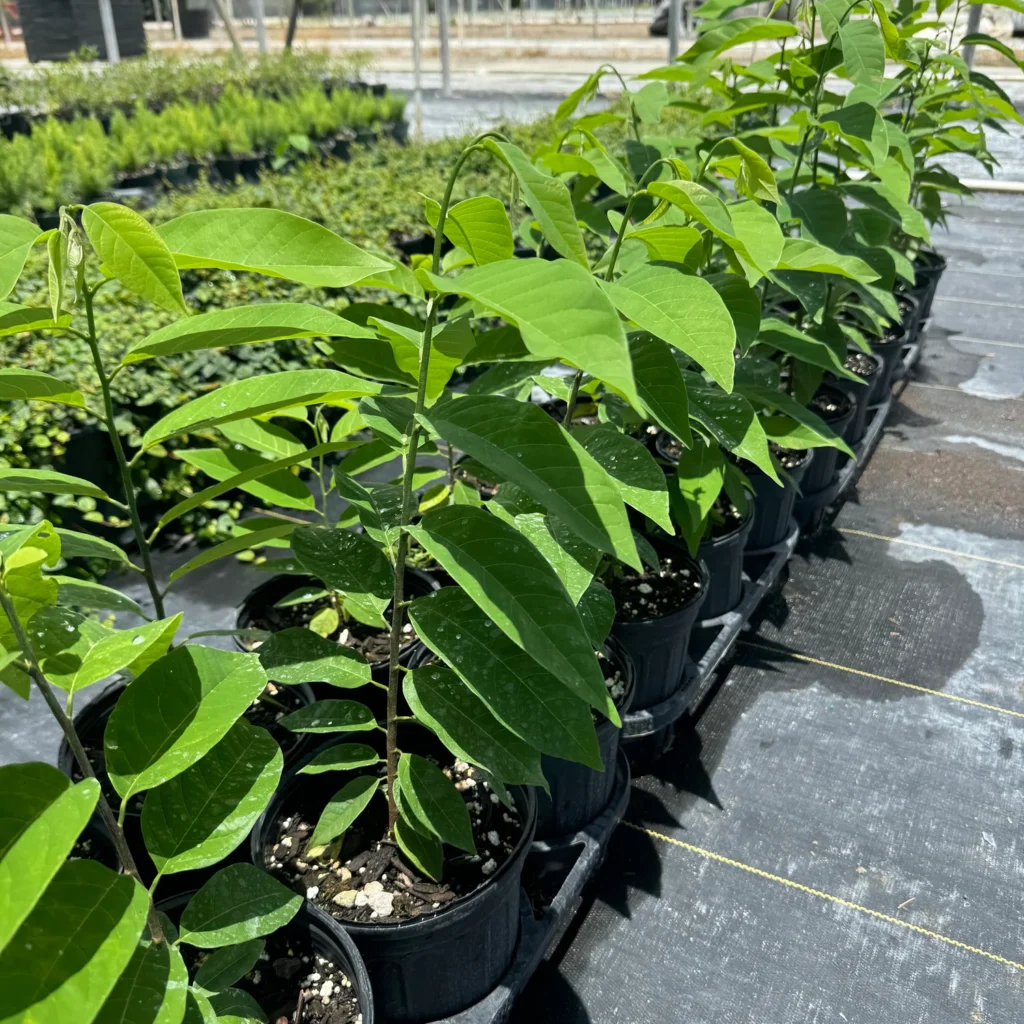
Keep the pots in a warm, partially shaded area where they receive bright, indirect sunlight. Within a few weeks, small seedlings will appear, growing into sturdy young plants ready for transplantation.
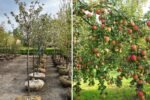
Step 5: Transplanting Seedlings to the Ground
When the sugar apple seedlings reach 8–12 inches in height and have at least 4–6 true leaves, they’re ready to be transplanted.
Transplanting Steps:
- Choose a sunny location that receives at least 6 hours of sunlight daily.
- Dig a hole about 2 feet wide and 2 feet deep.
- Mix compost or well-rotted manure into the soil at the base of the hole.
- Carefully remove the seedling from its pot, keeping the root ball intact.
- Place it in the hole, fill it with soil, and press gently around the base.
- Water thoroughly to help the plant settle in.
If planting multiple trees, keep them at least 10–15 feet apart to allow proper air circulation and growth.
Step 6: Watering and Irrigation

Sugar apple trees are drought-tolerant once established but need consistent moisture during the early stages of growth and fruiting.

- Young plants: Water 3–4 times a week to keep the soil evenly moist.
- Mature trees: Water deeply once or twice a week.
- Fruiting stage: Reduce watering slightly when fruits start maturing to enhance sweetness and prevent splitting.
A drip irrigation system or recycled plastic bottle irrigation can be an efficient way to provide slow, steady moisture directly to the roots without water wastage.
Step 7: Fertilizing for Maximum Growth
Sugar apples love rich, organic soil. Feeding your tree regularly ensures healthy foliage, flowers, and fruits.
Fertilizer schedule:
- Apply organic compost or cow manure every 2–3 months during the growing season.
- Use a balanced NPK fertilizer (10-10-10) twice a year for steady growth.
- During flowering and fruiting, supplement with potassium-rich fertilizer to improve fruit flavor and yield.
Mulching with dry leaves or straw around the base helps retain soil moisture and keeps weeds under control.
Step 8: Pollination and Fruit Development
Sugar apple flowers are small, greenish-yellow, and appear on new growth. Each flower contains both male and female parts but blooms at different times, making hand pollination beneficial for higher fruit set.
How to hand-pollinate:
- In the morning, collect pollen from male-stage flowers using a soft brush.
- In the afternoon, gently transfer the pollen onto the female-stage flowers.
This simple technique can double or triple fruit production in home gardens.
Once pollinated, the flowers develop into fruits over 3–4 months. Fruits mature when they turn slightly yellow-green and the segments begin to separate slightly.
Step 9: Harvesting Sugar Apples
Sugar apples are usually ready for harvest 3–4 years after planting (if grown from seed) or earlier if grafted plants are used.
Signs of ripeness:
- The fruit changes from dark green to lighter green.
- The scale-like sections begin to spread apart.
- The fruit softens slightly when pressed.
Harvest by cutting the fruit with scissors or pruning shears instead of pulling. Handle with care — ripe sugar apples bruise easily.
After harvesting, allow them to ripen fully indoors for 1–2 days until soft and fragrant. Then, enjoy the luscious, creamy sweetness right from the fruit!
Step 10: Pruning and Maintenance
Regular pruning keeps your sugar apple tree healthy, compact, and productive.
- Remove dead or diseased branches to improve airflow.
- Prune after harvest to encourage new growth.
- Maintain a manageable height (around 8–10 feet) for easy harvesting.
Watch out for pests like mealybugs, aphids, and fruit borers. Treat infestations with organic neem oil spray once every 2 weeks during the growing season.

Benefits of Growing Sugar Apples
Beyond their delicious flavor, sugar apples offer numerous health benefits. They’re rich in:
- Vitamin C, which boosts immunity.
- Magnesium and potassium, which support heart health.
- Dietary fiber, which aids digestion.
- Antioxidants, which protect against cell damage.
Growing your own sugar apples ensures you enjoy these benefits naturally, without chemical residues found in store-bought fruits.
Conclusion
Learning how to grow sugar apples is a deeply rewarding experience. With patience, proper care, and attention to detail, you can transform a simple seed into a thriving fruit-bearing tree that delights your taste buds for years.
From seed selection and germination to transplanting, watering, and pollination, each step brings you closer to harvesting those creamy, sweet, custard-like fruits right from your garden.
So, whether you have a backyard, terrace, or balcony — start planting today. Once your sugar apple tree matures and produces its first crop, you’ll savor the joy of enjoying tropical sweetness straight from nature’s bounty — grown by your own hands!
Leave A Comment