There’s something deeply satisfying about planting a fruit tree—especially one as timeless and delicious as the Bartlett pear. Known for its sweet, aromatic flavor and buttery texture, the Bartlett is the world’s most popular pear variety, cherished by home gardeners and orchardists alike.
When you plant a Bartlett pear tree, you’re not just adding beauty and shade to your garden—you’re investing in years of abundant harvests, spring blossoms, and a living legacy that grows sweeter with time.
Inspired by the idea behind “Let’s Plant a Bartlett Pear Tree”, this article walks you through every step of the process—from choosing your planting site to nurturing your young tree into a productive fruit bearer. Whether you’re new to gardening or an experienced grower, you’ll find everything you need to start your own Bartlett pear journey.
1. The Legacy of the Bartlett Pear
The Bartlett pear (Pyrus communis ‘Williams’ Bon Chrétien) has a rich and storied history. Originally bred in England in the late 1700s, it was brought to the United States and renamed “Bartlett” after Enoch Bartlett, a Massachusetts nurseryman who unknowingly popularized it under his own name.
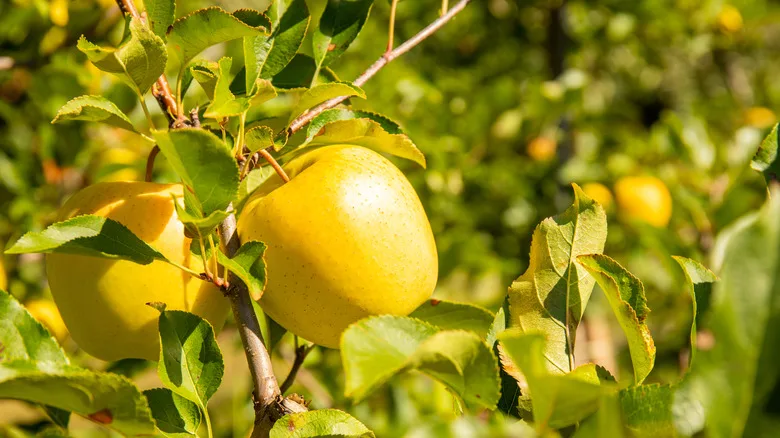
Today, the Bartlett pear remains the gold standard for both fresh eating and canning. Its golden-yellow skin, tender white flesh, and sweet fragrance make it instantly recognizable. When ripe, it offers a honeyed juiciness that’s nearly unmatched in the pear world.
It’s not only delicious but also a vigorous and reliable grower, making it a favorite for home orchards across temperate regions.
2. Choosing the Right Location for Your Pear Tree
Before you grab a shovel, take some time to choose the perfect spot for your Bartlett pear tree. The right environment will ensure healthy growth, strong structure, and plentiful fruit production.
a. Sunlight
Bartlett pears thrive in full sun—at least 6–8 hours of direct sunlight daily. More sunlight means better flower development, stronger branches, and sweeter fruit.
b. Soil
Pear trees prefer well-drained loamy soil that’s rich in organic matter. Avoid planting in heavy clay or waterlogged areas. Ideal soil pH ranges from 6.0 to 7.0.
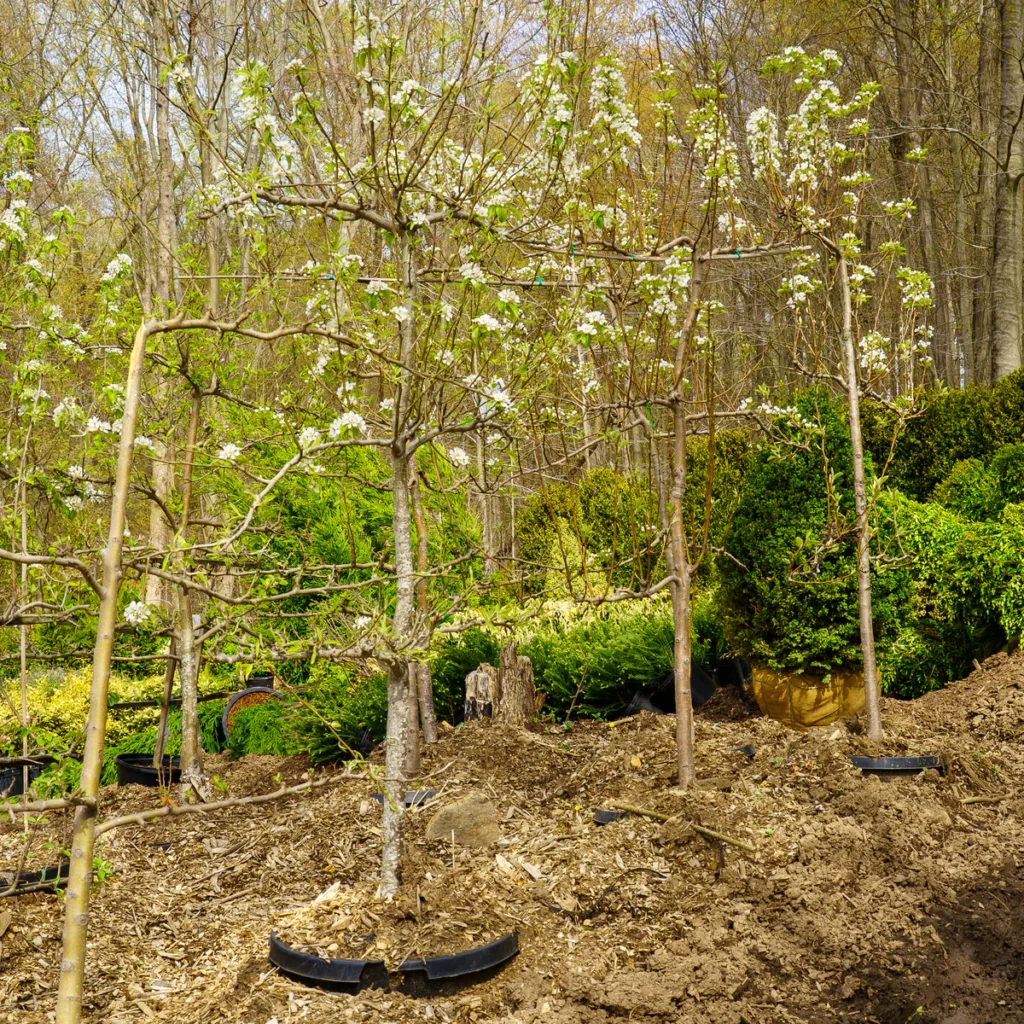
c. Space
Even semi-dwarf Bartlett trees can reach 12–15 feet tall, while standard trees may grow up to 25 feet. Ensure adequate spacing—about 15–20 feet apart—to allow airflow and sunlight to reach every branch.
d. Drainage
If your soil tends to hold water, plant your tree on a slight mound or raised bed. Good drainage prevents root rot and encourages strong, healthy root development.
3. Preparing to Plant Your Bartlett Pear Tree
Proper preparation sets your tree up for decades of healthy growth.
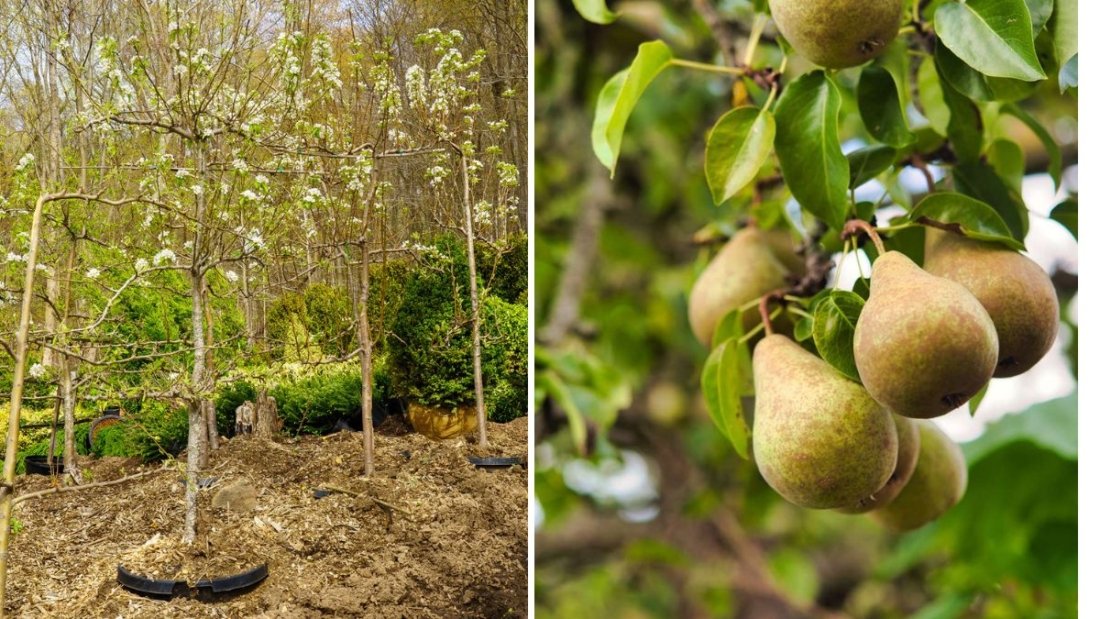
a. When to Plant
The best time to plant a Bartlett pear tree is during early spring or late fall, when the tree is dormant. This allows the roots to establish before the heat of summer or the chill of winter.
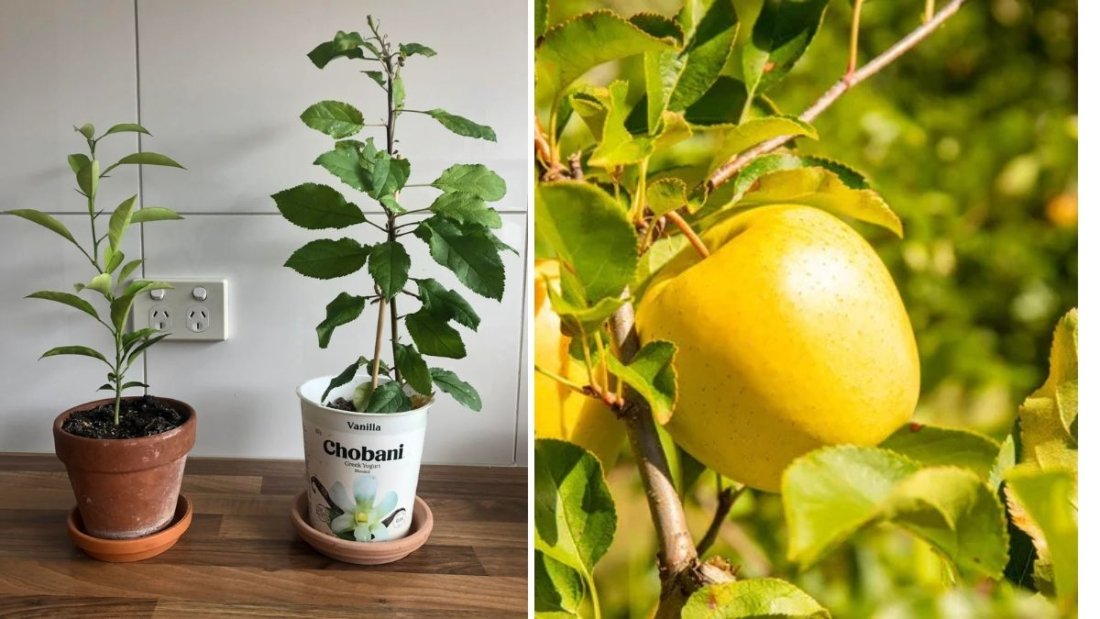
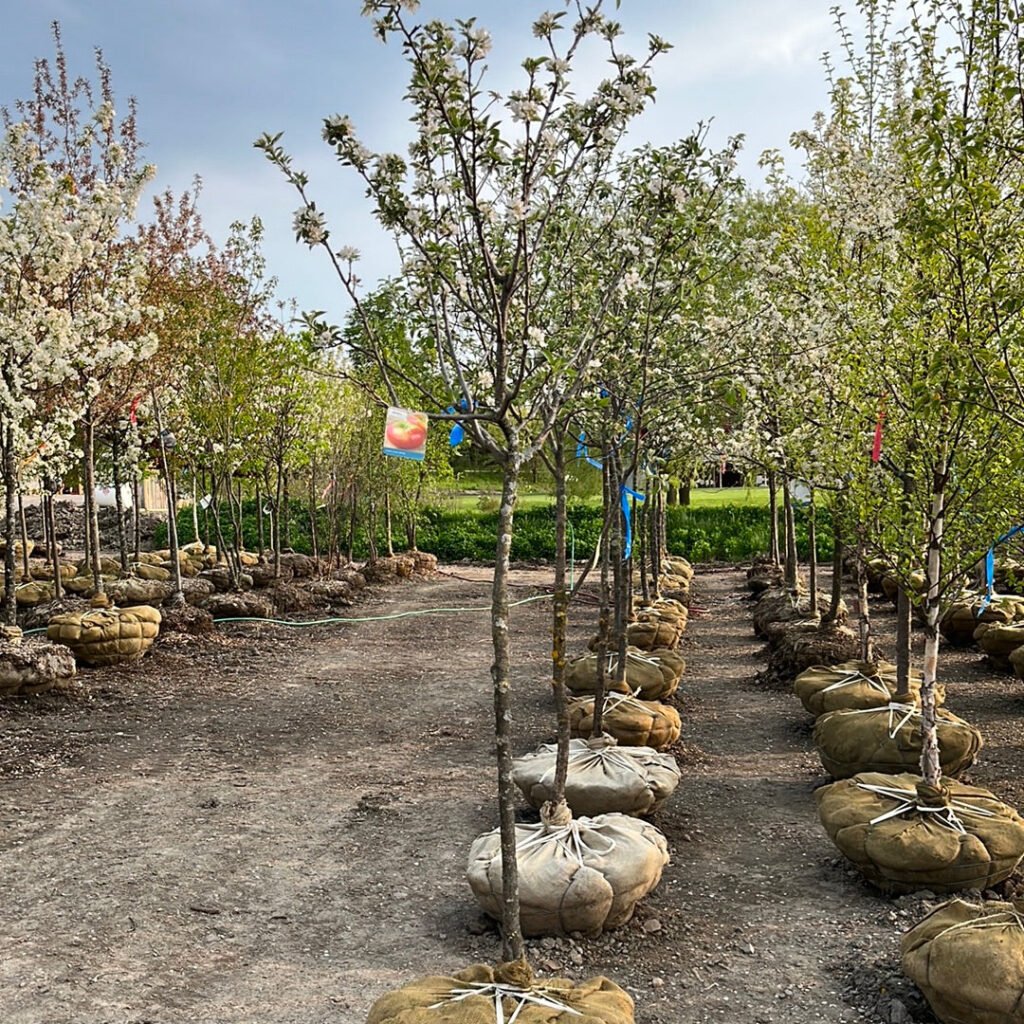
b. Choosing the Right Tree
Buy a young, disease-free tree from a reputable nursery. Bartlett pears come in several rootstock types:
- Standard: Full-size trees, long-lived and high-yielding.
- Semi-dwarf: Manageable size for home gardens, around 12–15 feet tall.
- Dwarf: Great for small yards or container growing, typically 8–10 feet tall.
Look for a tree with healthy roots and a well-developed central leader (main stem).
c. Preparing the Hole
- Dig a hole about twice as wide and as deep as the root ball.
- Loosen the surrounding soil to encourage root expansion.
- Mix in some compost or aged manure to enrich the soil, but don’t over-fertilize at planting time.
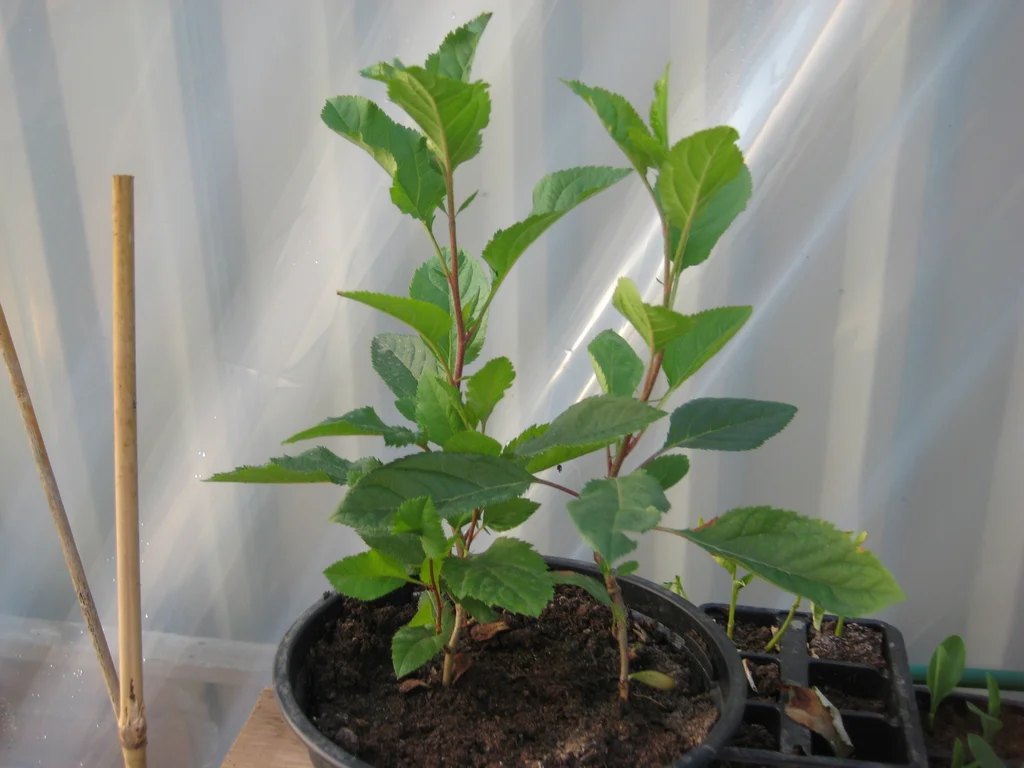
4. Step-by-Step: How to Plant a Bartlett Pear Tree
Now comes the exciting part—putting your tree into the ground!
- Position the Tree:
Place the tree in the center of the hole, making sure the graft union (the swollen part near the base) sits about 2 inches above the soil line. - Backfill the Hole:
Fill the hole halfway with soil, gently tamping it to remove air pockets. Add water to help the soil settle, then continue filling until the hole is level with the surrounding ground. - Water Deeply:
After planting, give your new tree a generous soaking to help roots establish contact with the soil. - Mulch the Base:
Spread a 2–3 inch layer of mulch (wood chips or straw) around the tree to retain moisture and suppress weeds—but keep mulch a few inches away from the trunk. - Stake if Necessary:
Young trees may need staking for support, especially in windy areas. Use soft ties and remove the stake after one growing season.
5. Pollination: Ensuring a Fruitful Harvest
Bartlett pears are partially self-fertile, meaning they can produce some fruit on their own, but yields improve dramatically with a pollination partner. Plant another compatible pear variety within 50–100 feet to encourage cross-pollination.
Good pollinator partners include:
- Bosc
- Anjou
- Comice
- Seckel
Bees are essential pollinators for pear trees, so avoid using pesticides during bloom and consider planting bee-friendly flowers nearby.
6. Watering and Feeding Your Young Tree
Consistent moisture is key for establishing strong roots, especially during the first two years.
Watering:
- First Year: Water deeply once or twice a week, depending on weather.
- After Establishment: Water during dry periods or when the top few inches of soil feel dry.
Avoid shallow, frequent watering—it encourages weak surface roots.
Fertilizing:
- In early spring, apply a balanced fertilizer (10-10-10) or an organic compost tea.
- Avoid over-fertilizing, as too much nitrogen can cause excessive leafy growth and fewer fruits.
7. Pruning and Training Your Bartlett Pear Tree
Pruning is vital for shaping your tree, improving air circulation, and maintaining fruit quality.
a. When to Prune
- Winter (Dormant Pruning): Remove dead, diseased, or crossing branches.
- Summer Pruning: Lightly trim to control shape and size.
b. Training
Use the central leader system, where one main trunk supports evenly spaced branches. Aim for a strong, open structure that allows sunlight to reach all parts of the tree.
c. Thin the Fruit
Once your tree starts bearing, thin clusters to one or two pears per spur. This prevents limb breakage and improves fruit size and flavor.
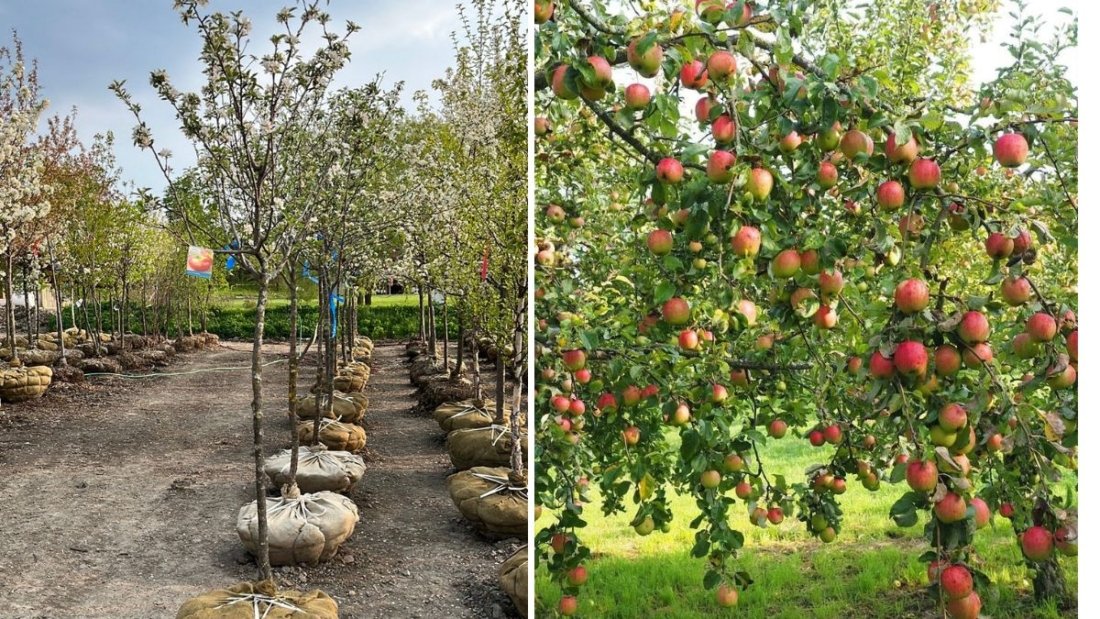
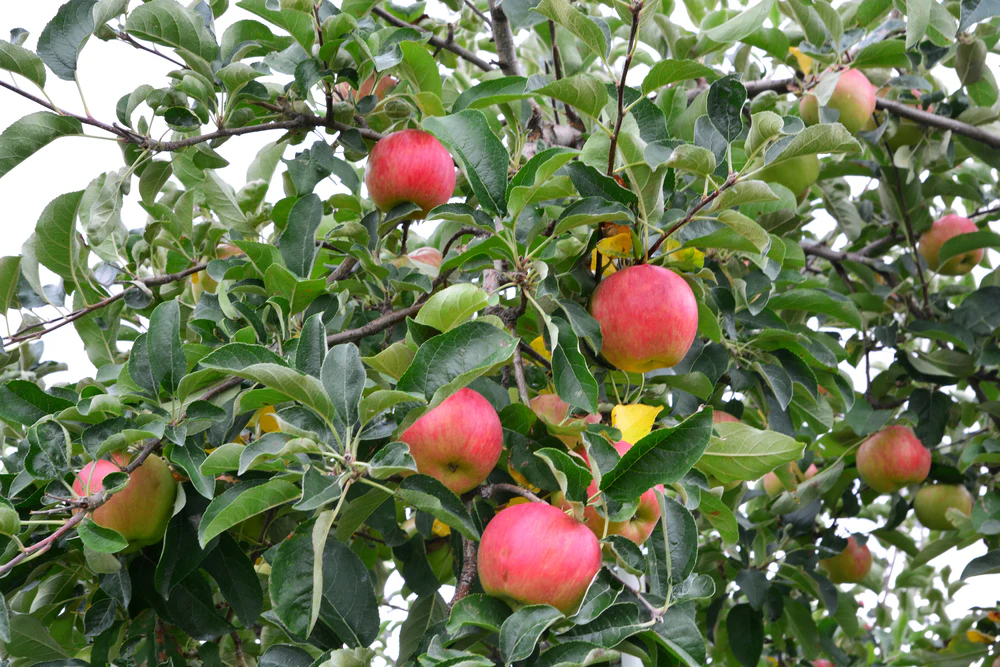
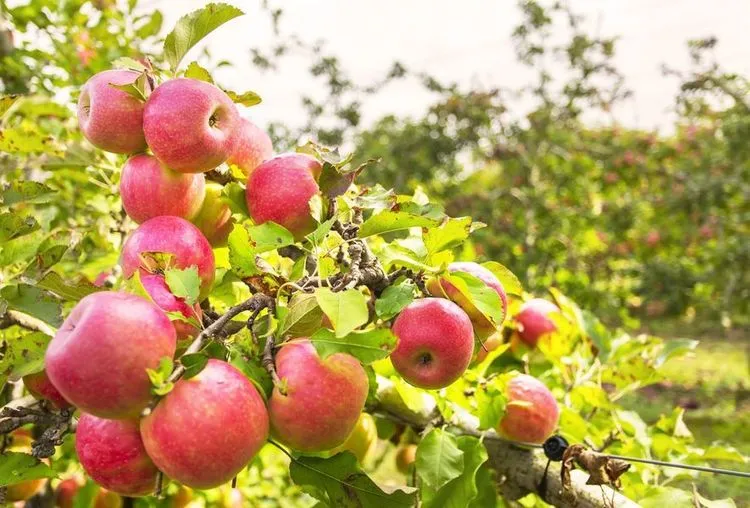
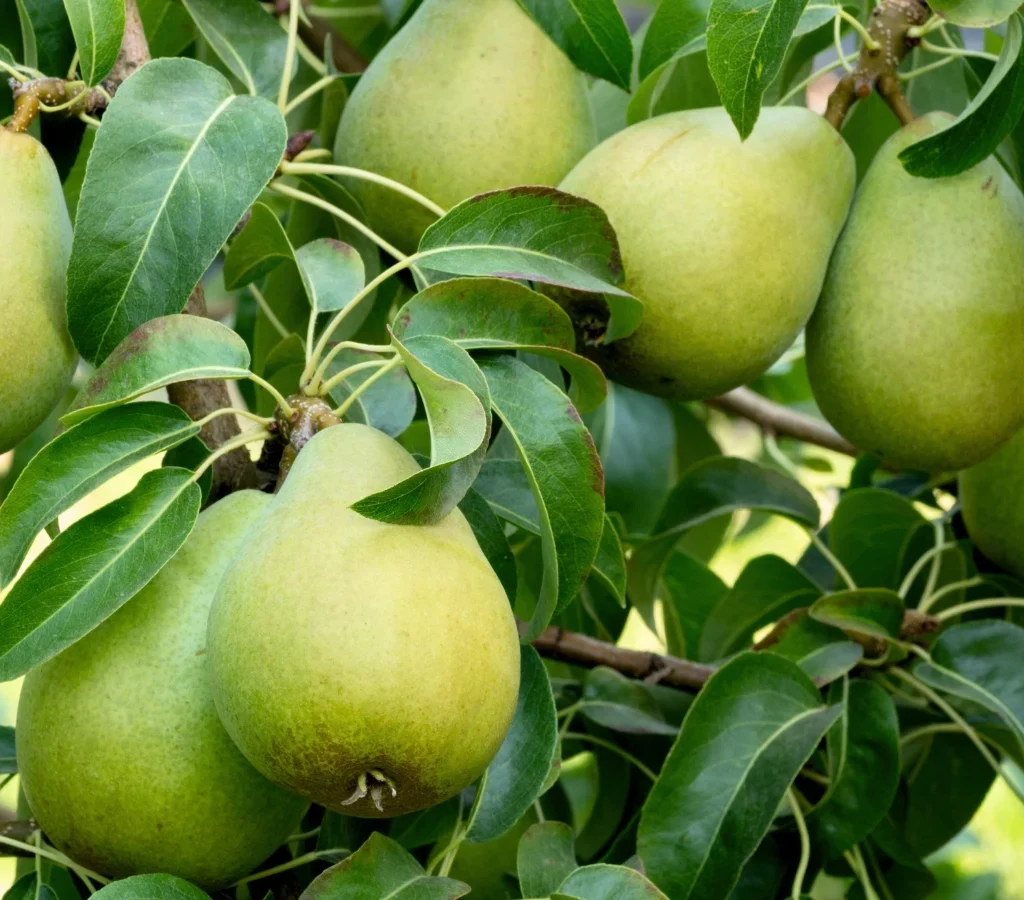
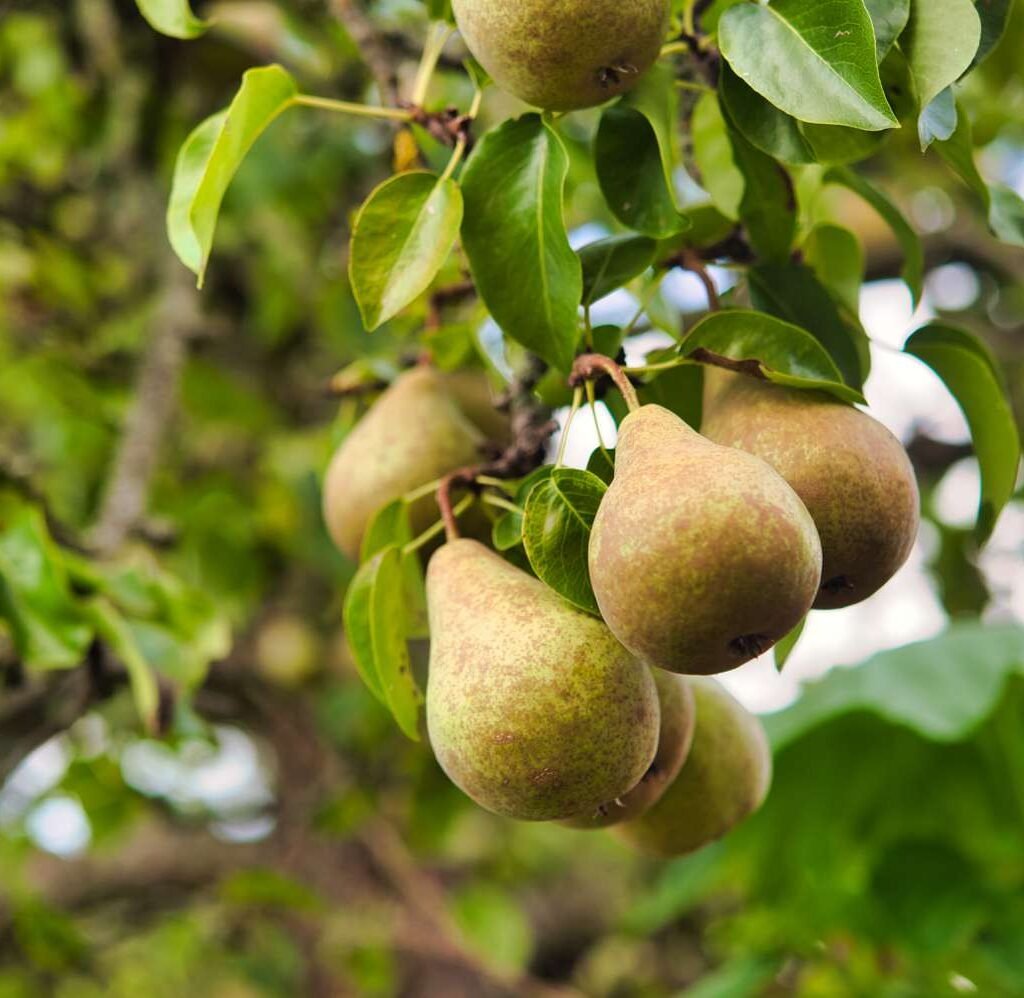
8. Blooming, Fruit Set, and Harvesting
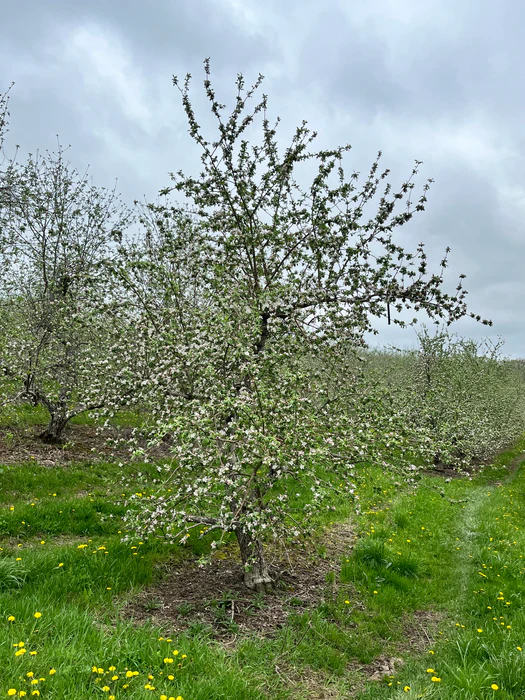
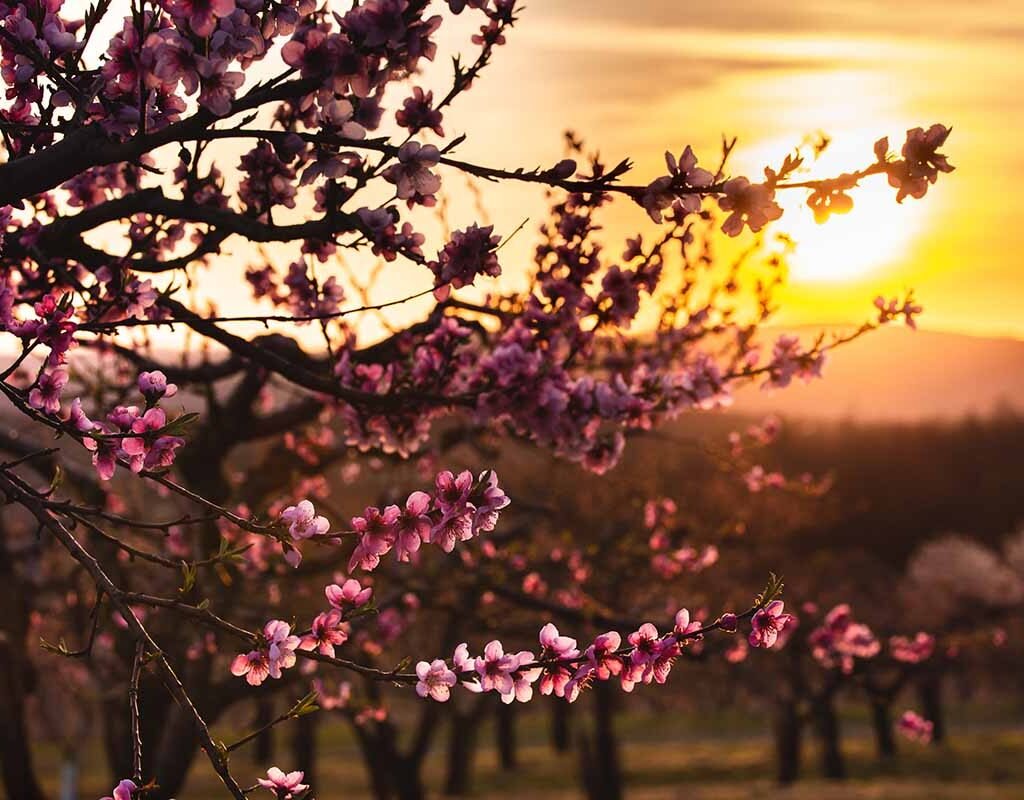
In early to mid-spring, Bartlett pear trees burst into clusters of white blossoms, filling the air with their sweet fragrance and drawing in bees and butterflies.
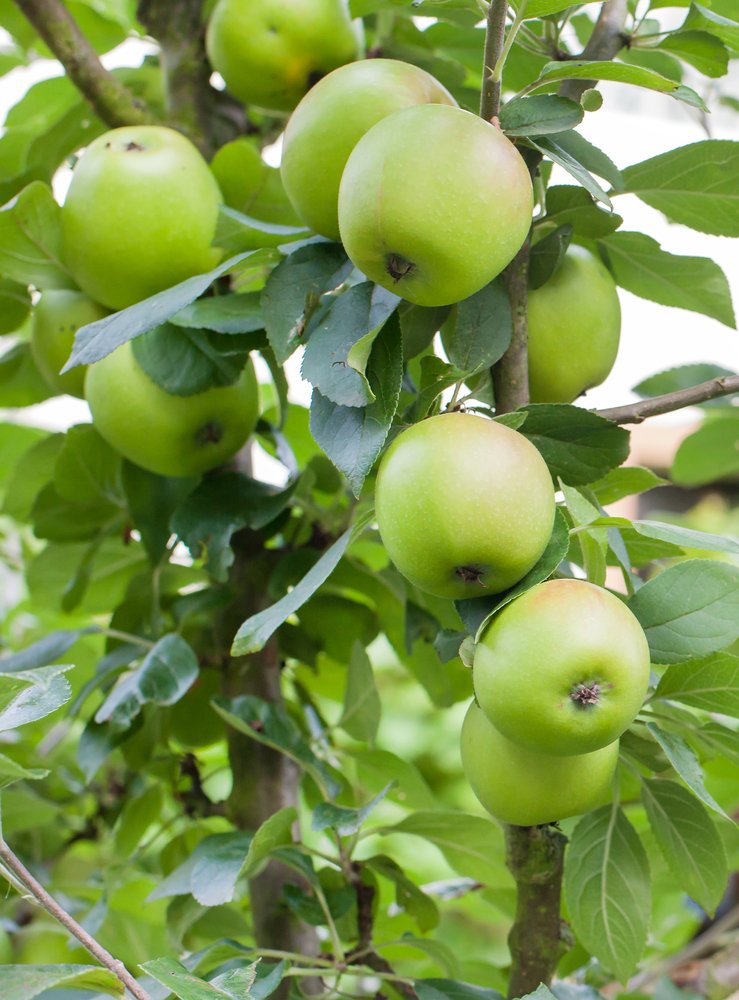
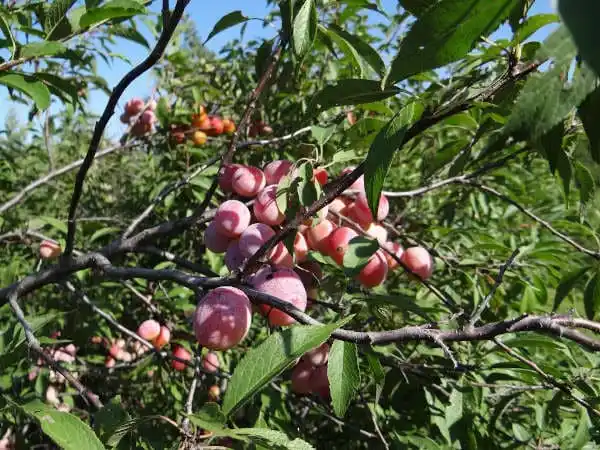
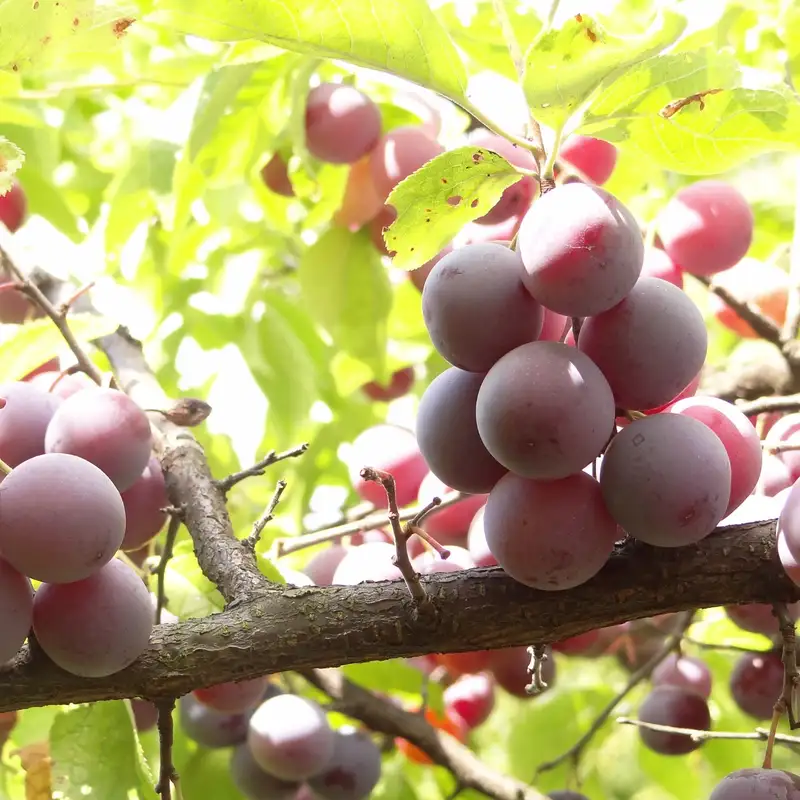
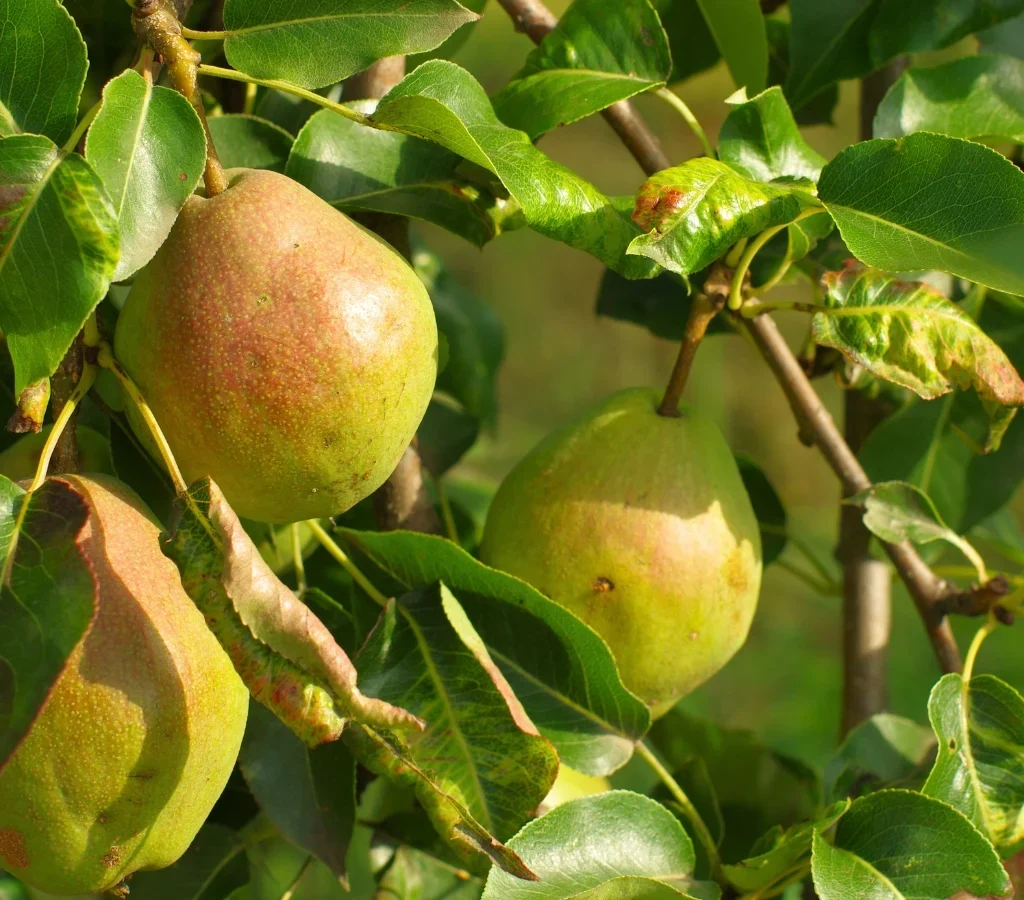
After pollination, small green fruits begin to develop, maturing over the summer. Bartlett pears typically ripen in late August to September, depending on climate.
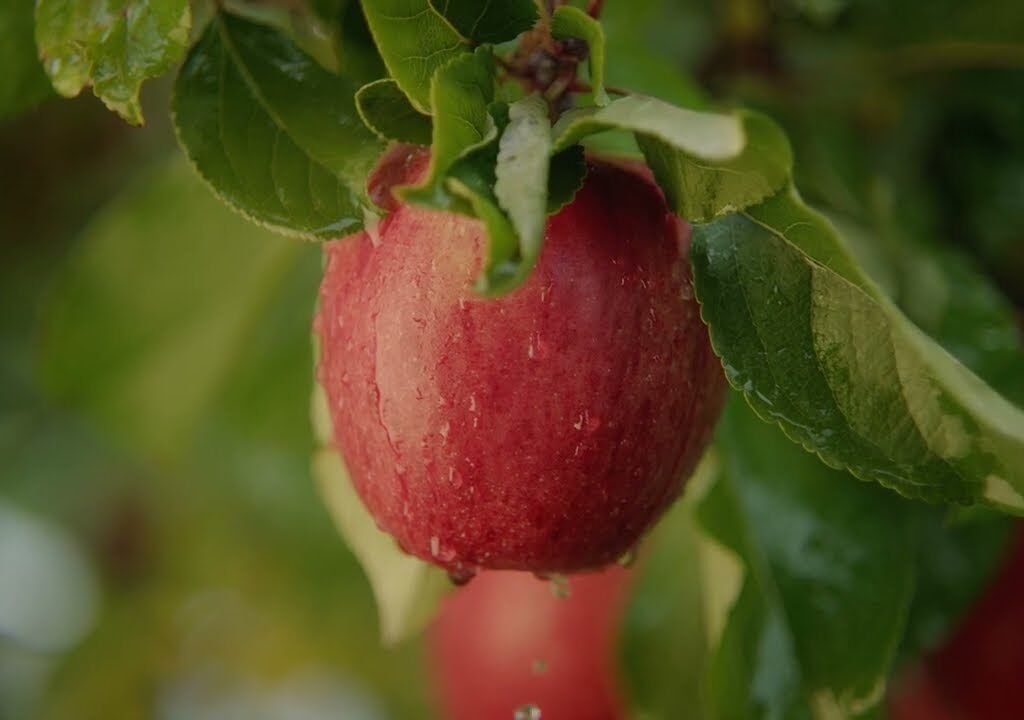
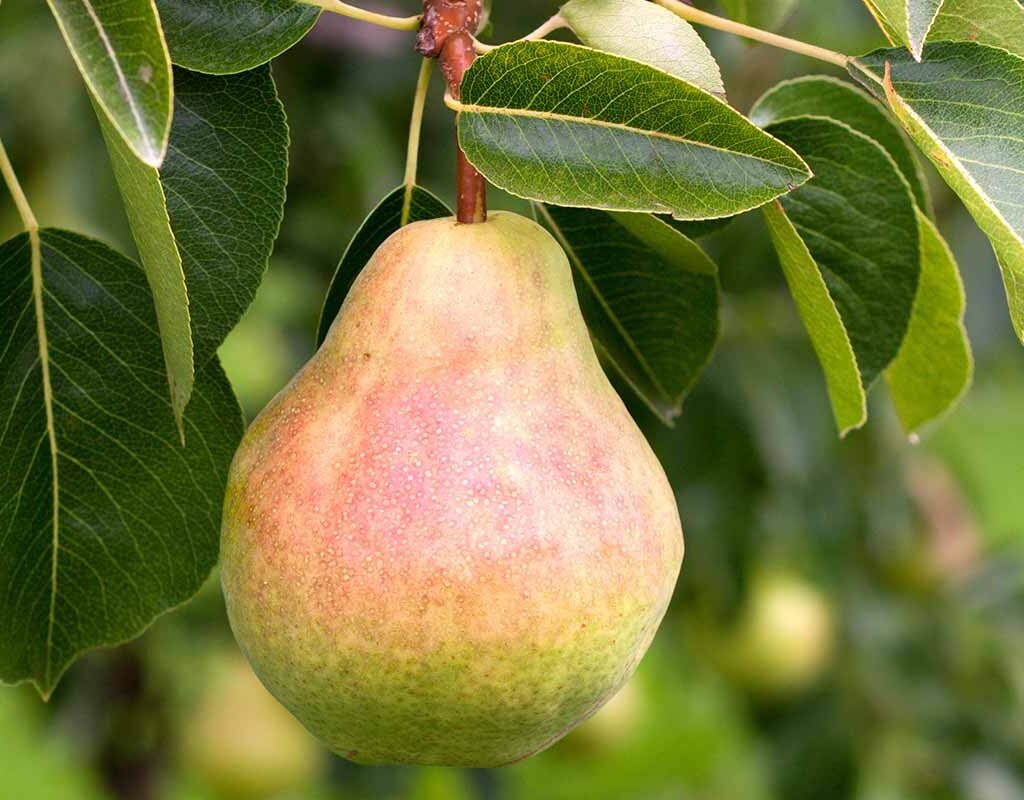
Harvesting Tips:
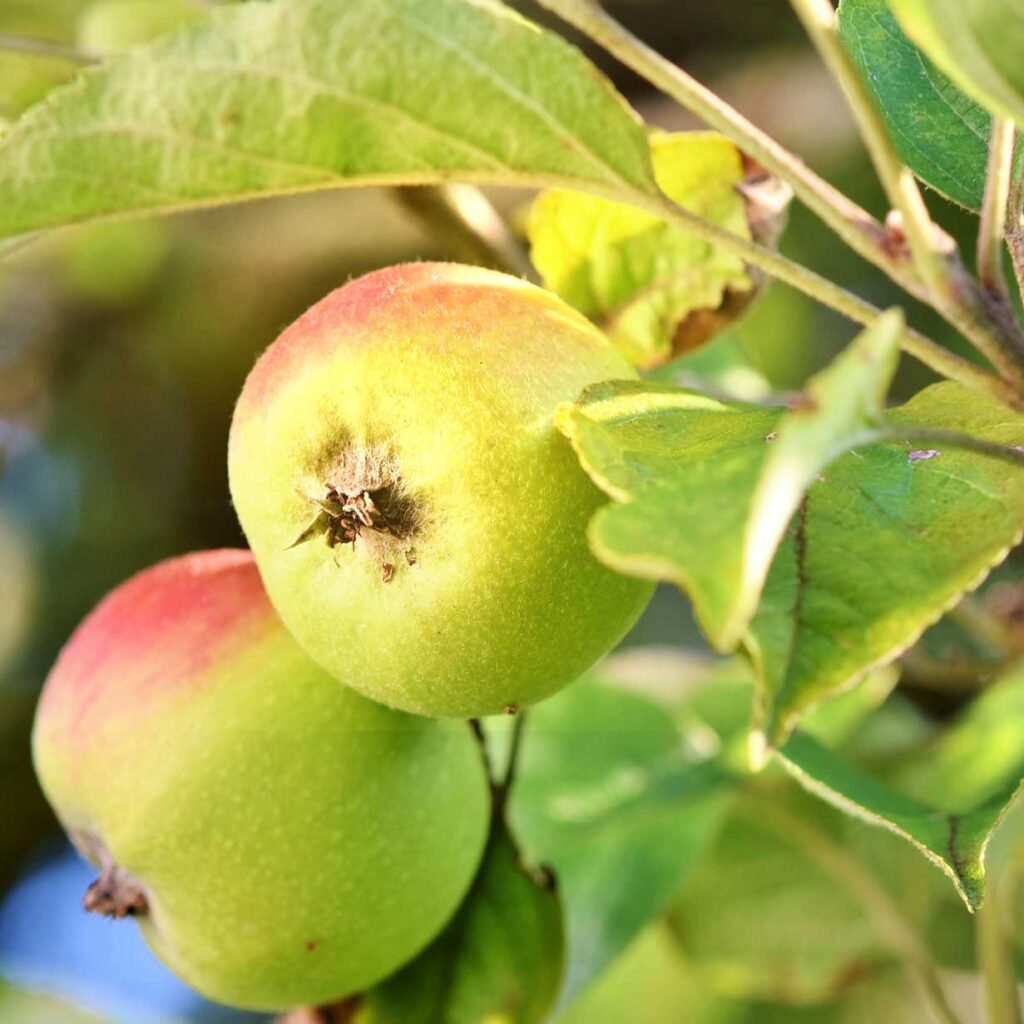
- Bartlett pears ripen off the tree. Pick them when they start turning yellow-green and feel firm but not hard.
- Let them finish ripening indoors at room temperature for a few days until they reach their signature golden hue and aromatic scent.
- Ripe Bartletts are perfect for fresh eating, canning, baking, and preserves.
9. Common Challenges and How to Overcome Them
Even healthy trees can face a few hurdles. Here’s how to manage common pear problems naturally:
- Fire Blight: A bacterial disease that causes blackened shoots and leaves. Prune affected branches immediately and sterilize tools.
- Pear Psylla (Sap-Sucking Insects): Control with neem oil or insecticidal soap.
- Codling Moths: Use pheromone traps or kaolin clay to deter pests.
- Poor Fruit Set: Ensure a compatible pollinator nearby and avoid excessive nitrogen fertilizers.
Healthy soil, good air circulation, and regular pruning go a long way toward preventing issues.
10. The Reward: Enjoying the Fruits of Your Labor
By the third or fourth year, your Bartlett pear tree will begin rewarding your patience with beautiful blossoms and its first crop of fruit. Over time, the yields will increase, offering baskets of golden, sweet pears that can be eaten fresh, canned, or baked into pies and tarts.
Each harvest will feel special because it’s the result of care, patience, and the connection you’ve built with your tree. Bartlett pears also store well—keeping for several weeks in a cool, dry place—so you can enjoy your homegrown bounty long after harvest season ends.
Conclusion: A Tree Worth Planting for Generations
Planting a Bartlett pear tree is more than just a gardening project—it’s an investment in beauty, flavor, and tradition. With its graceful shape, fragrant blossoms, and delicious golden fruit, this tree will bring joy to your garden year after year.
From the moment you dig the first hole to the day you bite into your first homegrown pear, you’ll experience the incredible satisfaction that comes with nurturing life from the soil.
So grab your shovel, pick the perfect spot, and say it proudly: “Let’s plant a Bartlett pear tree!” Your future self—and your family’s taste buds—will thank you for it.