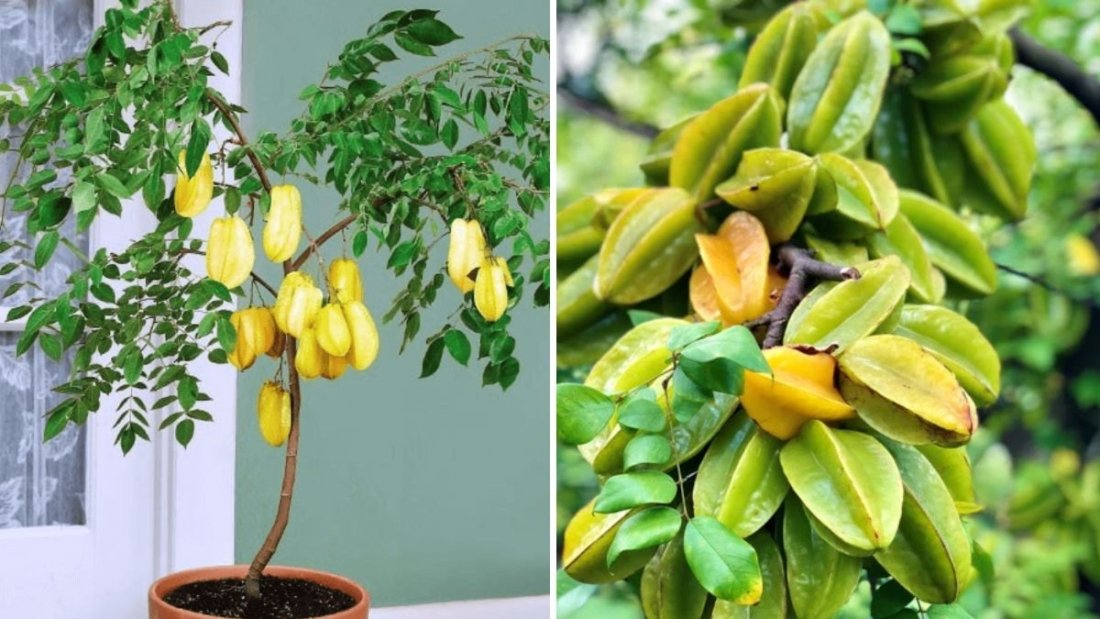
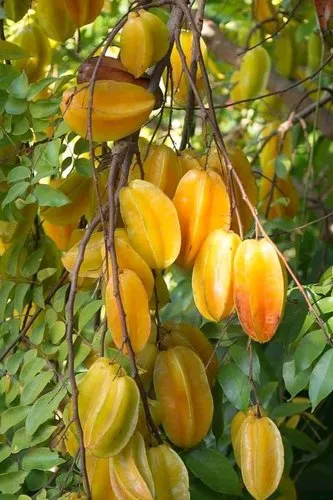
The Carambola (Averrhoa carambola), popularly known as Star Fruit, is one of the most fascinating tropical fruits both in flavor and appearance. Named for its star-shaped cross-section, this glossy, golden-yellow fruit combines beauty, taste, and nutrition in one package. Watching it grow from a tiny seed into a fruit-bearing tree is a deeply rewarding process—especially when observed as a time-lapse of growth.
In this detailed article, we’ll explore the complete journey of growing Carambola (Star Fruit)—from seed germination to fruiting—highlighting the plant’s progress, care needs, and environmental requirements over time. Whether you’re conducting research, working on a thesis, or simply nurturing a love for tropical gardening, this time-lapse growth story will offer valuable insights.
1. Introduction to Carambola (Star Fruit)
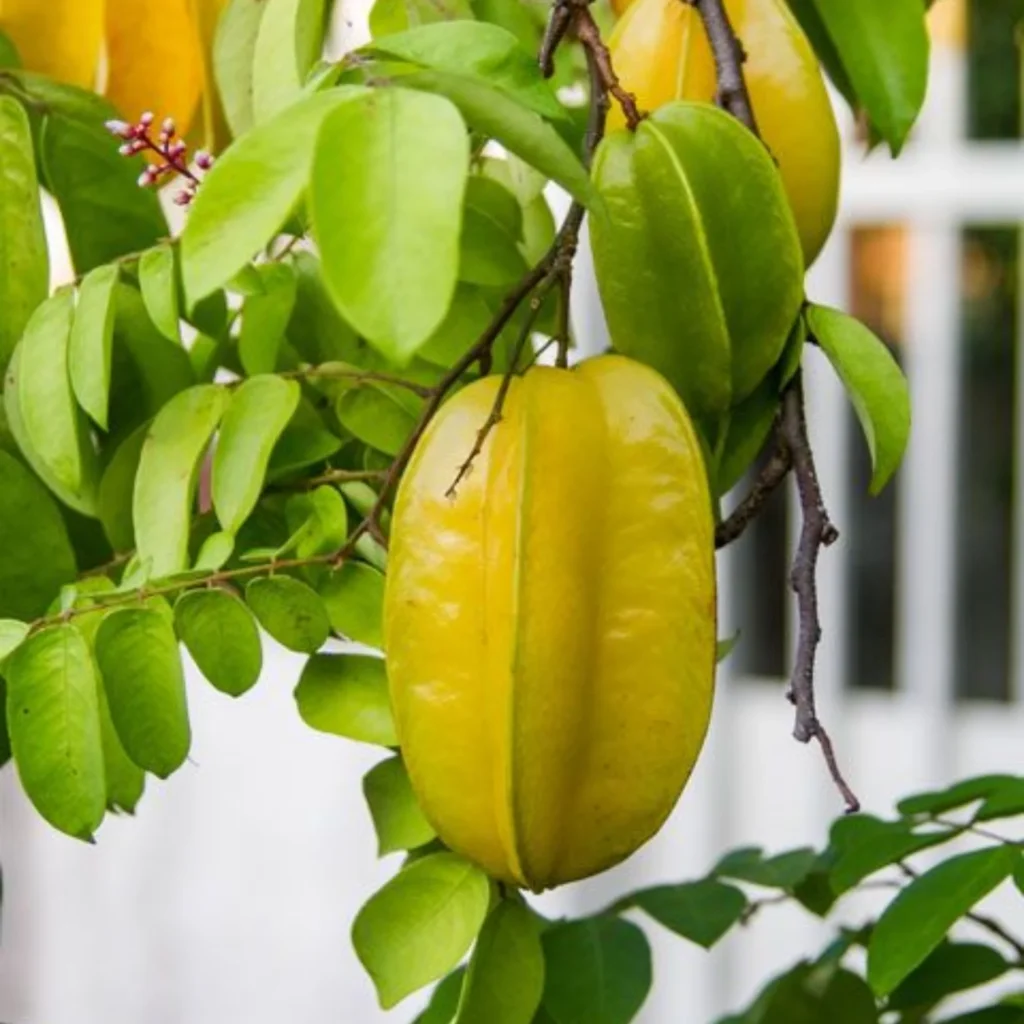
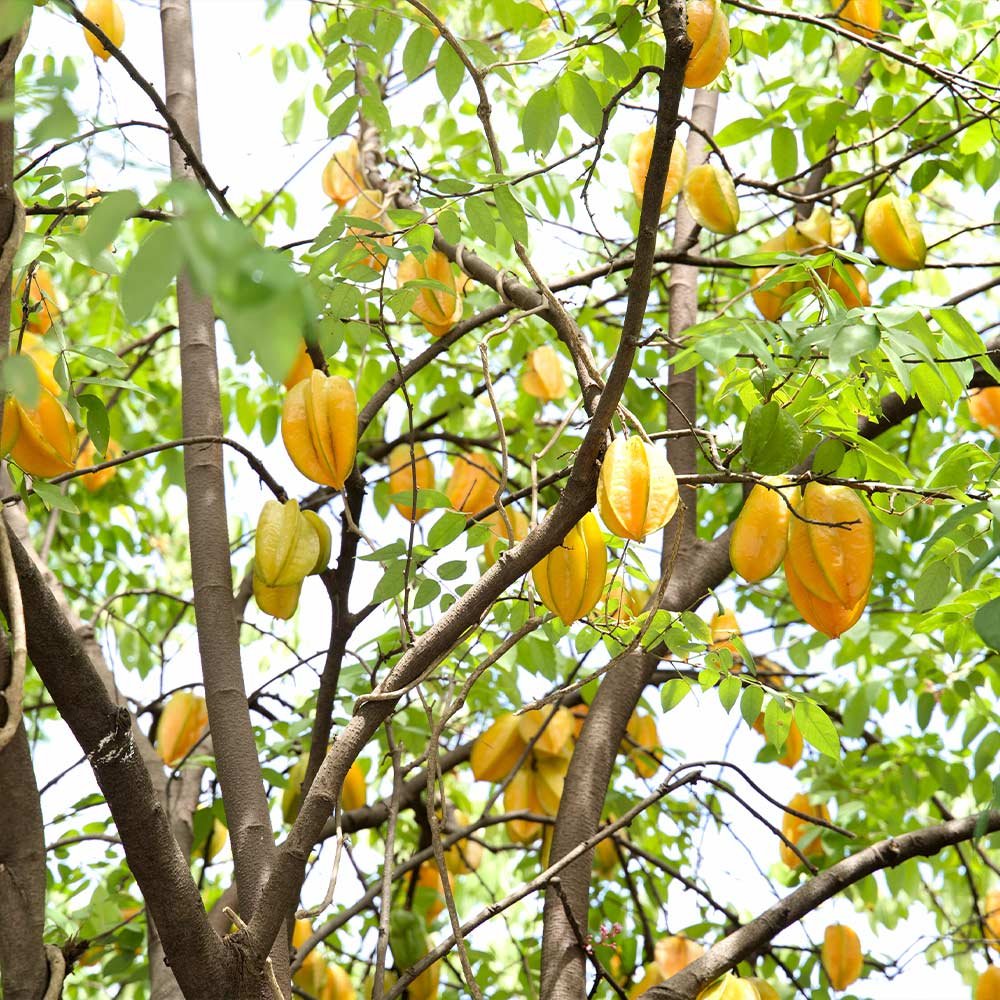
The Carambola tree is a small to medium-sized, evergreen tropical fruit tree native to Southeast Asia but now cultivated widely in India, the Philippines, and tropical America.
It’s well-known for its unique five-pointed star shape when cut crosswise, juicy texture, and mildly tangy-sweet flavor. The fruit is not only ornamental but also rich in vitamin C, antioxidants, and dietary fiber.
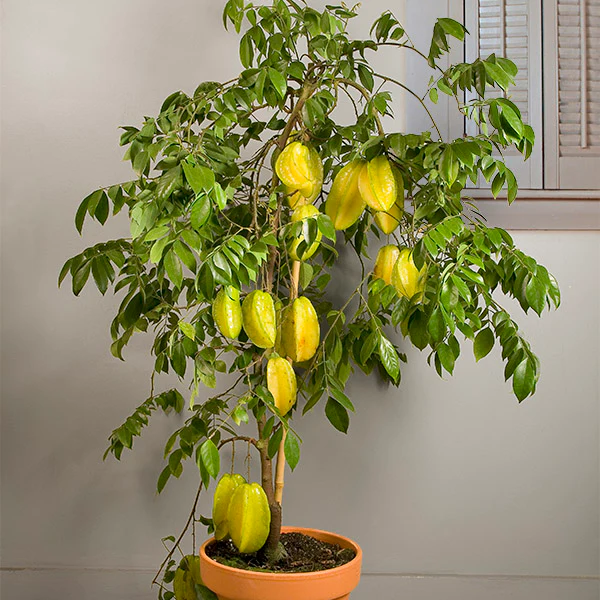
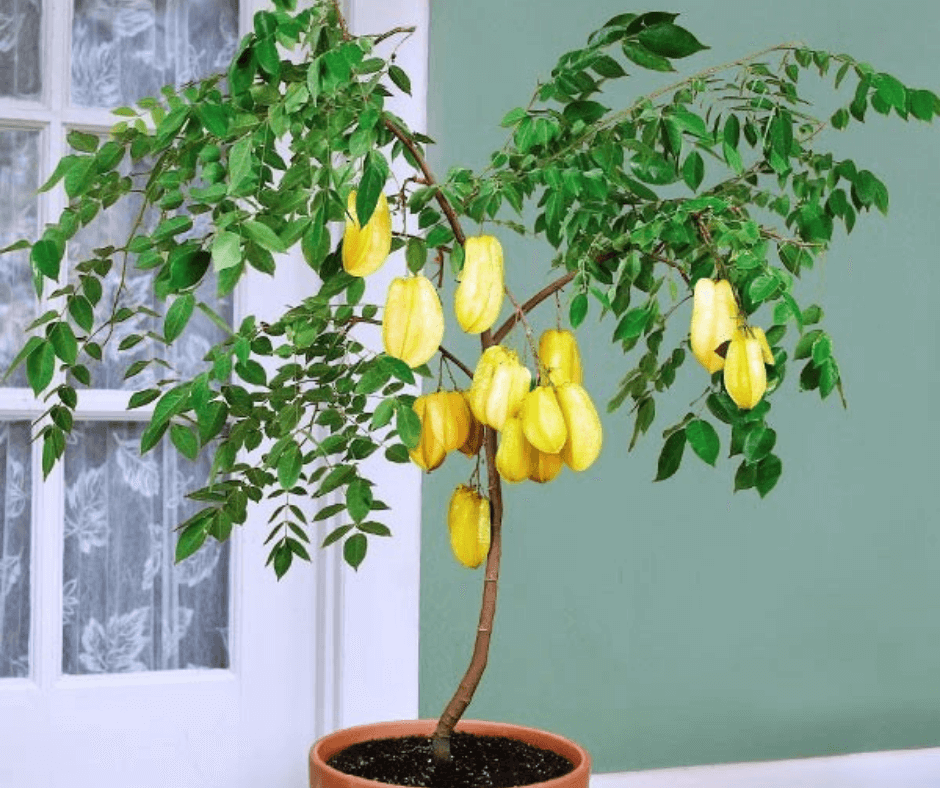
Carambola trees are ideal for home gardeners because they can be grown in pots or directly in the ground and bear fruit within a few years under favorable conditions.
2. Germination: The Beginning of Growth (Week 1–4)

Seed Selection and Preparation
Start by choosing healthy, mature star fruits. Cut open the fruit, remove the seeds, and wash off any pulp. Allow the seeds to dry for 24 hours in shade.
To speed up germination:
- Soak the seeds in warm water for 6–8 hours.
- Prepare a well-draining potting mix using 50% garden soil, 30% compost, and 20% sand.
Sowing the Seeds
- Fill a small container or seed tray with the soil mix.
- Plant seeds ½ inch deep, spacing them 2–3 inches apart.
- Water gently and keep in partial sunlight.
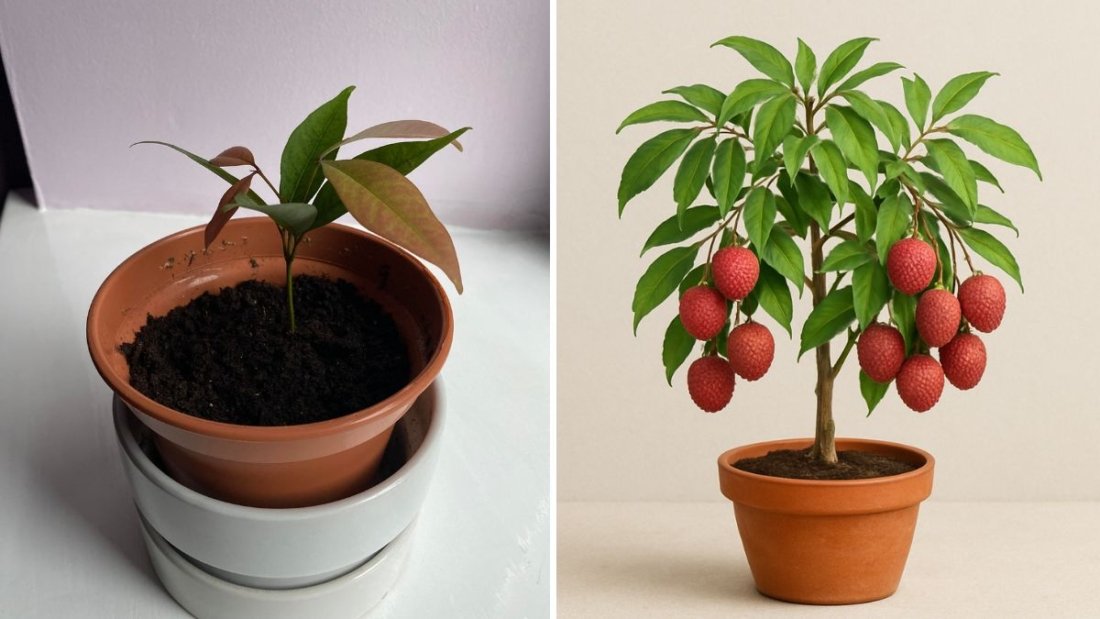
Time-lapse Observation
Within 7–14 days, small sprouts appear. By week 3, the seedlings develop two small leaves, and by week 4, they stand 3–4 inches tall with visible true leaves.
This stage is delicate—maintain consistent moisture and avoid waterlogging.
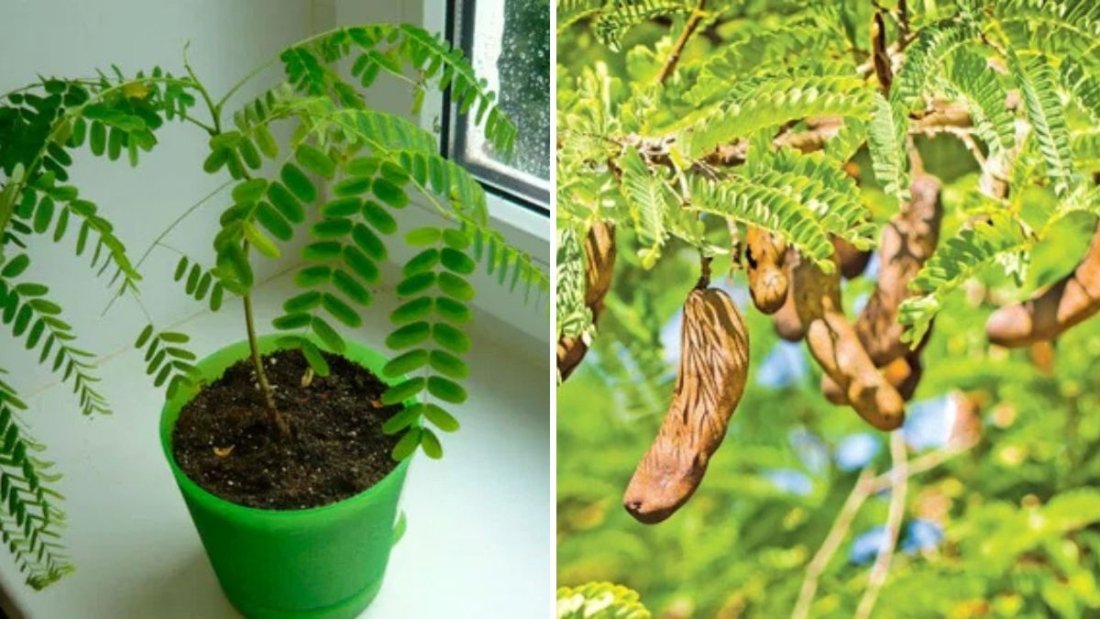
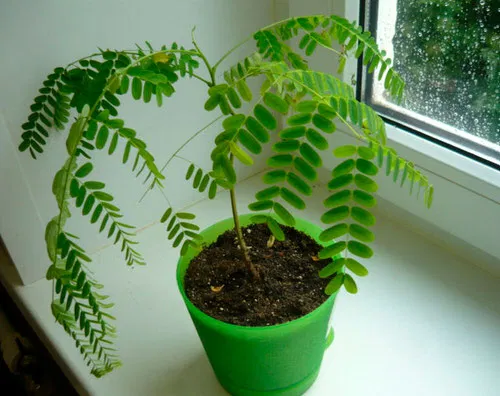
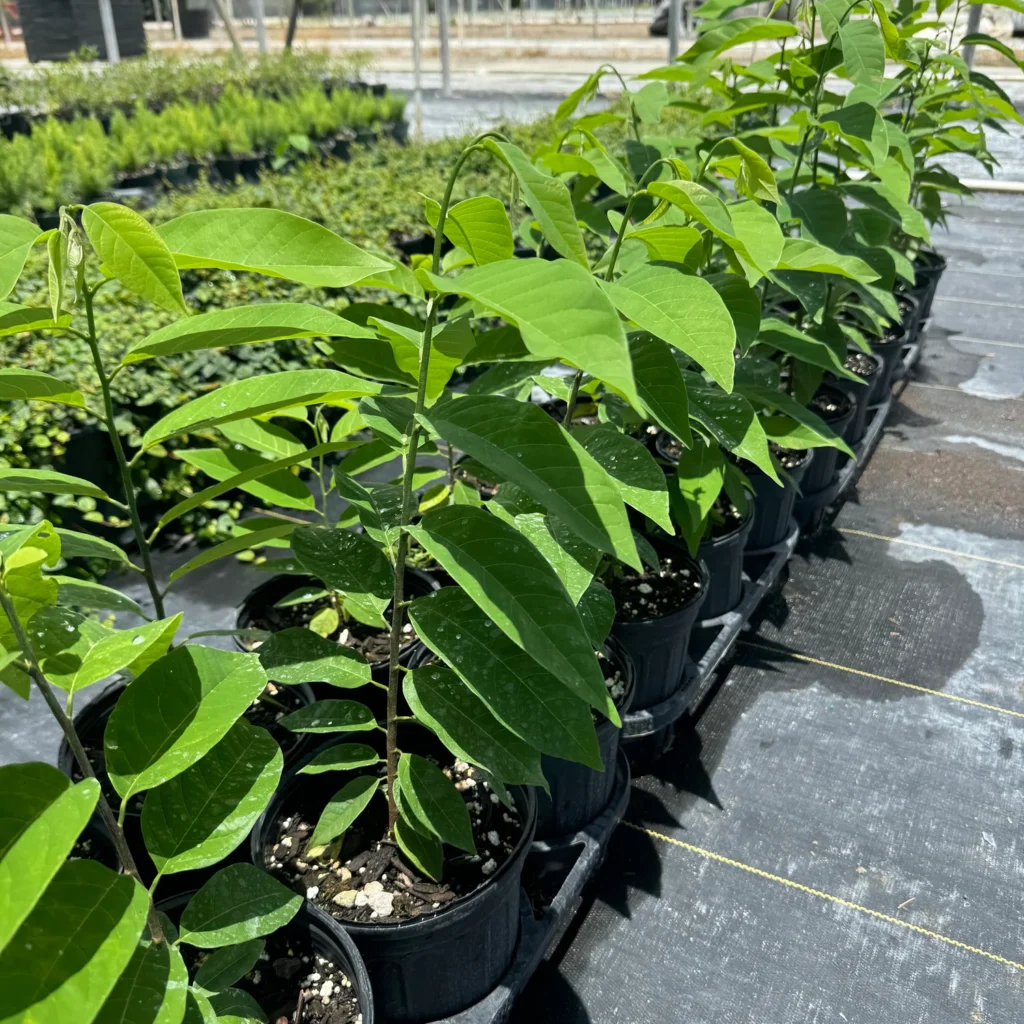
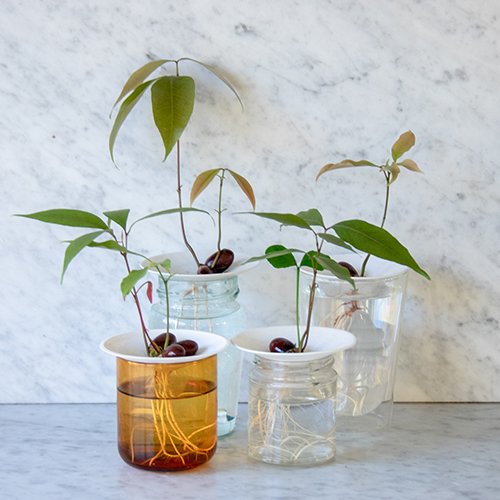
3. Early Seedling Development (Month 2–3)
By the second month, the Carambola seedlings enter a vigorous growth phase.
- The stems begin to thicken.
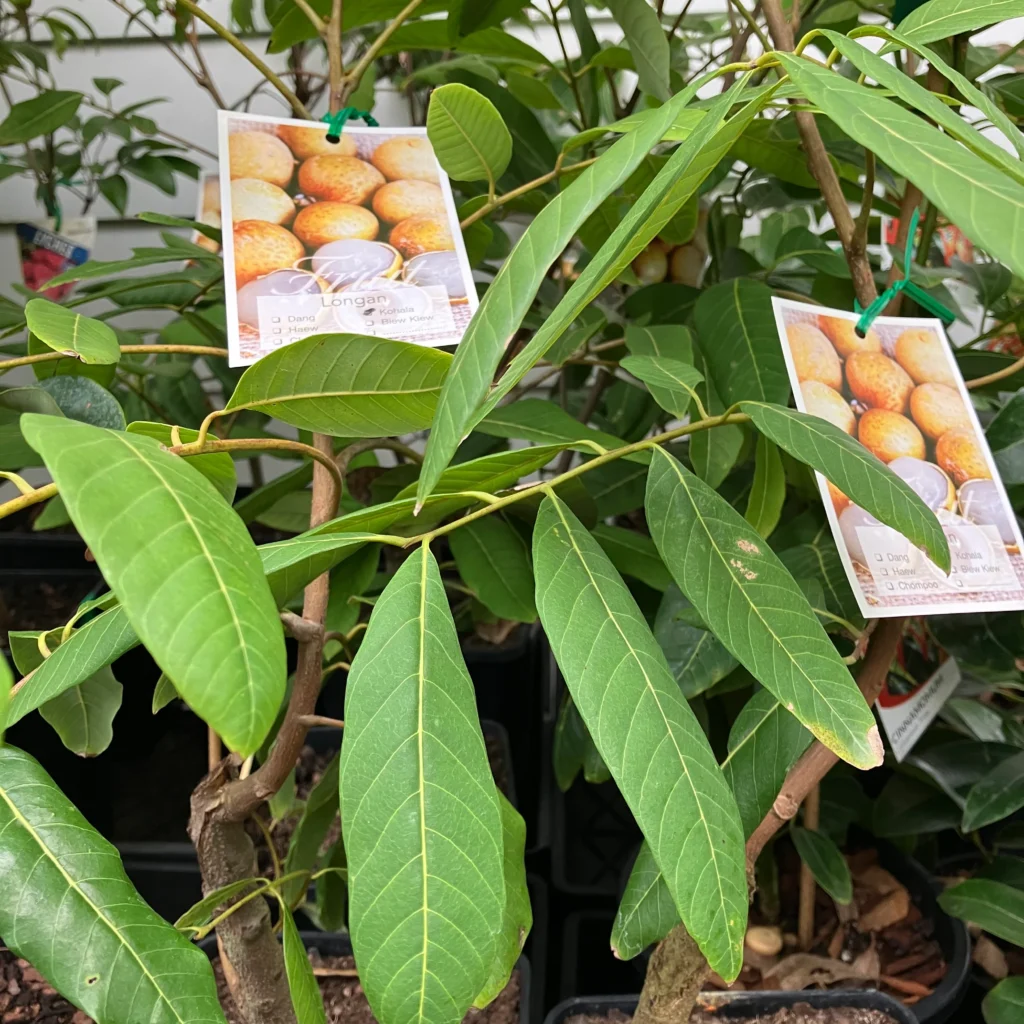
- The first pair of true leaves appears, displaying a light green color and glossy surface.
- Each leaf consists of 5–11 leaflets, giving the plant a graceful, feathery look.
At this stage, move the seedlings to larger nursery bags or small pots (8–10 inches) to encourage root development.
Care tips:
- Place the seedlings in bright, indirect sunlight.
- Water every 3–4 days.
- Fertilize with a diluted organic fertilizer or compost tea every two weeks.
By the end of the third month, seedlings reach 10–12 inches in height with well-developed roots, ready for transplanting into larger pots or garden soil.
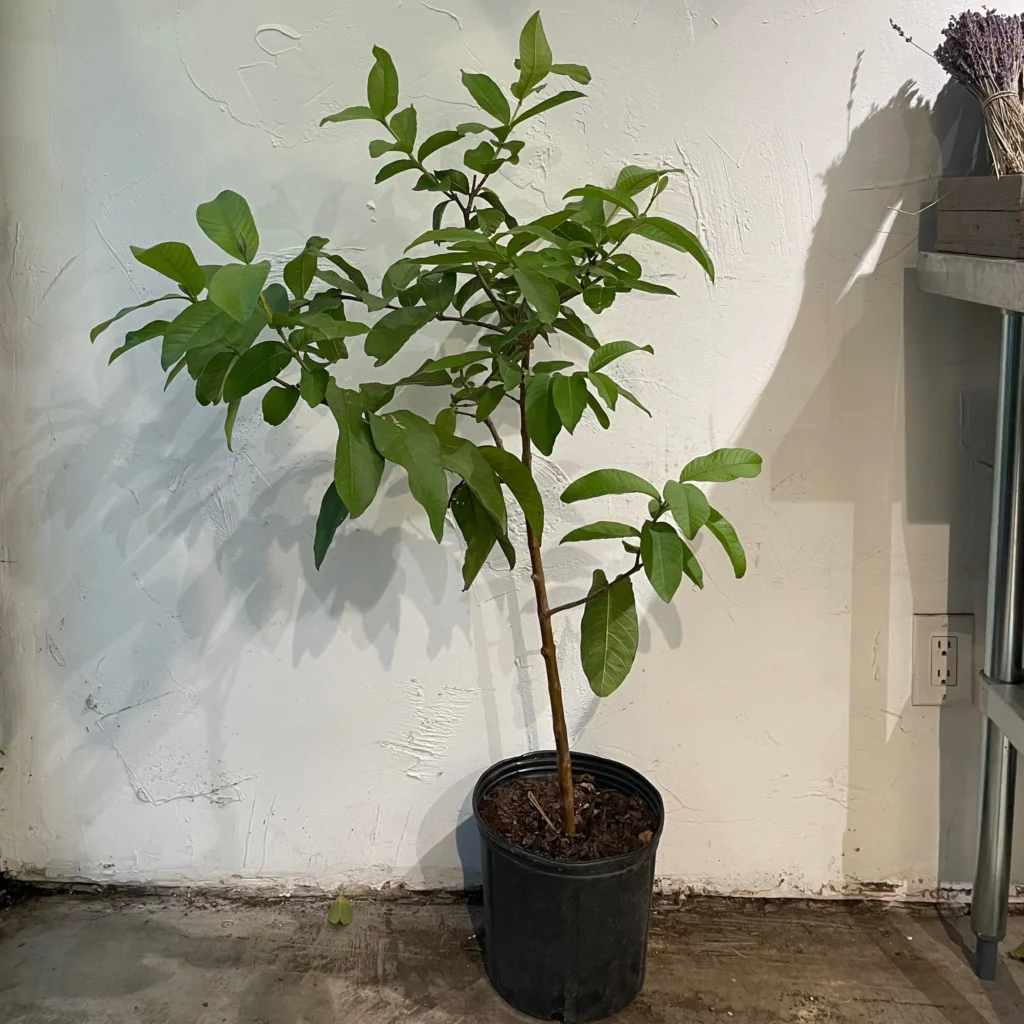
4. Transplanting Phase (Month 3–4)
When the young plants are strong enough, it’s time to move them to their permanent growing location.
Choosing the Right Pot or Spot
- For pots: Use a 20–24 inch diameter pot with drainage holes.
- For ground: Choose a sunny location with slightly acidic, well-draining soil.
Soil Mix
A balanced growing medium ensures strong root growth. Mix:
- 40% garden soil
- 30% organic compost
- 20% sand or perlite
- 10% coco peat
Add a handful of neem cake or bone meal for added nutrition.
Transplanting Steps
- Water the seedling an hour before transplanting.
- Carefully remove it from the nursery bag, keeping the root ball intact.
- Place it in the new pot or pit and fill around it with soil mix.
- Water thoroughly and keep it in partial shade for 4–5 days before exposing it to full sun.
In the time-lapse, you’d notice the plant recovering quickly—its leaves perking up and new growth emerging within 7–10 days.
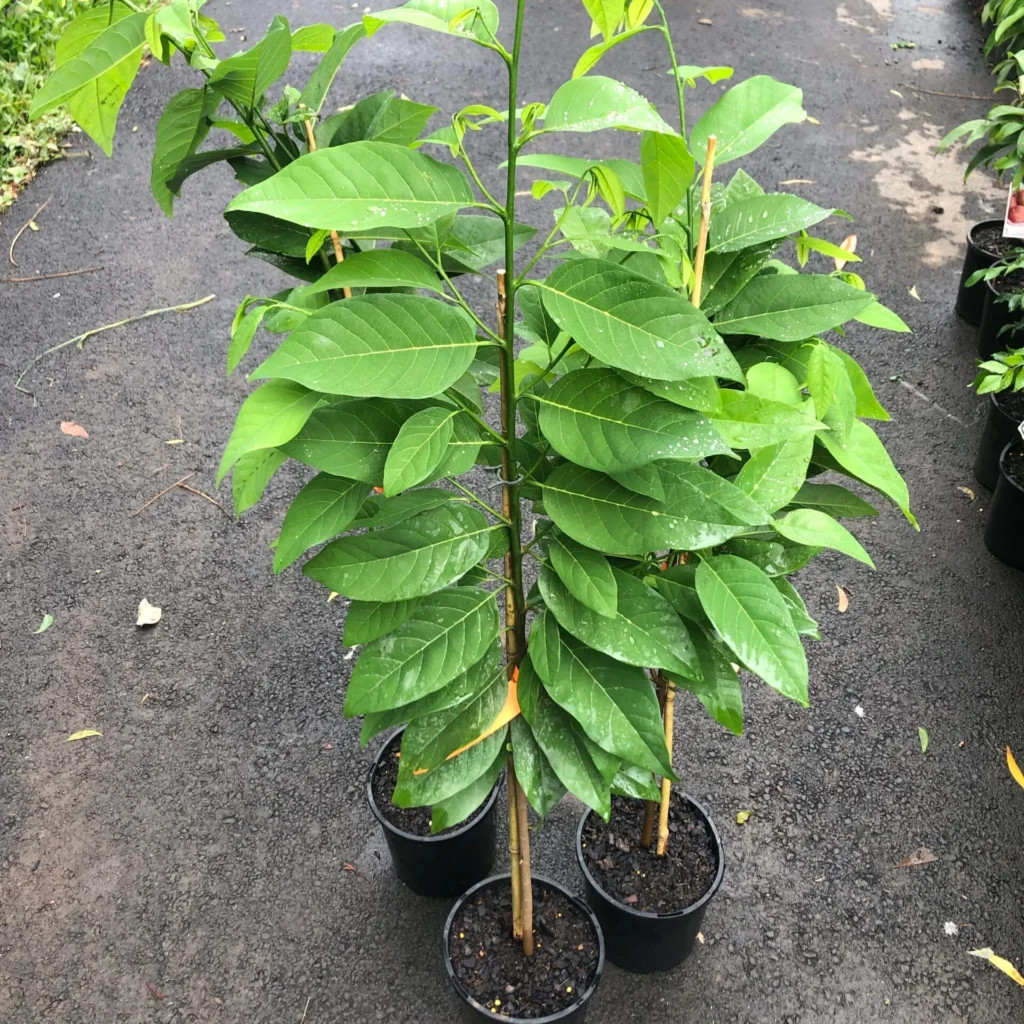
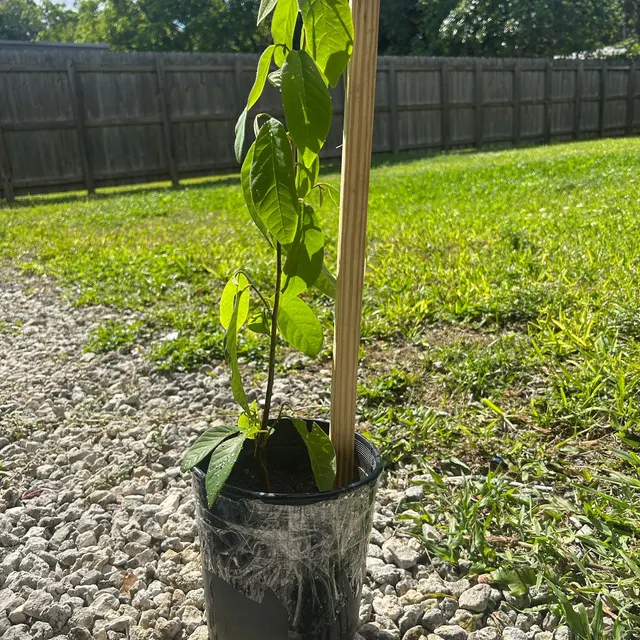
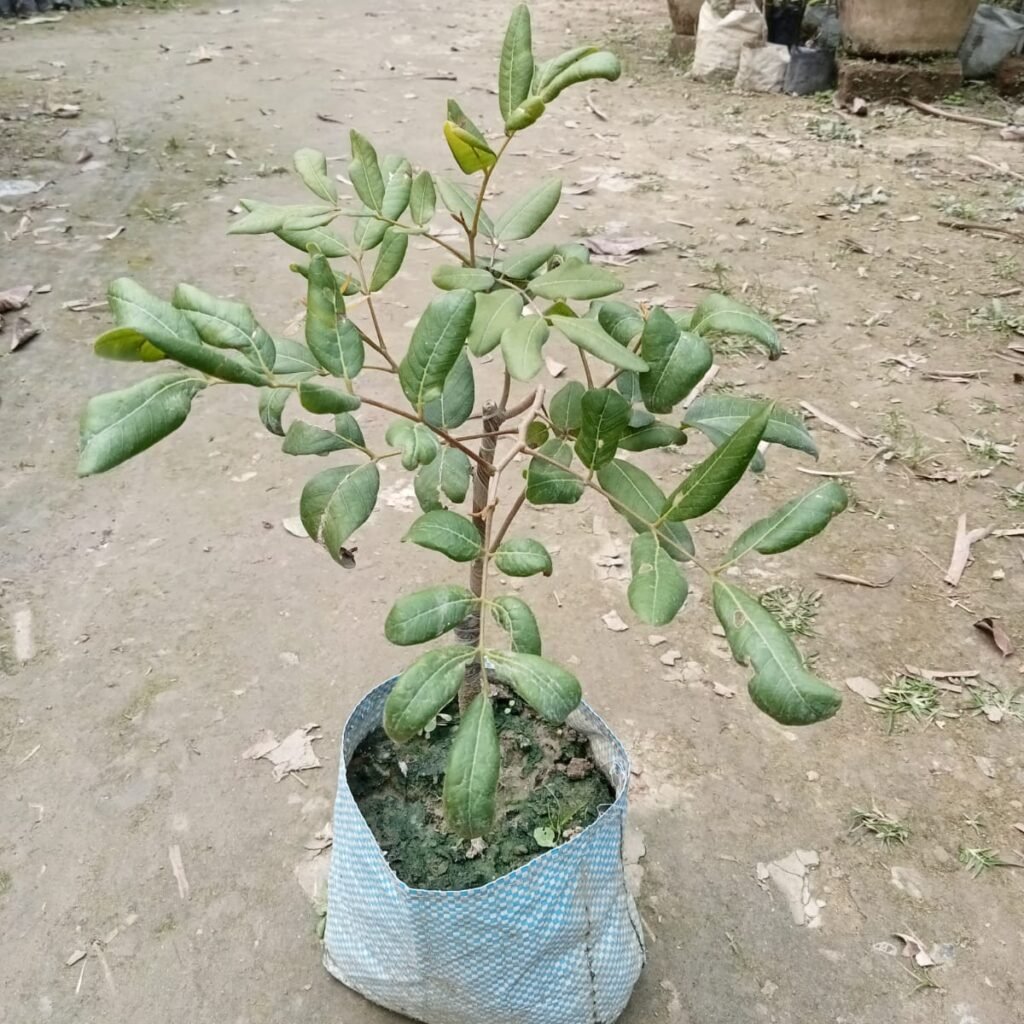
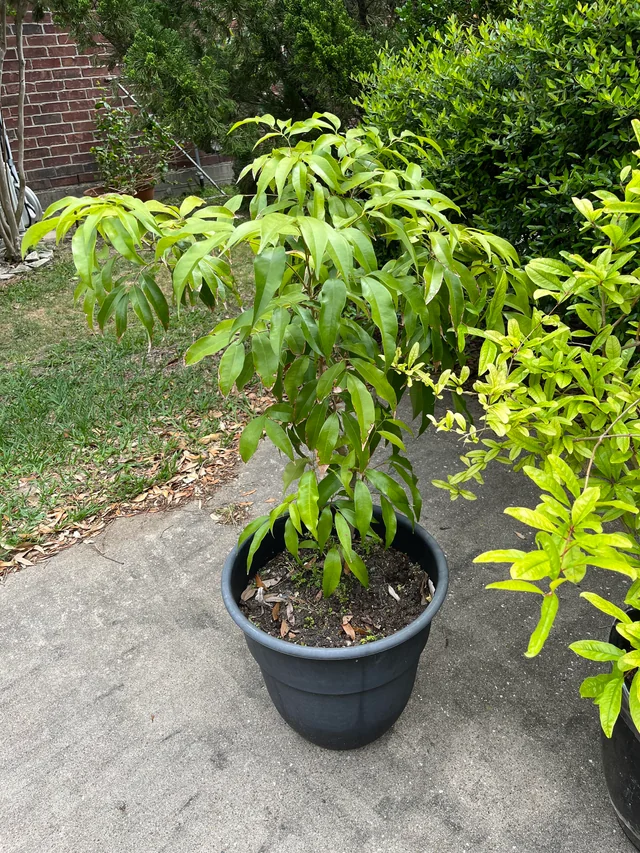
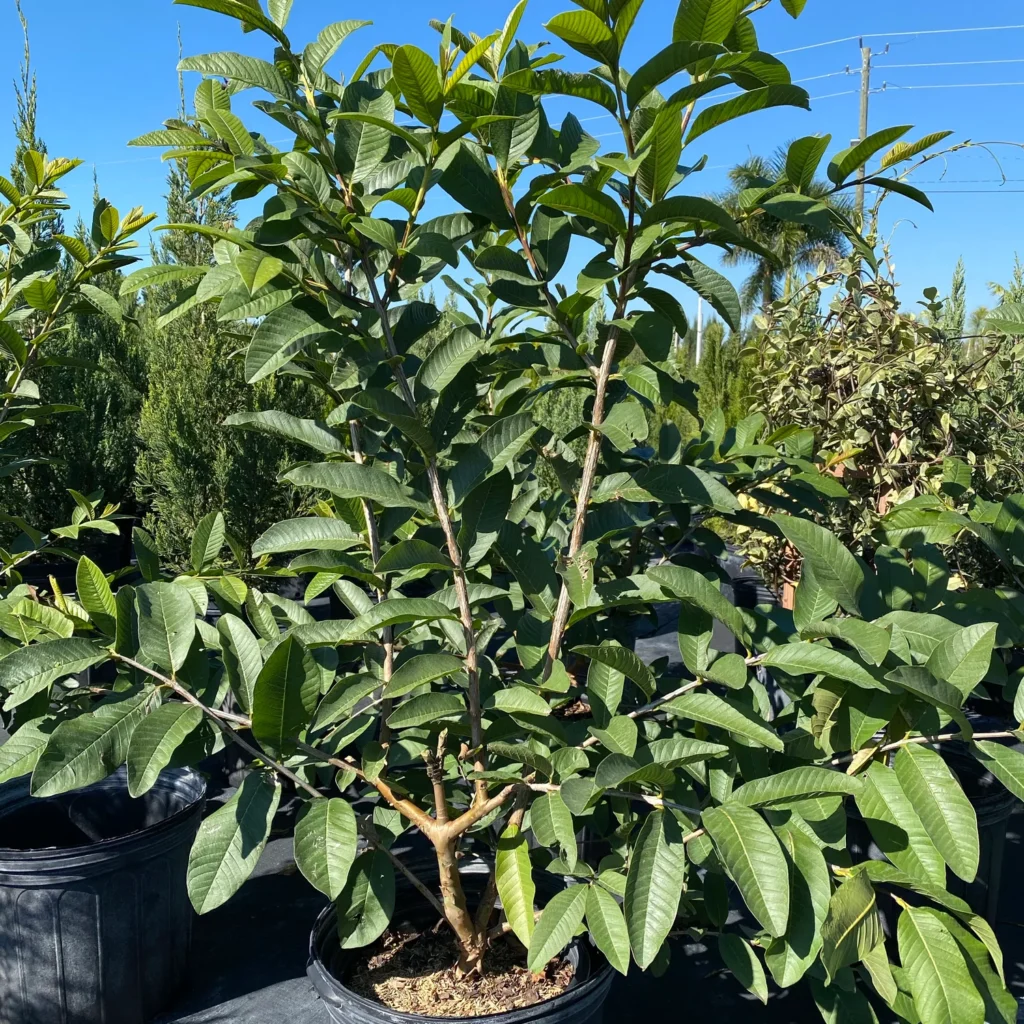
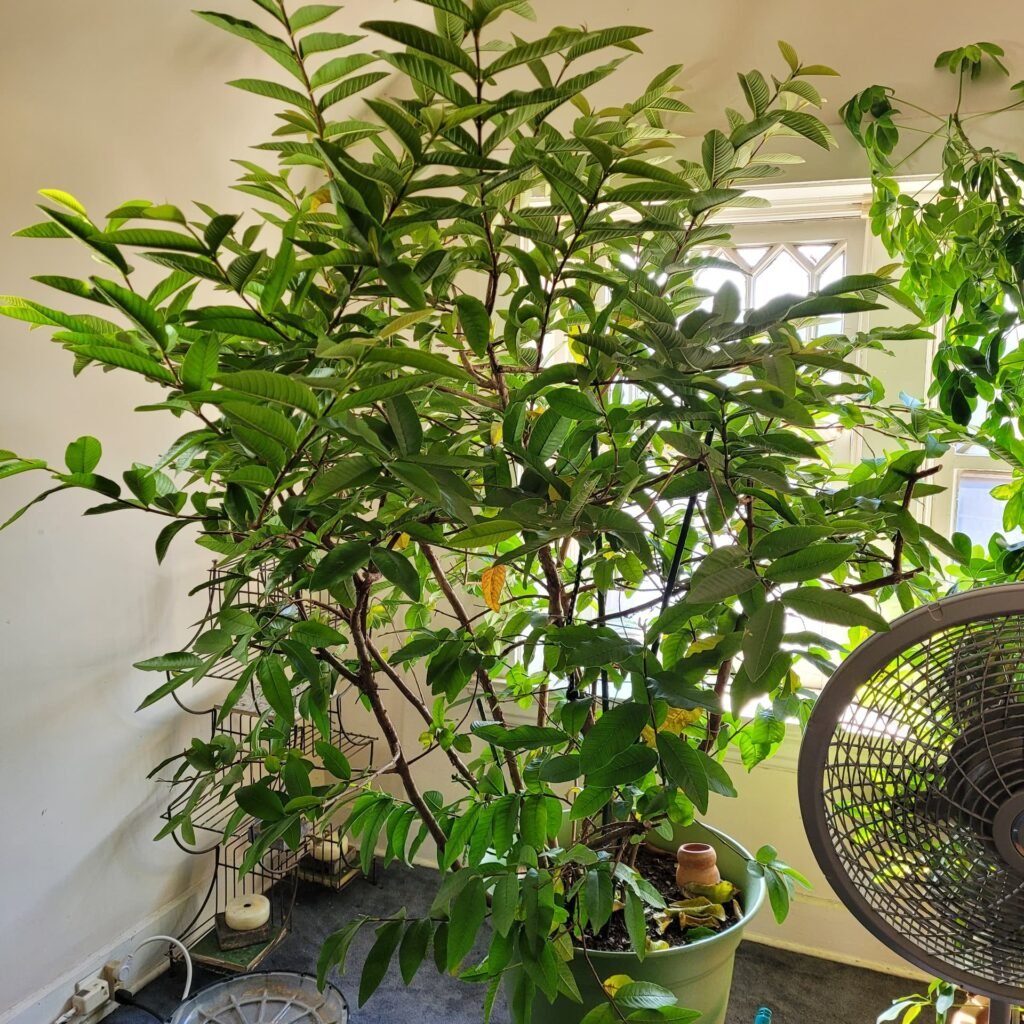
5. Vegetative Growth Stage (Month 4–8)
The Carambola tree enters a robust vegetative phase during these months. This is when it forms a strong framework to support future fruits.
Visible progress in time-lapse:
- Rapid vertical growth.
- Branching and leaf expansion.
- Darker, glossier leaves replacing early pale ones.
Care instructions:
- Provide 6–8 hours of full sunlight daily.
- Water deeply twice a week.
- Apply organic fertilizer or compost every 30 days.
- Prune lightly to encourage branching and air circulation.
During this stage, the plant may reach 2–3 feet in height, with a well-shaped canopy developing by the 8th month.
6. Flowering Phase (Month 9–12)
As the Carambola plant matures, it begins to produce small, star-shaped flowers—one of the most beautiful sights in its growth timeline.
Flower characteristics:
- Small, pinkish-lavender blooms appear in clusters.
- Flowers emerge mostly on new growth or older branches.
- Blooming continues throughout warm months.
Time-lapse Observation:
In a well-maintained plant, the first buds start to appear around 9–10 months after germination. You’ll notice buds gradually opening and tiny flowers attracting pollinators like bees.
Care during flowering:
- Apply phosphorus-rich fertilizer (like bone meal or composted banana peels) to boost blooming.
- Water regularly but avoid soggy soil.
- Avoid pruning at this stage to prevent flower loss.
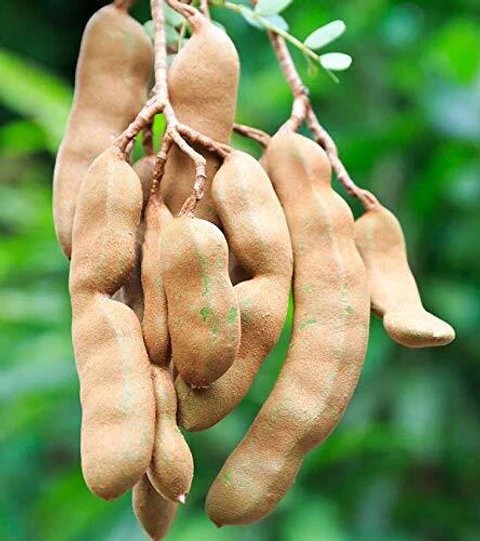
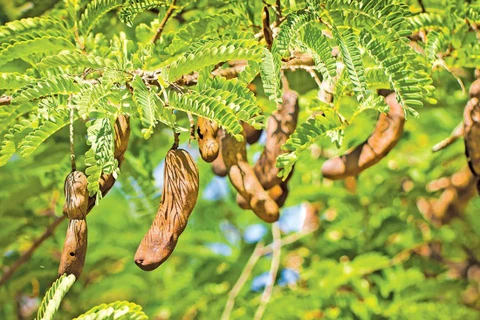
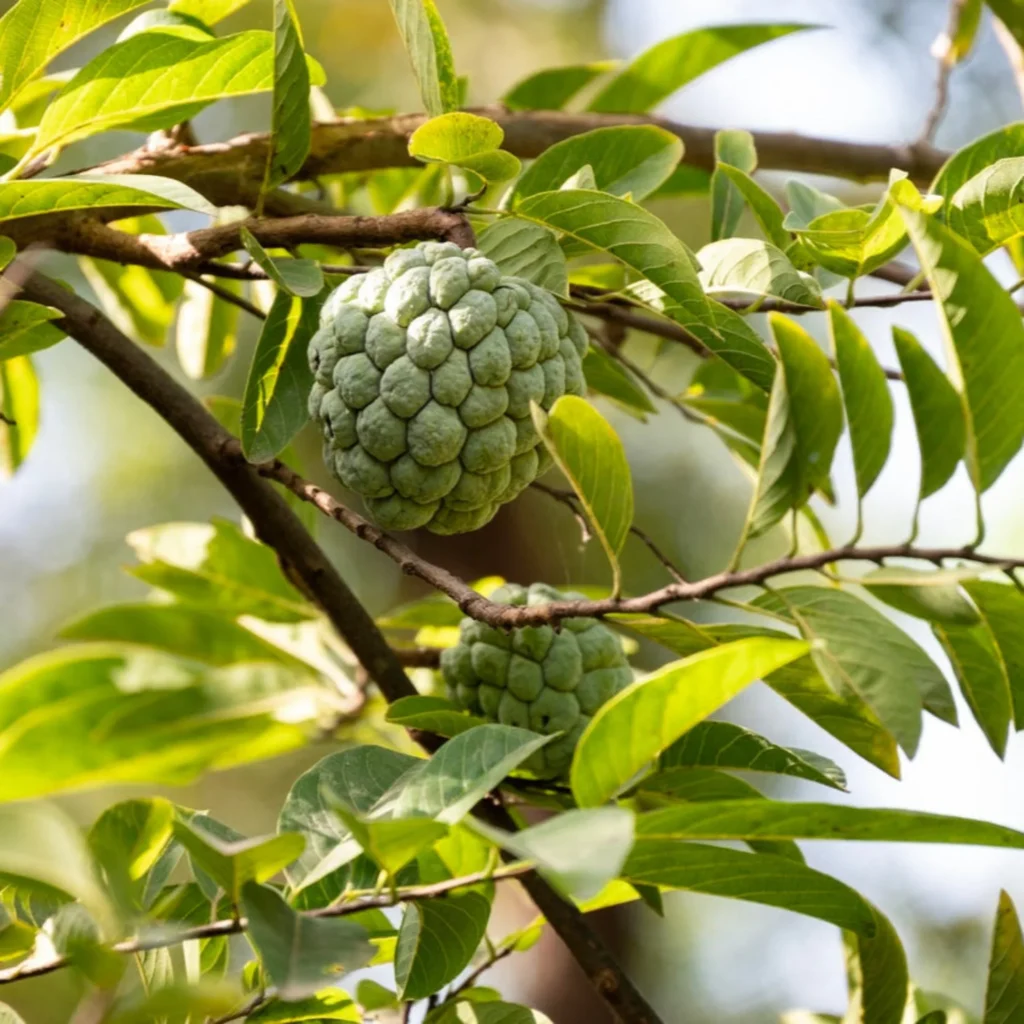
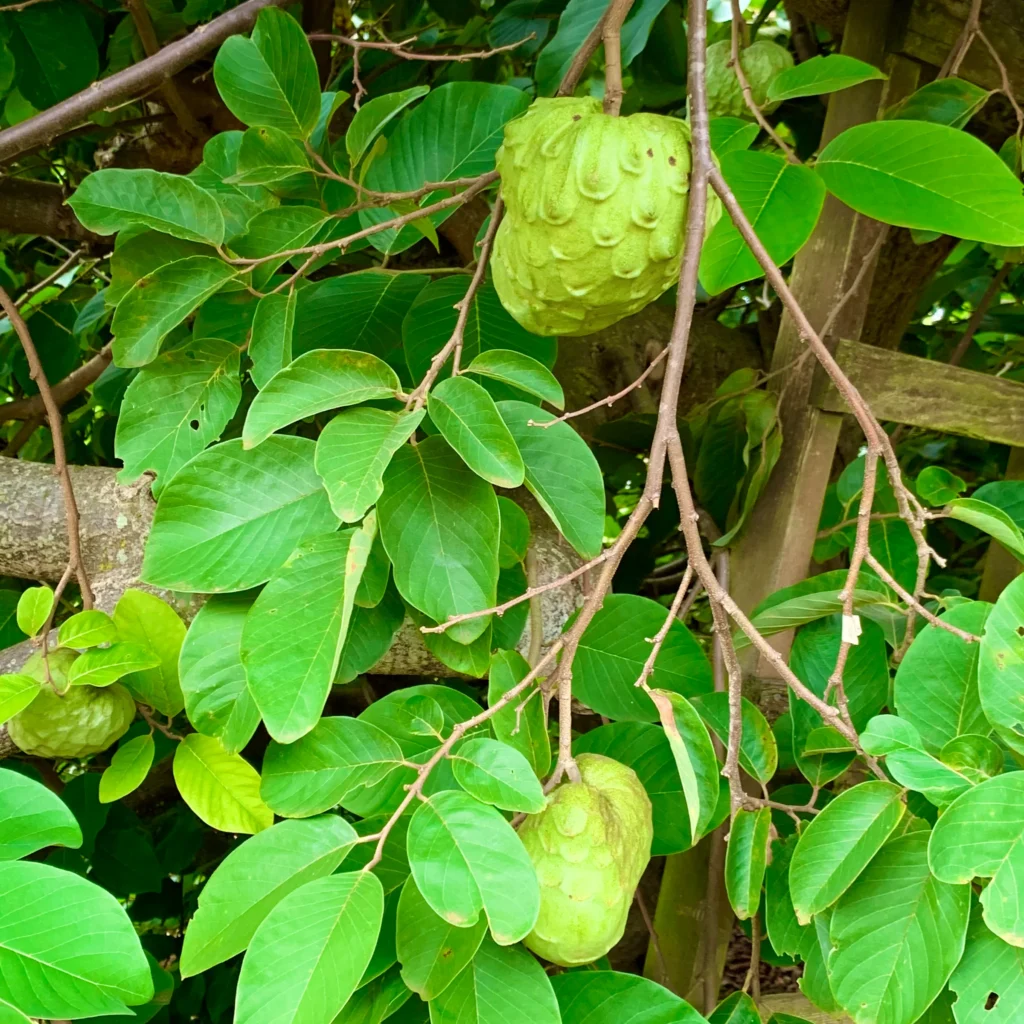
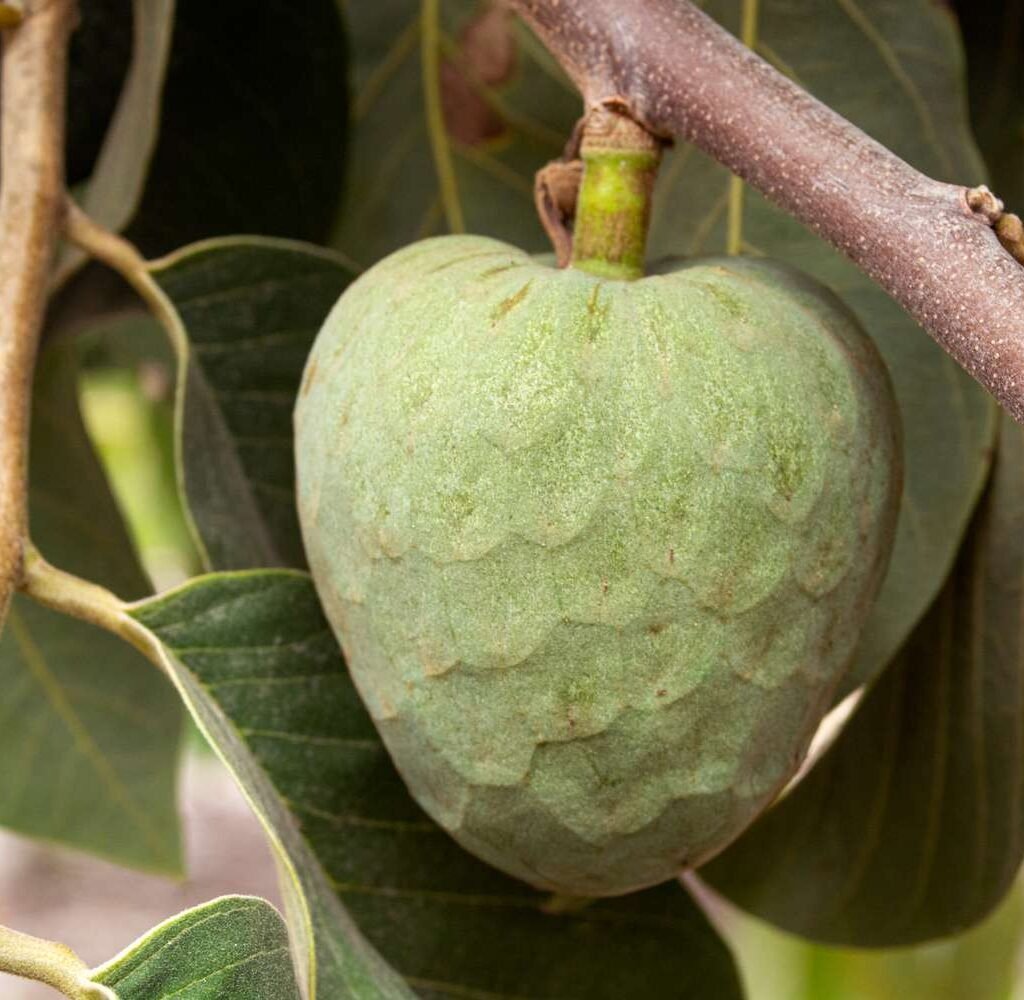
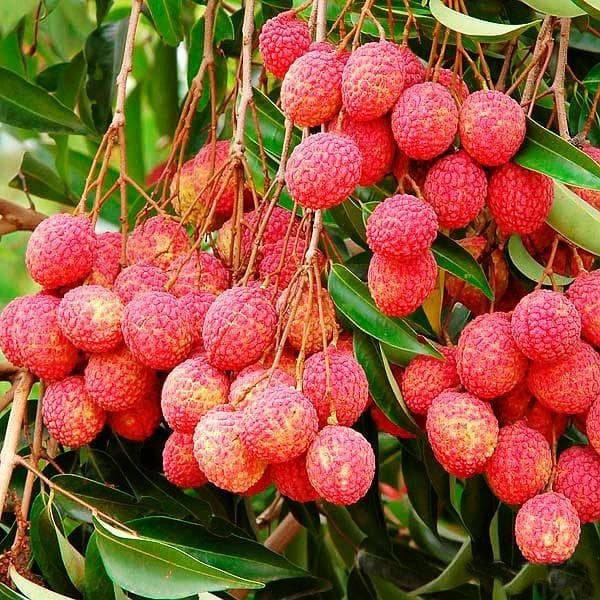
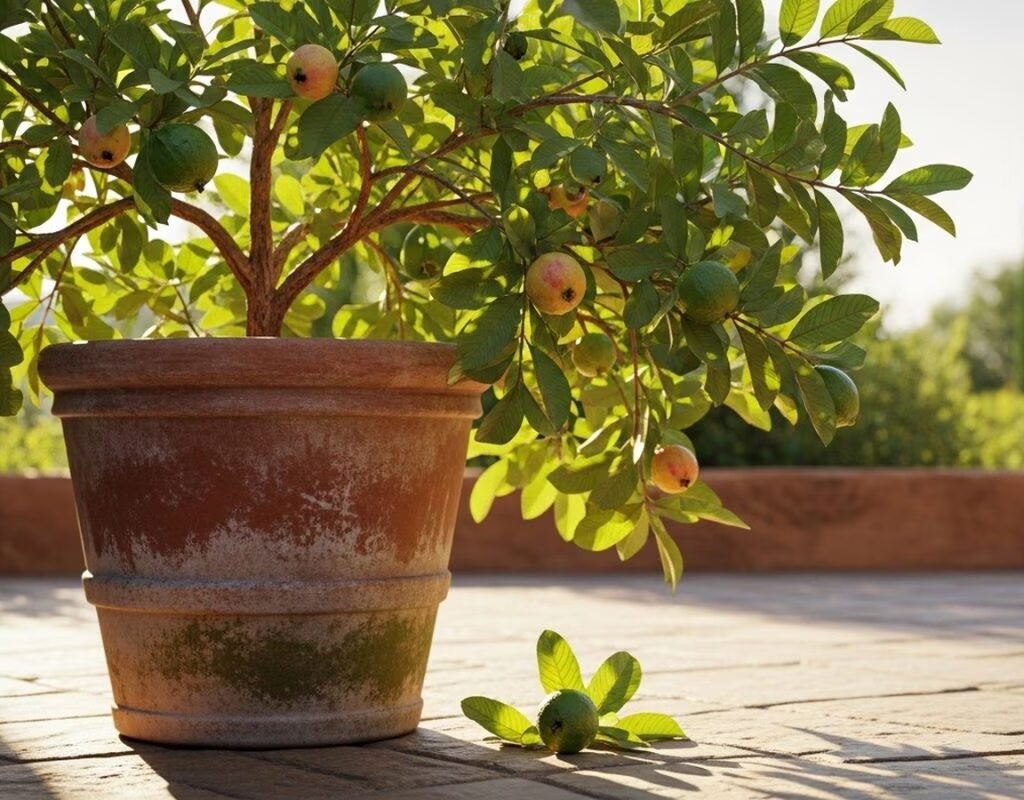
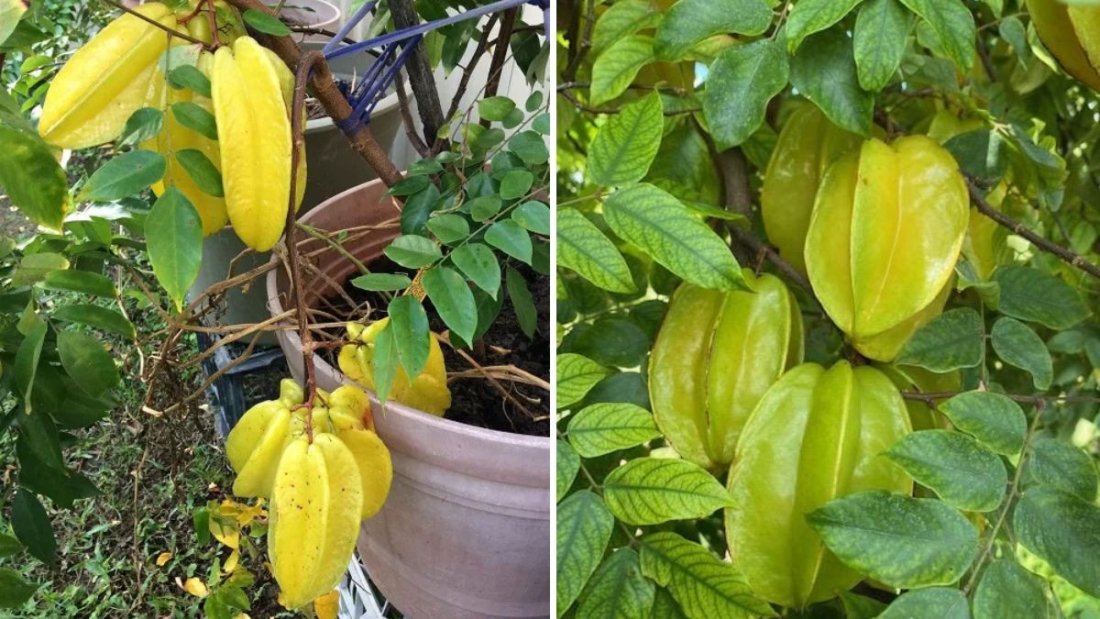
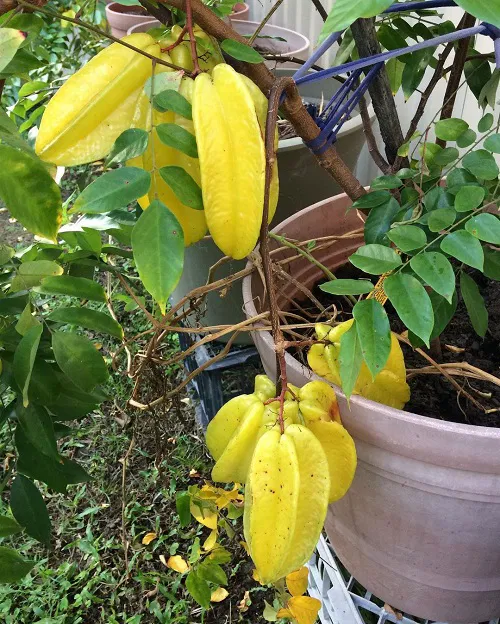
7. Fruit Development Phase (Month 12–18)
After successful pollination, small green star-shaped fruits begin to form at the base of the flowers. Over time, these grow larger, turning from green to yellow as they ripen.
In time-lapse:
- The fruits appear tiny at first.
- Over weeks, they swell and take on the iconic star shape.
- The color changes gradually to a bright, translucent golden-yellow.
Care during fruiting:
- Water consistently to support fruit growth.
- Apply a balanced fertilizer (10:10:10) once a month.
- Protect from strong winds that can damage tender branches.
Depending on variety and conditions, fruits mature in about 60–90 days after flowering.
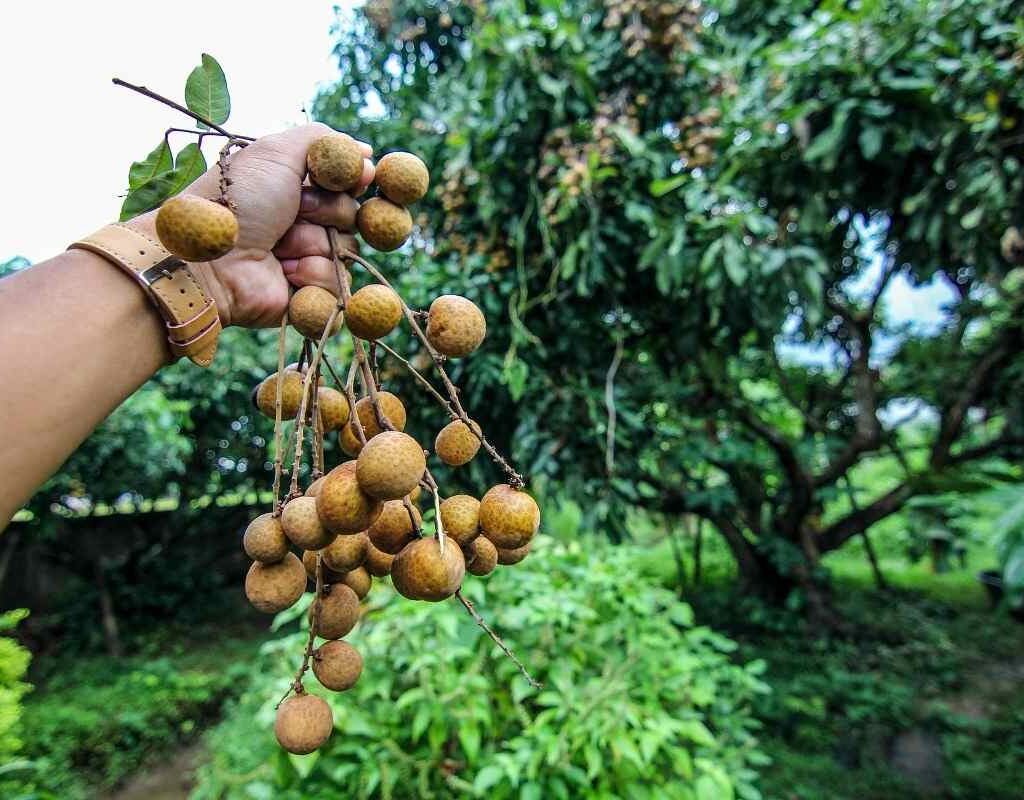
8. Harvesting and Ripening
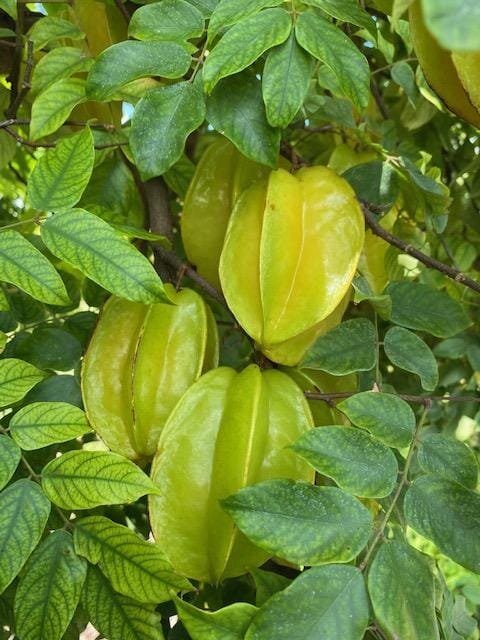
The Carambola fruits are ready to harvest when:
- They turn bright yellow with a hint of green edges.
- The fruit feels firm yet slightly soft to touch.
Use pruning shears to cut the fruits carefully from the branch. They can be eaten fresh, juiced, or used in salads and desserts.
A healthy Carambola plant can produce 2–3 harvests per year under warm, tropical conditions.
9. Common Issues and How to Fix Them
1. Yellowing Leaves
- Cause: Overwatering or poor drainage.
- Fix: Reduce watering and improve soil aeration.
2. Poor Flowering
- Cause: Lack of sunlight or nutrients.
- Fix: Move the plant to full sun and apply phosphorus-rich fertilizer.
3. Fruit Drop
- Cause: Sudden weather changes or irregular watering.
- Fix: Maintain consistent moisture and avoid moving the plant frequently.
4. Pests
- Common pests include aphids, mealybugs, and fruit flies.
- Use neem oil spray every 15 days to keep pests under control.
10. Carambola Growth Timeline Summary
| Stage | Duration | Visible Progress | Key Care Focus |
|---|---|---|---|
| Germination | 1–4 weeks | Seeds sprout, cotyledons open | Moisture & warmth |
| Seedling Growth | 1–3 months | Leaf formation, root growth | Light feeding & sunlight |
| Transplanting | 3–4 months | Stronger roots, repotting | Gentle handling & watering |
| Vegetative Growth | 4–8 months | Branching, leaf thickening | Regular pruning & feeding |
| Flowering | 9–12 months | Pink flowers emerge | Phosphorus-rich feeding |
| Fruiting | 12–18 months | Fruits form & ripen | Consistent watering & care |
11. Nutritional and Ornamental Value
Carambola is not just a beautiful fruit—it’s also packed with health benefits:
- Rich in Vitamin C – boosts immunity.
- Low in calories – perfect for healthy diets.
- Antioxidants – help fight inflammation and oxidative stress.
The tree’s attractive shape, glossy leaves, and pink flowers also make it a great ornamental plant for patios and gardens.
12. Conclusion
Growing Carambola (Star Fruit) from seed and watching its progress over time is a captivating journey of patience, care, and nature’s artistry. From tiny sprouting seeds to lush green trees bearing glistening star-shaped fruits, every phase reveals the beauty of plant life.
Whether you’re studying the plant’s developmental stages for a thesis or cultivating it at home, this time-lapse journey teaches one essential lesson—growth takes time, consistency, and love.
With the right care—ample sunlight, well-drained soil, and regular feeding—your Carambola plant will reward you with stunning fruits that symbolize nature’s creative perfection, shaped like stars and shining just as brightly in your garden.