If you love the taste of juicy, fragrant, and sweet cantaloupe on a summer day, imagine the joy of harvesting one straight from your own garden. Growing cantaloupe (also known as muskmelon) is easier than you might think. With the right care, attention, and a few smart gardening techniques, you can enjoy perfectly ripe, flavorful melons that taste far better than store-bought ones.
In this guide, we’ll walk you through the best tips for growing cantaloupe, from selecting the right variety and preparing the soil to pollination, watering, and harvesting. Whether you’re planting in the ground, raised beds, or containers, these steps will help you grow sweet, delicious cantaloupes that thrive in your garden.
1. Why Grow Cantaloupe at Home?
Cantaloupes are warm-season fruits packed with nutrients, including vitamins A and C, antioxidants, and hydration-rich goodness. When grown at home, they develop a richer flavor because you can let them fully ripen on the vine — something that’s rarely possible with store-bought melons picked early for shipping.
Plus, growing cantaloupe in your backyard or patio garden is incredibly rewarding. The lush vines, fragrant flowers, and golden-orange fruits make your garden both productive and beautiful.
2. Choosing the Right Cantaloupe Variety
The first step to success is choosing a variety suited to your climate and space.
Here are some popular and reliable options:
- Hale’s Best Jumbo: Classic, sweet, and aromatic cantaloupe that performs well in hot climates.
- Ambrosia: Known for its intense sweetness and juicy flesh.
- Minnesota Midget: A compact, early-maturing variety ideal for container or small-space gardening.
- Sugar Cube: High-yielding, disease-resistant, and produces mini melons full of flavor.
- Athena: A favorite hybrid with firm flesh and long shelf life, perfect for home growers.
If you have limited space, go for dwarf or small-fruit varieties that produce equally delicious results.
3. Preparing the Soil
Cantaloupes love loose, fertile, and well-draining soil. They hate soggy conditions, which can cause root rot or fungal diseases.
Ideal soil conditions:
- pH level: Between 6.0 and 6.8 (slightly acidic to neutral)
- Temperature: Soil should be at least 70°F (21°C) before planting
- Texture: Loamy or sandy soil with good drainage
To prepare:
- Mix in plenty of organic compost or aged manure before planting to boost fertility.
- Add bone meal or a balanced organic fertilizer to provide essential nutrients.
- Form slightly raised mounds or hills about 3–4 feet apart — this helps keep roots warm and improves drainage.
Healthy soil is the foundation for sweet, flavorful cantaloupes.
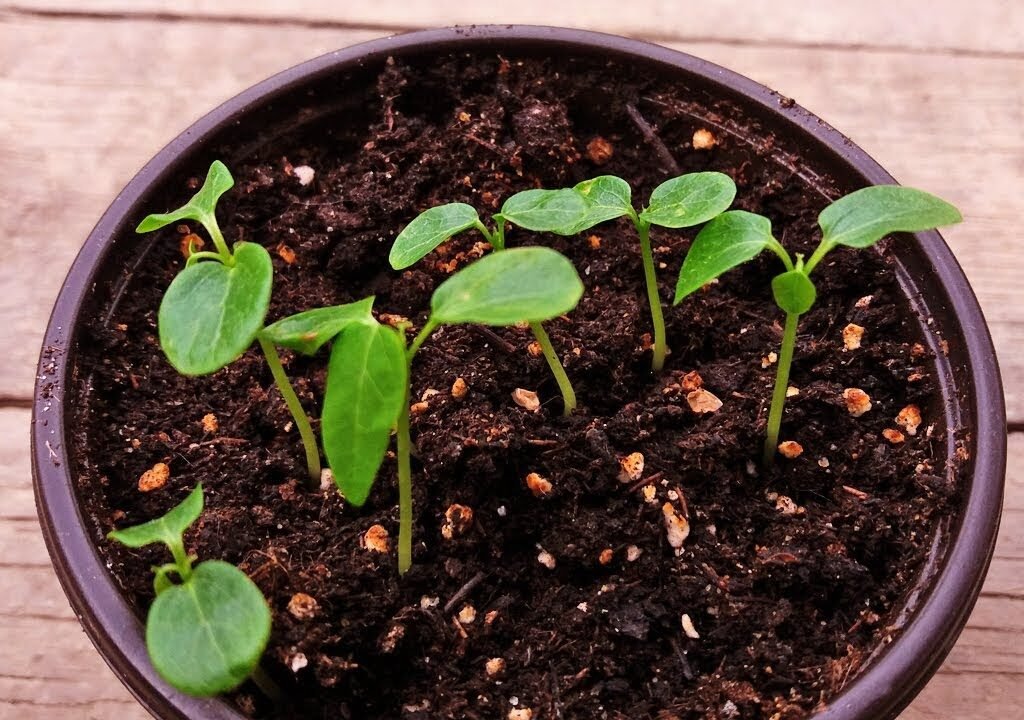
4. Starting Seeds or Transplants
Cantaloupes can be grown either from seeds or nursery transplants.
If starting from seeds:
- Sow seeds 2–3 weeks before the last frost date indoors or directly outdoors once the soil is warm.
- Plant 2–3 seeds per hill, about 1 inch deep.
- When seedlings sprout, thin them to leave the strongest one or two plants per hill.
If transplanting:
- Choose healthy, 3–4-week-old seedlings.
- Transplant carefully to avoid disturbing the roots.
- Harden off seedlings for a few days before planting them outdoors to help them adjust.
Cantaloupes are heat lovers — never plant them too early in cool soil, as this can stunt growth.
5. Provide Full Sun and Warmth
Cantaloupe plants thrive in full sunlight — they need at least 8–10 hours of direct sun daily.
Choose a sunny, sheltered location where vines can spread freely and stay warm. Mulch with black plastic or organic material like straw to retain heat and moisture.
If you live in a cooler climate, consider using row covers or garden cloches to trap warmth during the early growing phase.
6. Watering the Right Way
Cantaloupes need consistent moisture, especially during germination, flowering, and fruit formation. However, overwatering can ruin the flavor and cause diseases.
Follow these watering tips:
- Water deeply but infrequently: Around 1–2 inches of water per week.
- Water at the base of the plant early in the morning.
- Avoid overhead watering, which can lead to mildew and fungal issues.
- As fruits near maturity, reduce watering slightly — this concentrates sugars and makes melons sweeter.
Pro Tip: Use mulch to prevent soil from drying out too quickly and to keep the fruits off the damp ground.
7. Fertilizing for Maximum Sweetness

Cantaloupes are heavy feeders that need a good nutrient balance for vigorous growth and flavorful fruit.
Here’s a simple feeding plan:
- Before planting: Mix compost and an all-purpose organic fertilizer into the soil.
- After vines begin to spread: Feed with a balanced fertilizer (10-10-10 NPK).
- When flowers appear: Switch to a low-nitrogen, high-phosphorus fertilizer to encourage flowering and fruiting.
- During fruit development: Apply compost tea, liquid seaweed, or fish emulsion every 2–3 weeks.
Avoid excessive nitrogen, which encourages leafy growth but reduces sweetness.
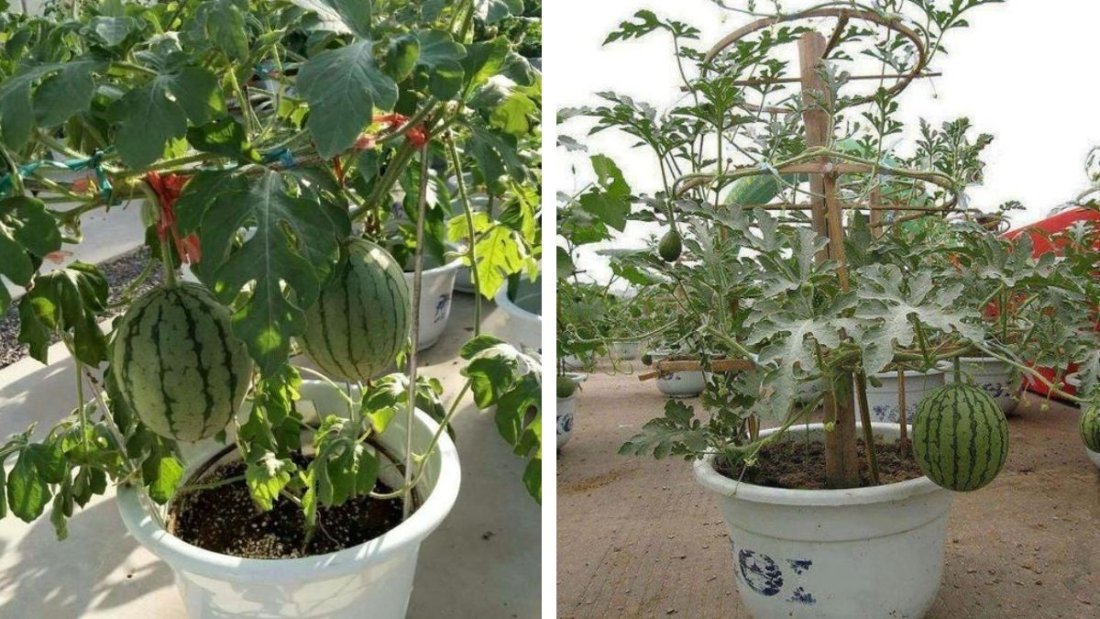
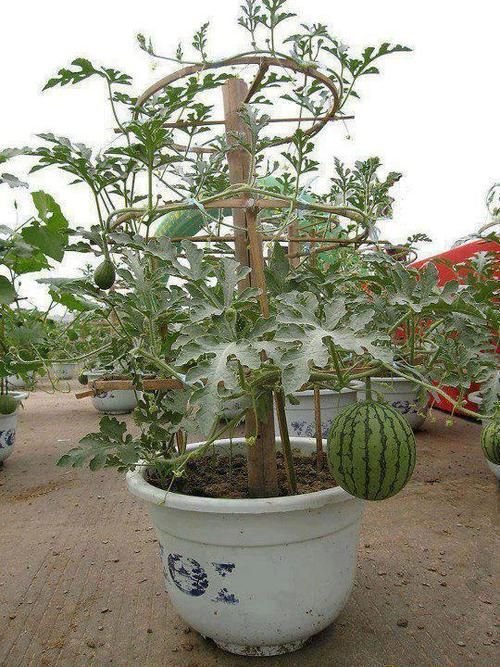
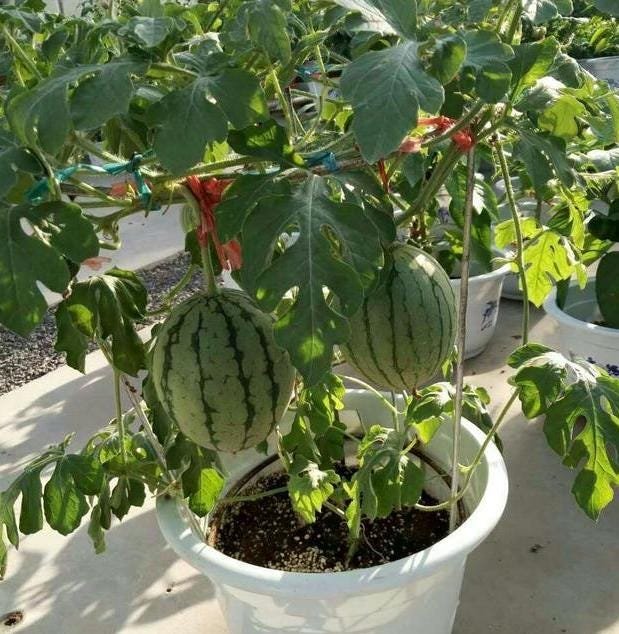
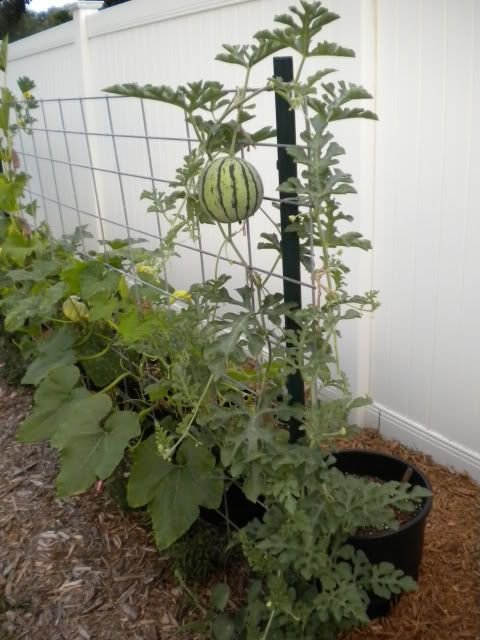
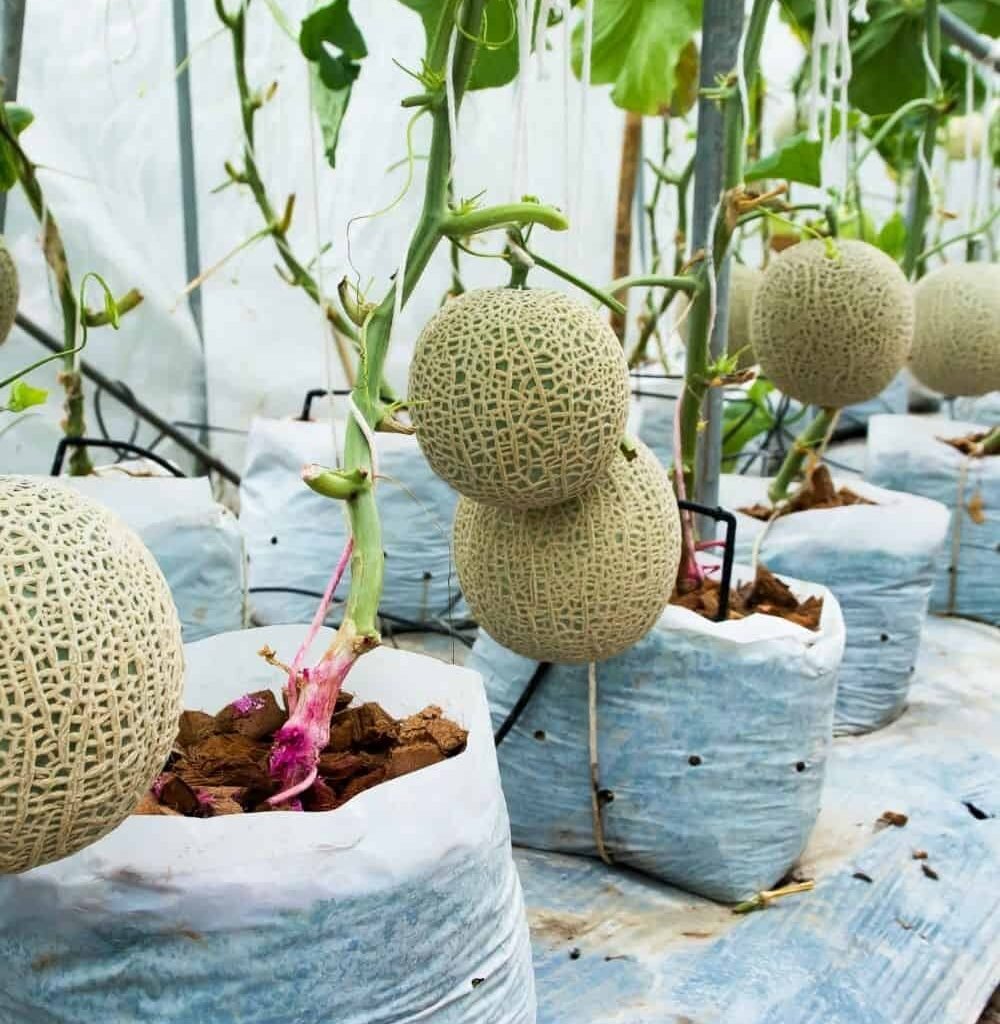
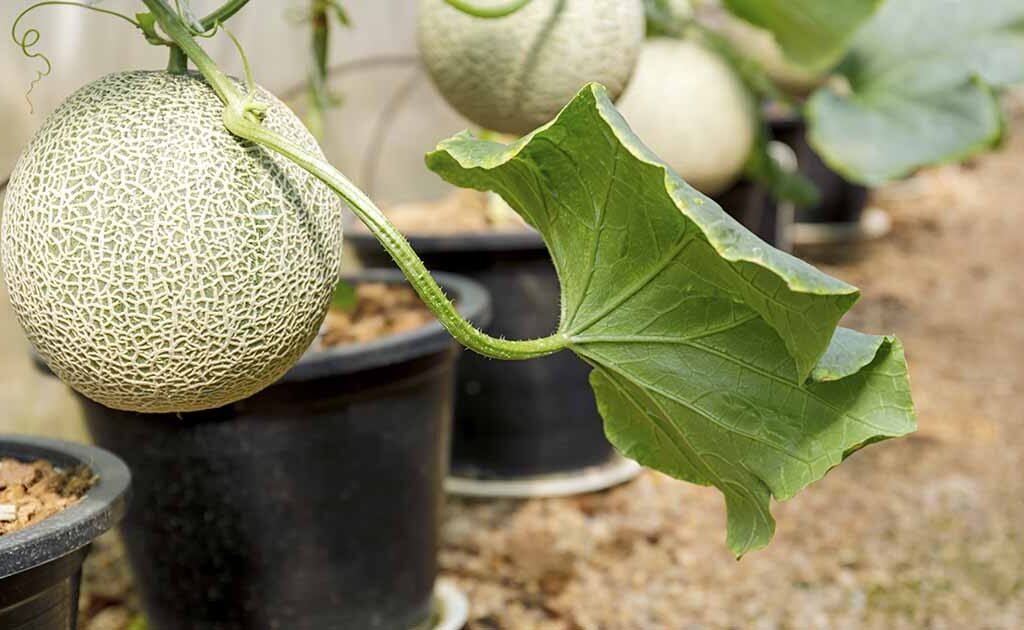
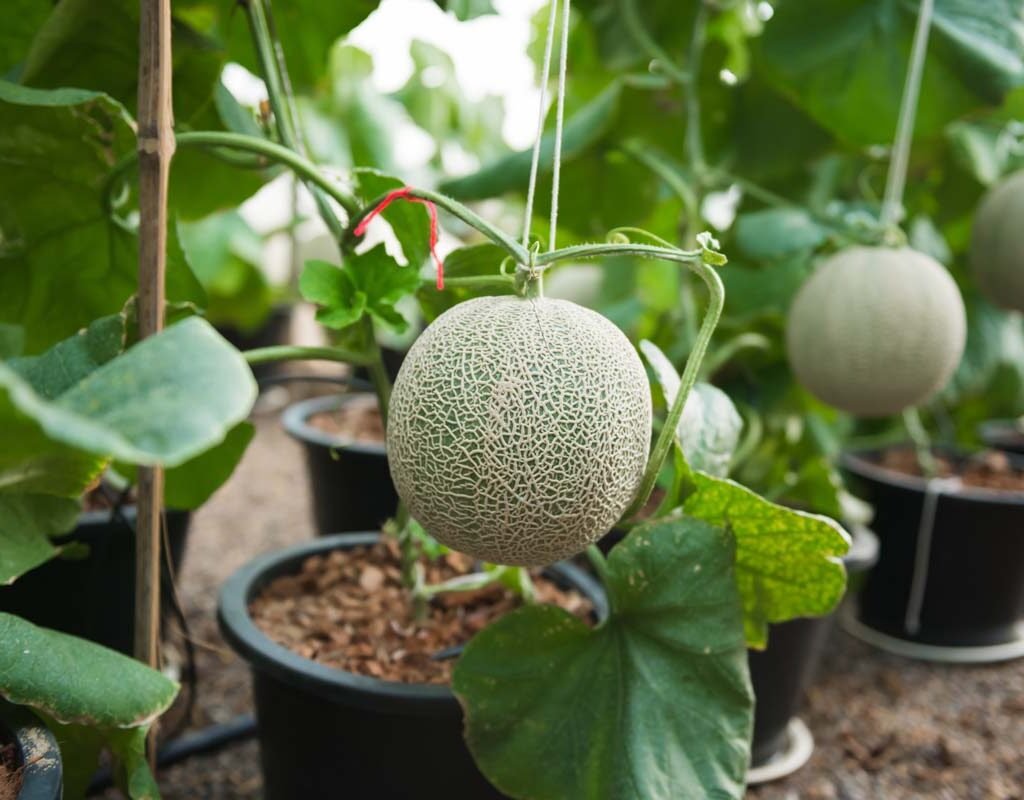
8. Training and Supporting the Vines
Cantaloupe vines love to sprawl, but you can train them to save space and improve air circulation.
If growing on the ground:
- Allow 3–4 feet between plants.
- Use straw or cardboard under developing fruits to prevent rot.
If growing vertically:
- Use a strong trellis or netting to support vines.
- Create slings from old fabric or mesh to cradle the fruits as they grow.
Vertical growing keeps fruits cleaner, reduces pest issues, and makes harvesting easier — perfect for small gardens or patios.
9. Pollination: Key to Fruit Formation
Cantaloupes rely on pollination to produce fruits. Bees are the primary pollinators, but in small or indoor gardens, hand-pollination ensures success.
To hand-pollinate:
- Identify male flowers (on thin stems) and female flowers (with a small fruit behind the petals).
- Gently transfer pollen from the male flower’s stamen to the female flower’s center using a small brush or cotton swab.
- Pollinate early in the morning when flowers are open and fresh.
Without proper pollination, flowers may wither without setting fruit, so ensuring this step is vital.
10. Pest and Disease Management
Healthy cantaloupe plants can sometimes face attacks from pests like aphids, cucumber beetles, spider mites, and squash bugs.
Here’s how to keep them under control naturally:
- Neem oil spray: Effective against most soft-bodied insects.
- Companion planting: Grow basil, marigolds, or nasturtiums nearby to deter pests.
- Floating row covers: Protect young seedlings from beetles.
- Regular inspection: Check leaves’ undersides weekly for pests or eggs.
Common diseases like powdery mildew or downy mildew can be prevented by ensuring good air circulation, watering at the base, and avoiding wet foliage.
11. When and How to Harvest Cantaloupe
Cantaloupes taste best when left to ripen fully on the vine. But how can you tell when they’re ready?
Look for these signs:
- The fruit skin changes from green to a golden tan color with a raised net-like pattern.
- The fruit slips easily from the vine with gentle pressure — this is called “full slip.”
- The base of the fruit smells sweet and fragrant.
- The stem tendril nearest to the fruit turns brown and dries out.
Harvest in the early morning for the best flavor. Handle fruits carefully to avoid bruising and store them in a cool place or refrigerator.
12. Post-Harvest and Regrowth Tips
After harvesting, remove old vines and add the remains to your compost pile. If you live in a warm region, you might get a second flush of fruits by leaving a few healthy side vines intact.
To prepare for the next season, replenish the soil with compost and rotate crops — avoid planting cantaloupes in the same spot for at least two years to reduce disease risks.
13. Secrets to Growing the Sweetest Cantaloupe
To grow melons that are irresistibly sweet and flavorful, follow these special tips:
- Plenty of sun: The more sunlight, the sweeter your melons.
- Reduce watering before harvest: Slight stress increases sugar concentration.
- Feed with potassium-rich fertilizer (like banana peel compost or potash) during fruit ripening.
- Leave melons on the vine until they naturally detach — that’s when flavor peaks.
- Avoid overcrowding so each plant gets enough nutrients and airflow.
By following these, you’ll enjoy juicy, aromatic cantaloupes that taste like pure summer sunshine.
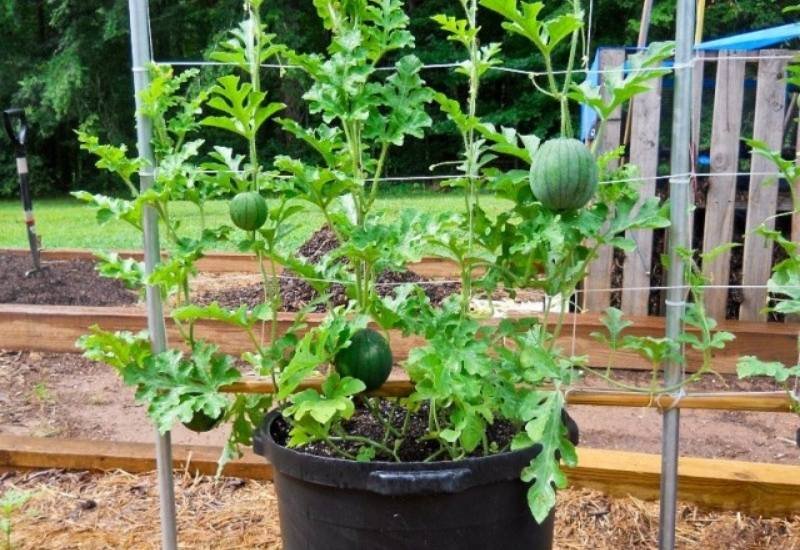
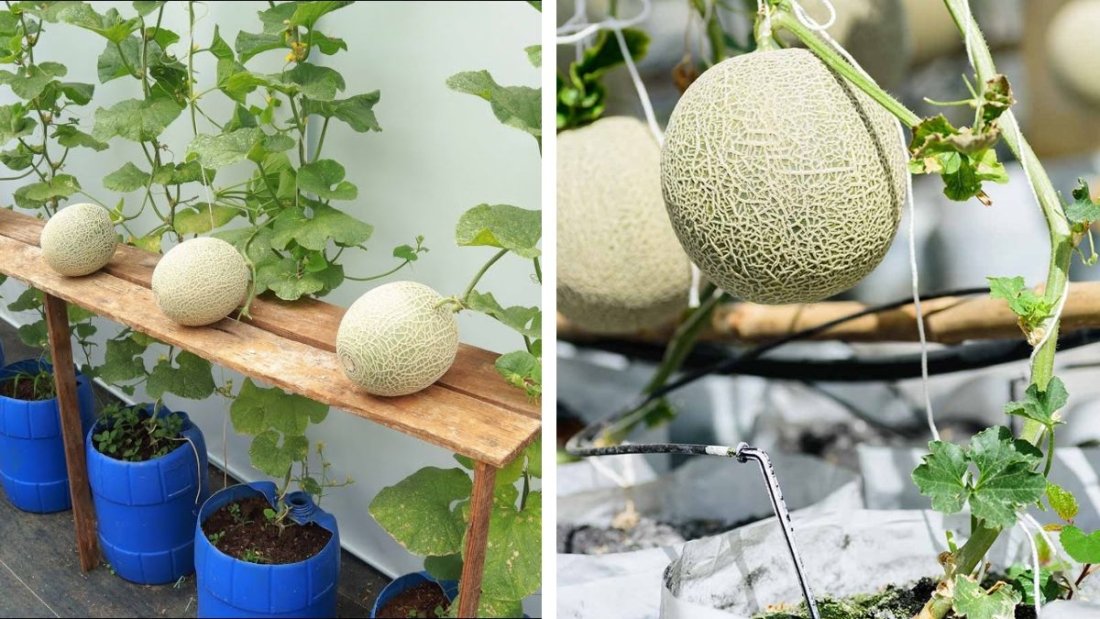
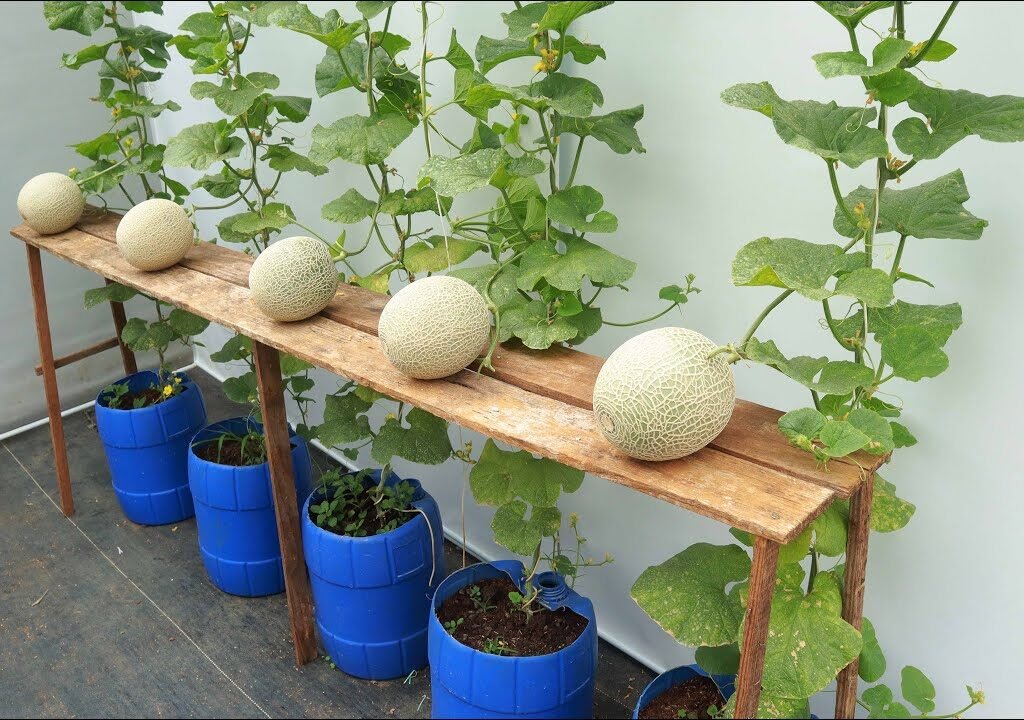
14. Growing Cantaloupe in Containers (Bonus Tip)
Yes, cantaloupe can even be grown in containers!
- Use a 20–25-gallon container with drainage holes.
- Fill it with nutrient-rich, well-draining soil.
- Choose a compact or bush variety like ‘Minnesota Midget’.
- Train vines up a sturdy trellis, and support fruits with fabric slings.
Container-grown cantaloupes may be smaller, but their flavor is just as amazing.
Conclusion
Growing cantaloupe at home is one of the most satisfying experiences for gardeners. With plenty of sunshine, good soil, proper watering, and a little care, you can enjoy sweet, flavorful cantaloupes that rival anything from the store.
Whether you’re gardening in the ground or in containers, these simple tips will help you produce a bountiful harvest of delicious melons that your family will love all summer long.
So grab your seeds, prepare your soil, and get ready to enjoy the taste of homegrown sweetness — because nothing beats the flavor of a cantaloupe grown by your own hands.