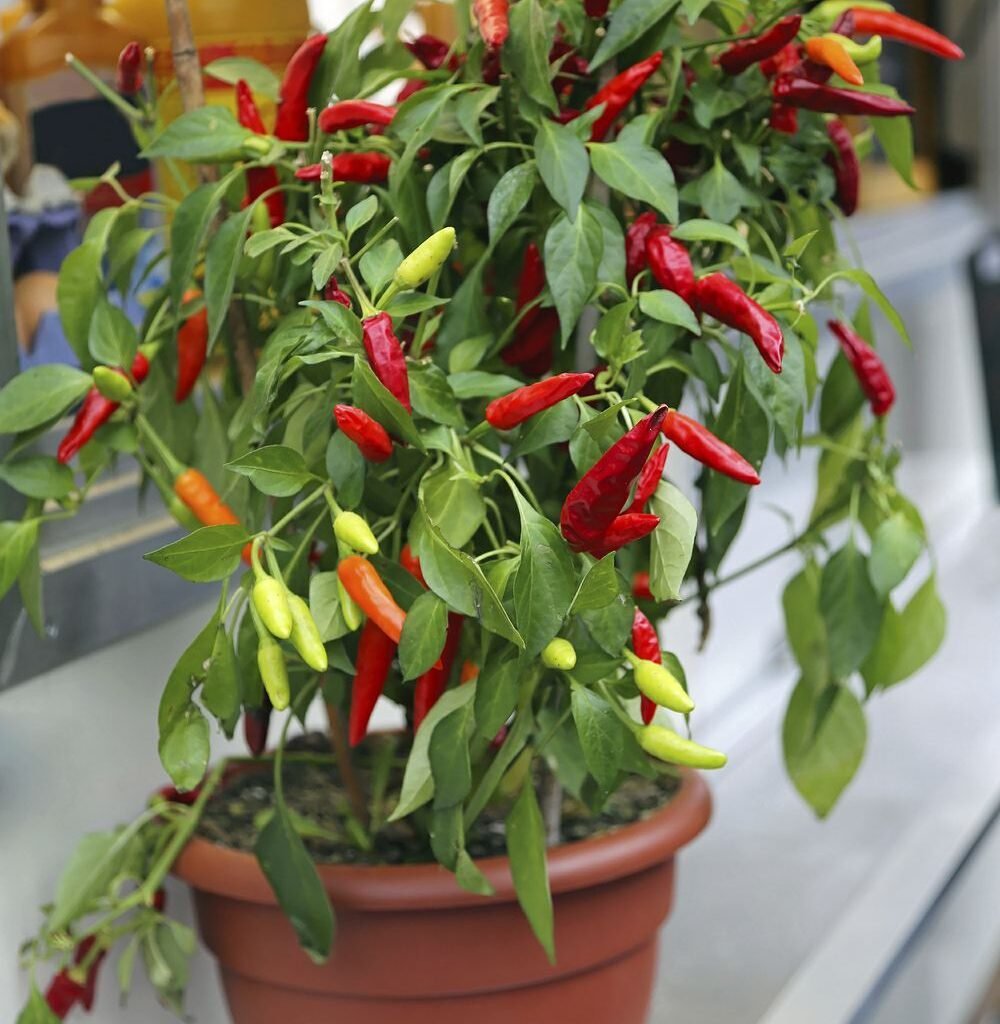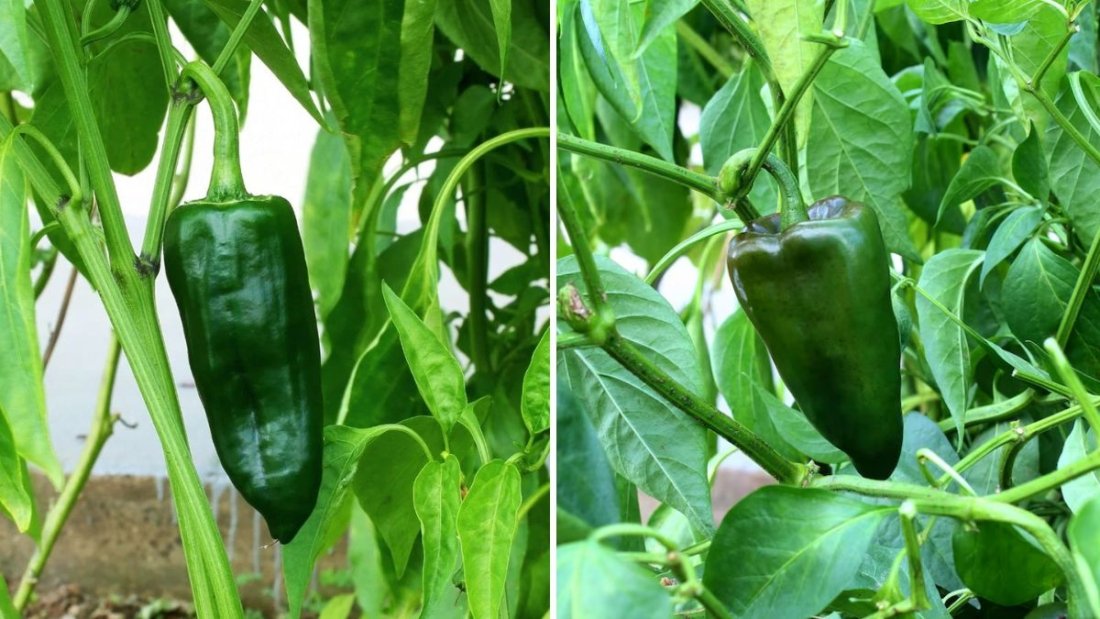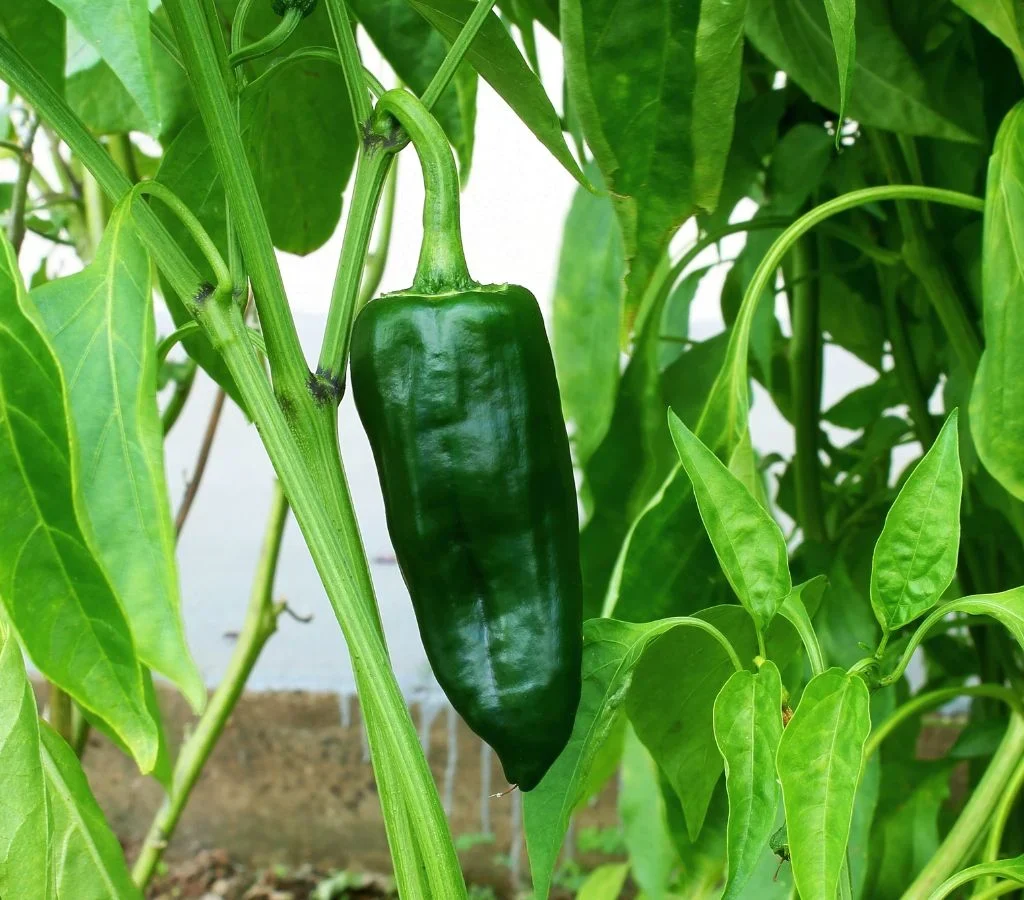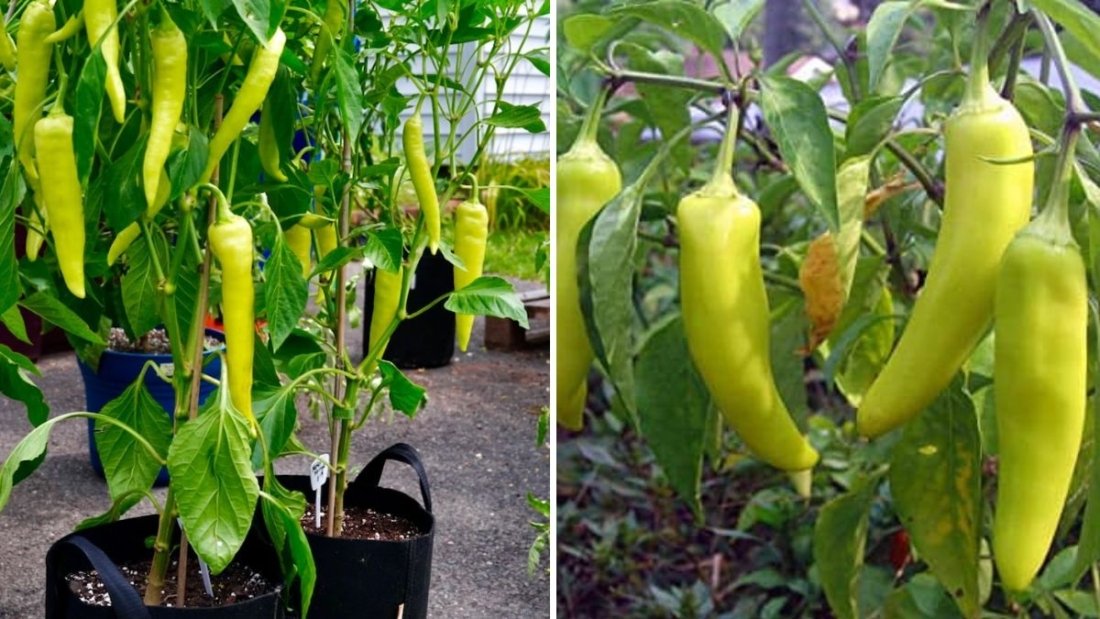
Banana peppers are one of the most rewarding and easy-to-grow vegetables for both new and experienced gardeners. Known for their mild, slightly tangy flavor and attractive yellow color, banana peppers are perfect for pickling, stuffing, grilling, or tossing into salads. Whether you’re growing them in your backyard garden or in containers on your balcony, these cheerful peppers are guaranteed to brighten your space and your meals.
In this detailed guide, inspired by GardenWorld’s “Easy Growing Banana Peppers”, we’ll walk through everything you need to know about growing banana peppers successfully — from planting and care to harvesting and storage. With the right tips, you can enjoy a steady harvest of crisp, mild-flavored peppers all season long.
1. Why Grow Banana Peppers?
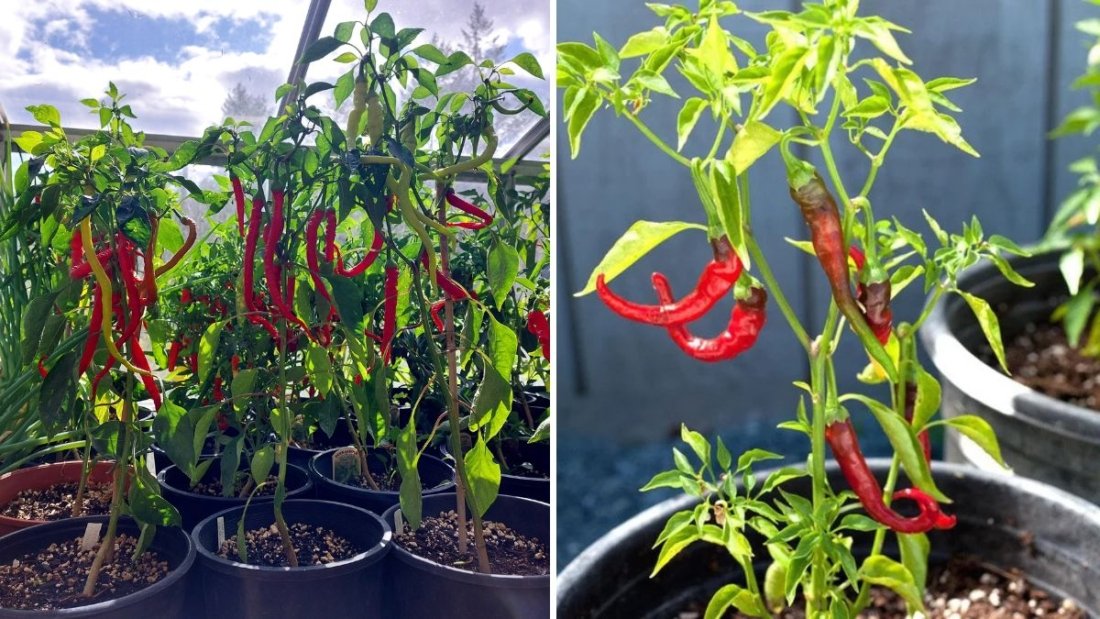
Banana peppers (Capsicum annuum) are named for their long, curved shape and yellow color, resembling bananas. They come in two main varieties: sweet banana peppers and hot banana peppers (sometimes called Hungarian Wax Peppers). Both have thin skins, crisp texture, and a tangy flavor, but the sweet ones are mild while the hot variety packs a gentle kick.
Reasons to grow banana peppers:
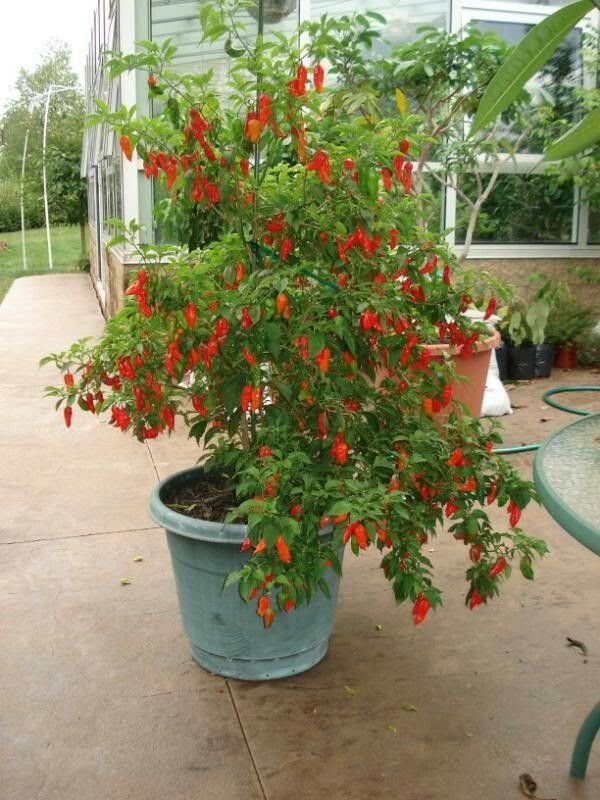
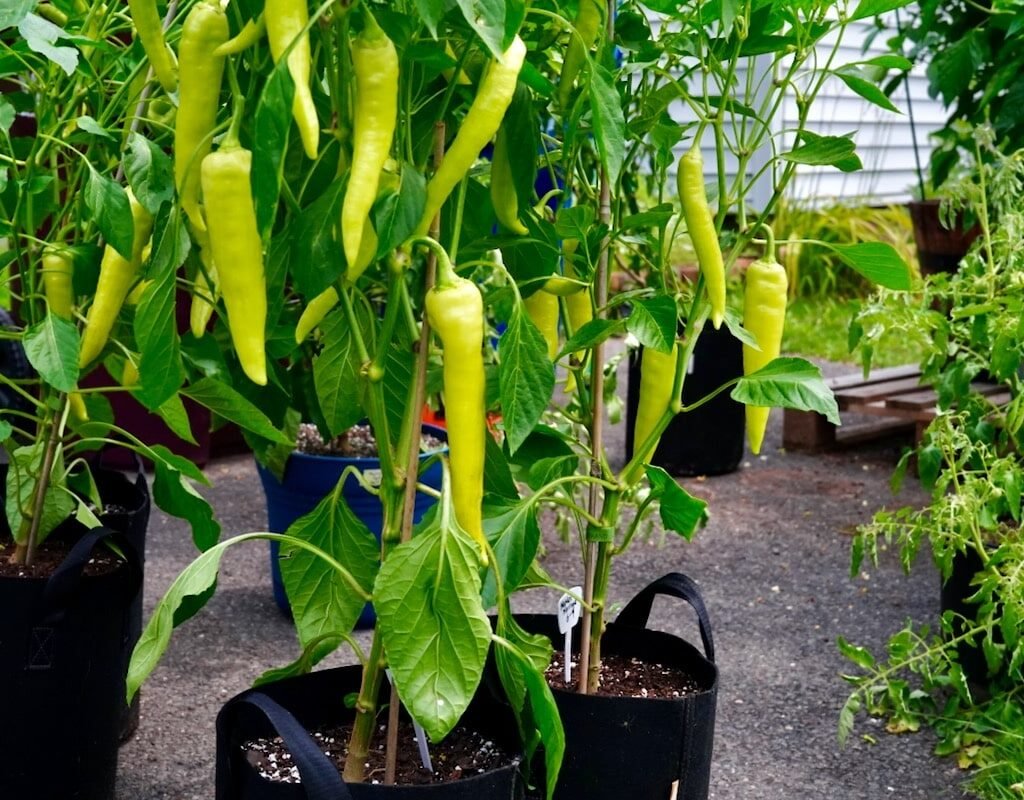
- Easy to grow: They thrive in containers or garden beds.
- Prolific yield: Each plant can produce dozens of peppers over the season.
- Mild flavor: Perfect for families and those who enjoy gentle spice.
- Versatile use: Great for pickling, sandwiches, pizzas, and salads.
Banana peppers are hardy and adaptable, making them ideal for warm and temperate climates alike.
2. Choosing the Right Variety

Before planting, decide which banana pepper type suits your taste and cooking style.
Popular varieties include:
- Sweet Banana Pepper: Mild and tangy, ideal for salads and pickles.
- Hot Banana Pepper (Hungarian Wax): Slightly spicier, great for salsas and sauces.
- Early Sweet Banana: Fast-growing with early harvests.
- Inferno: Hotter and more intense flavor, perfect for spice lovers.
If you’re growing in limited space, look for compact or dwarf varieties suited for container gardening.
3. Starting Banana Peppers from Seed
Banana peppers are warm-season plants that need plenty of sunshine and warmth to thrive. It’s best to start seeds indoors 8–10 weeks before the last frost date.
Steps for Starting Seeds:
- Soak the seeds: Soak them in warm water overnight to soften the outer coat and encourage germination.
- Use seed trays: Fill trays or small pots with a light seed-starting mix.
- Sow the seeds: Plant about ¼ inch deep and gently cover with soil.
- Provide warmth: Keep the temperature between 75–85°F (24–29°C). Use a heating mat if necessary.
- Light: Place under grow lights or a sunny window for 14–16 hours daily.
Germination usually takes 10–14 days. Once seedlings develop 2–3 sets of true leaves, they’re ready for transplanting.
4. Transplanting Seedlings
When seedlings are about 6–8 inches tall and the weather is consistently warm, you can transplant them into containers or garden beds.
How to Transplant:
- Harden off: Gradually expose seedlings to outdoor conditions for 5–7 days before planting.
- Container size: Use a 3–5 gallon pot with good drainage if growing in containers.
- Soil: Choose well-draining, fertile soil rich in organic matter. Ideal pH: 6.0–6.8.
- Spacing: In garden beds, plant 18–24 inches apart.
- Planting depth: Transplant at the same depth as in the seed tray.
- Water well: Water deeply after transplanting to help roots establish.
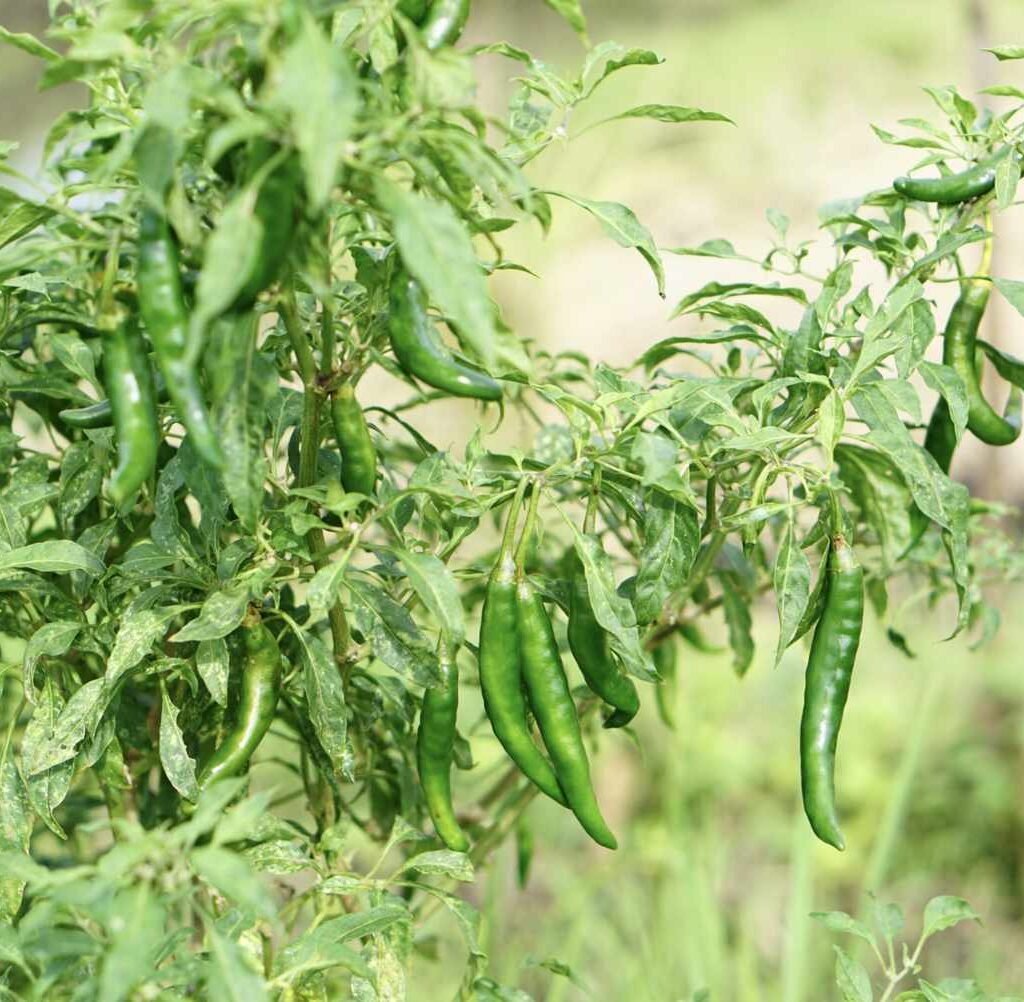
5. Creating the Perfect Growing Conditions

Banana peppers love warm weather, full sunlight, and moist but not soggy soil.
Light:
They need at least 6–8 hours of full sunlight daily. Place containers on sunny patios or balconies.
Temperature:
- Ideal daytime range: 70–85°F (21–29°C)
- Nighttime minimum: 60°F (15°C)
Avoid planting too early in cool weather — cold temperatures can stunt growth and delay flowering.
Soil Preparation:
Mix compost or well-rotted manure into the soil before planting to boost fertility. Good drainage is crucial to prevent root rot.
6. Watering and Feeding Banana Peppers
Consistent watering and proper nutrition are key to healthy plants and abundant yields.
Watering Tips:
- Water deeply 2–3 times a week, depending on weather.
- Keep soil evenly moist, but not waterlogged.
- Use mulch (straw or dry leaves) around plants to retain moisture and control weeds.
- Water early in the morning to prevent evaporation and leaf diseases.
Fertilizing:
- Apply a balanced fertilizer (10-10-10) every 3 weeks during early growth.
- When flowering begins, switch to a fertilizer high in potassium and phosphorus (like 5-10-10) to encourage fruiting.
- Avoid excessive nitrogen, which promotes leafy growth instead of peppers.
7. Supporting and Pruning Your Plants
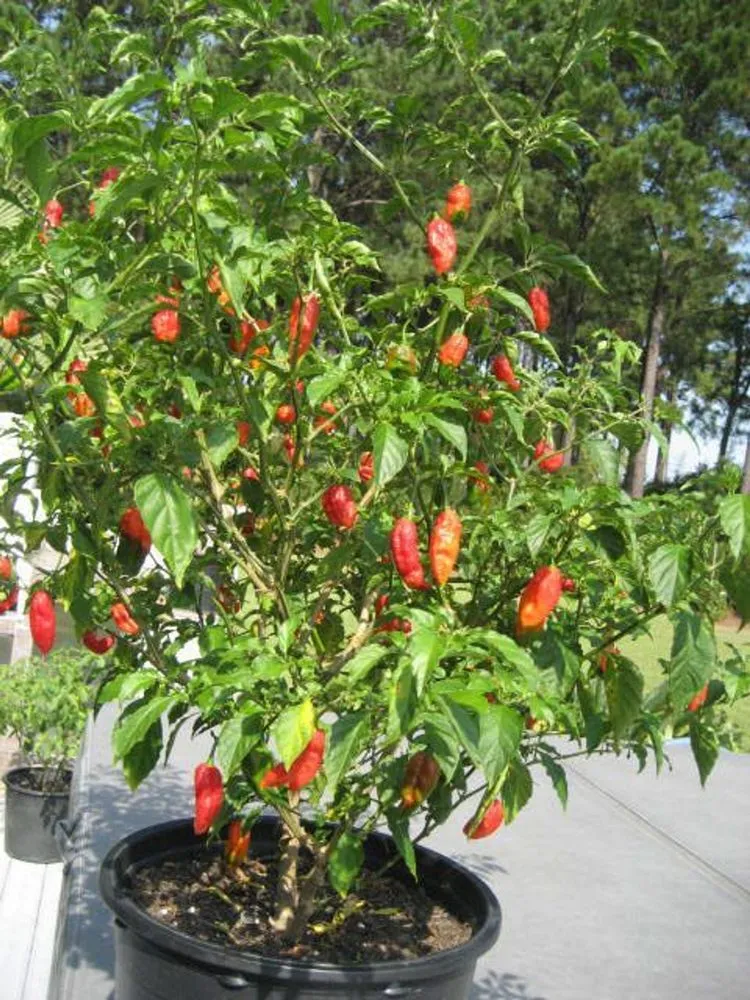
Banana pepper plants can grow 2–3 feet tall, and heavy fruits may weigh down the stems.
Support Tips:
- Use a stake or small cage to keep plants upright.
- Tie stems gently using soft twine or fabric strips.
Pruning Tips:
- Remove the lower leaves to improve air circulation.
- Pinch off the first few flowers to encourage stronger plant growth before fruiting.
- Trim yellow or damaged leaves to maintain plant health.
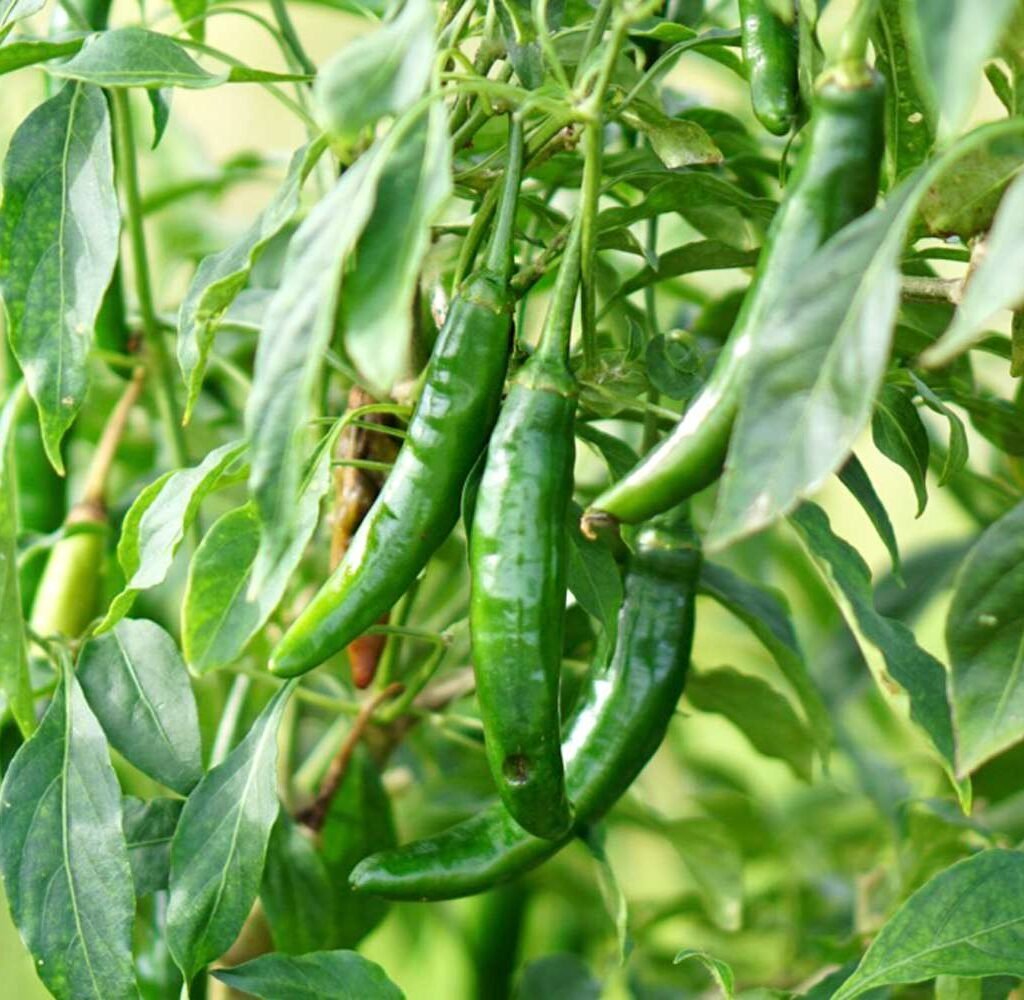
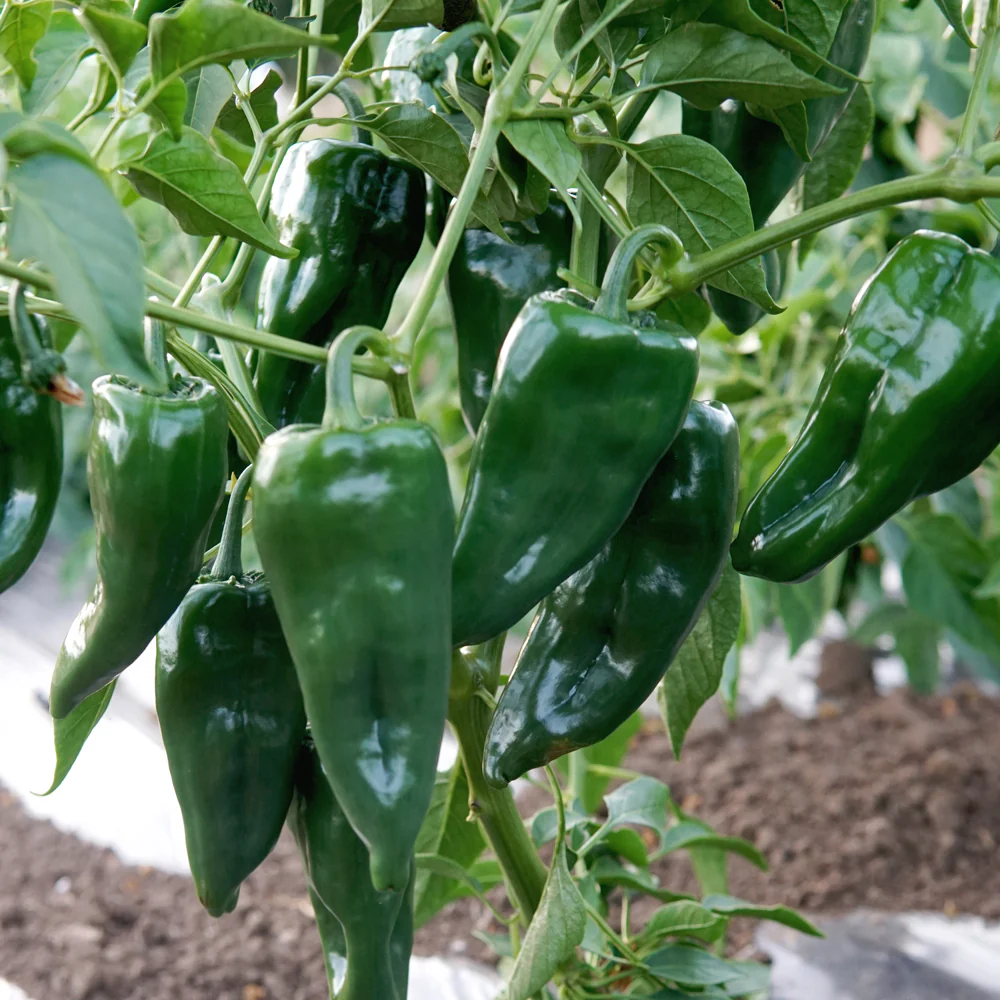
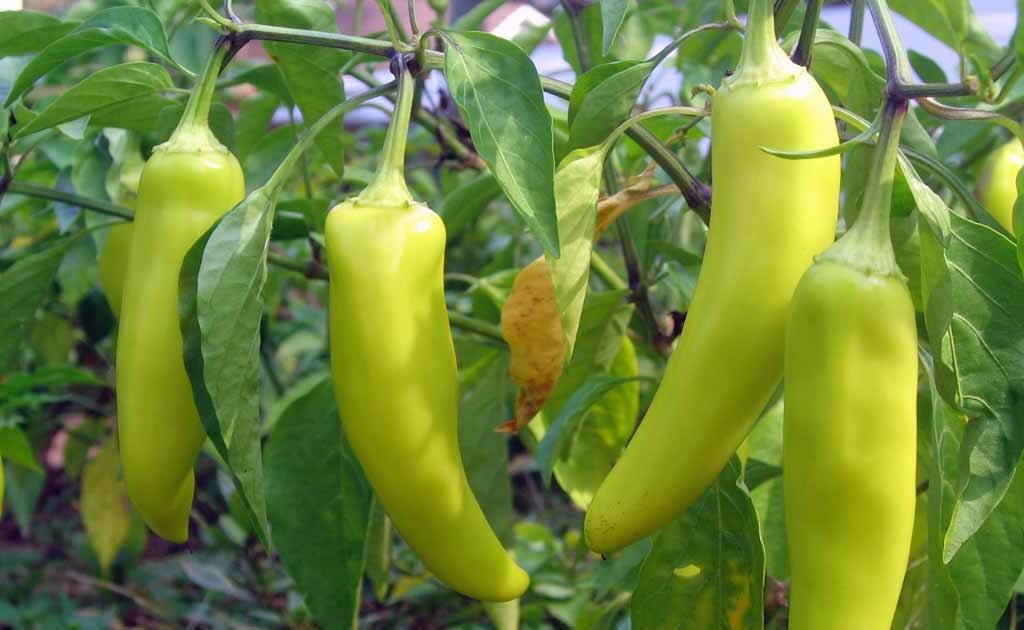
8. Flowering and Fruit Formation
Once your banana pepper plant matures, it will start producing clusters of small white flowers. Each flower can become a pepper with proper pollination.
Pollination Tips:
- Bees and wind are natural pollinators; encourage pollinators with nearby flowering herbs.
- If growing indoors, hand-pollinate using a soft brush or gently shake the plant to move pollen.
Proper pollination ensures higher yields and well-shaped fruits.
9. Common Problems and Their Fixes
Even though banana peppers are relatively trouble-free, a few issues can arise.
1. Flower drop or no fruit:
Caused by temperature stress or over-fertilization. Maintain steady warmth and avoid excess nitrogen.
2. Yellowing leaves:
Could be due to nutrient deficiency or overwatering. Check drainage and feed with compost tea or organic fertilizer.
3. Pests:
Watch for aphids, spider mites, and whiteflies. Use neem oil spray or insecticidal soap once a week.
4. Diseases:
Prevent fungal diseases like powdery mildew by watering at the soil level, not the leaves. Ensure good air circulation.
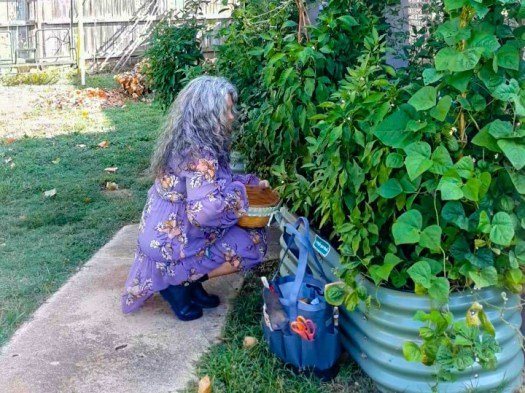
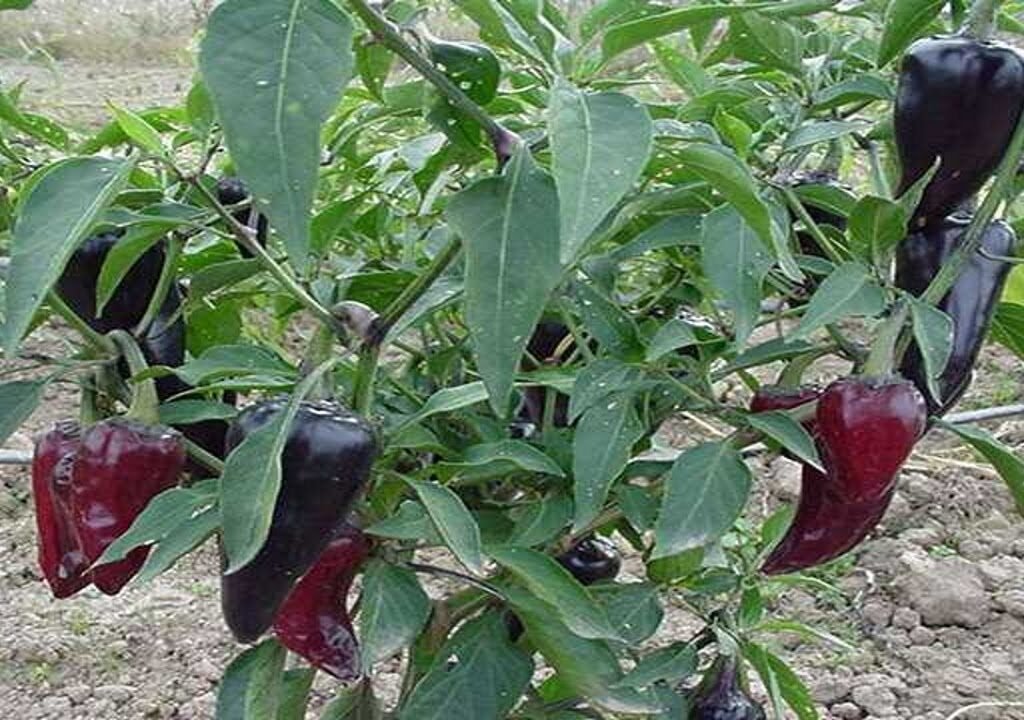
10. Harvesting Banana Peppers
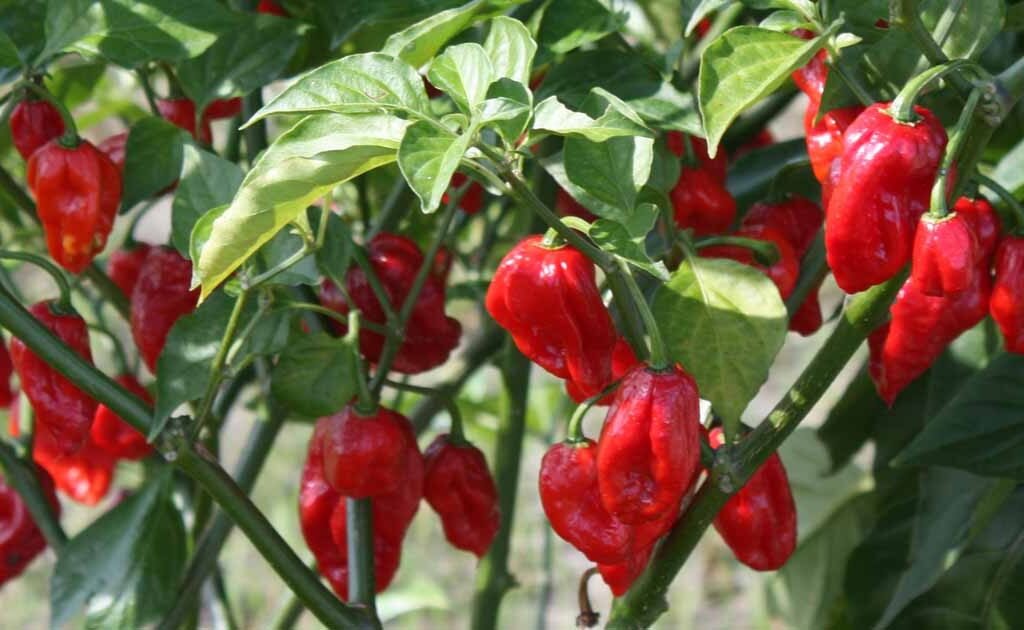
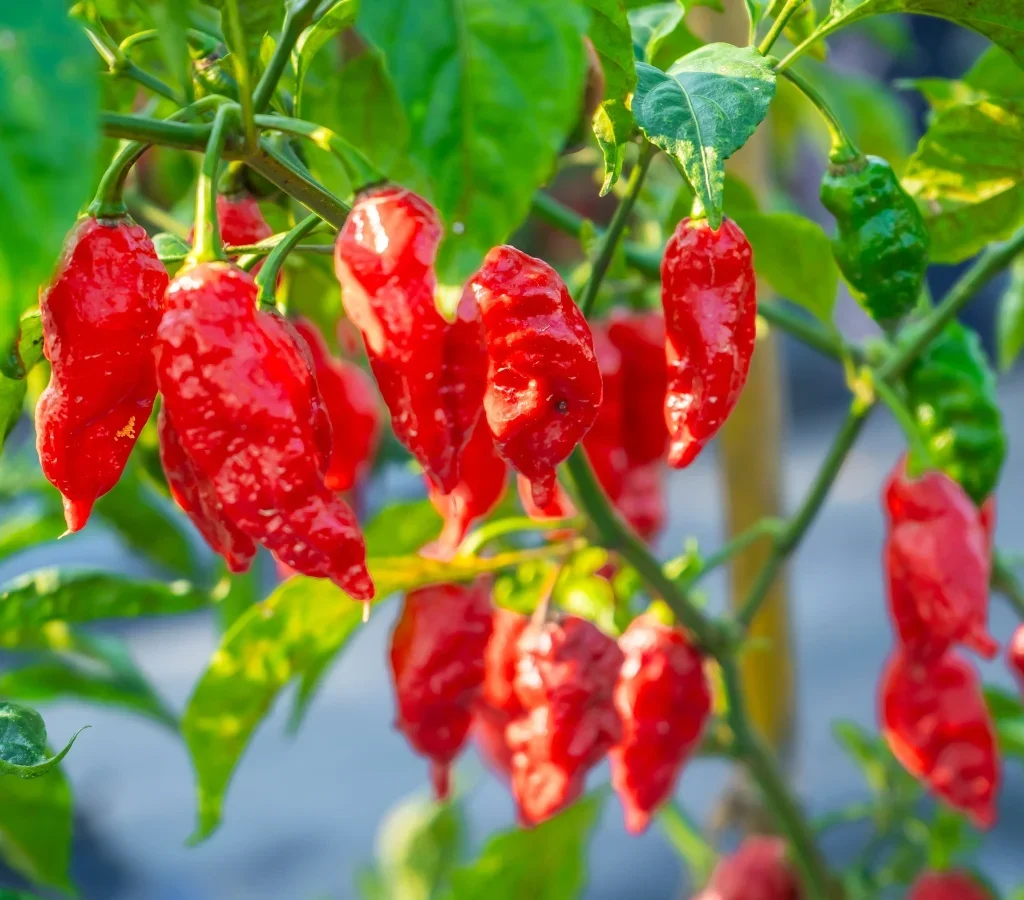
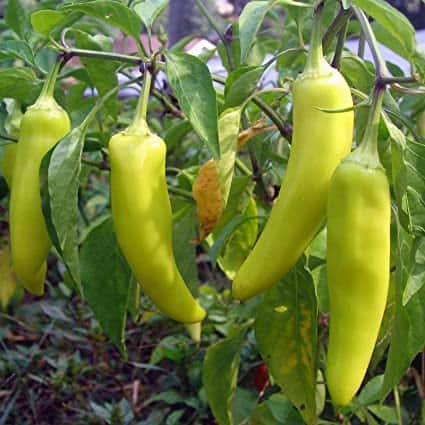
Banana peppers start out pale yellow, then turn orange and finally red as they ripen. You can harvest them at any color stage depending on your preference.
For the best flavor:
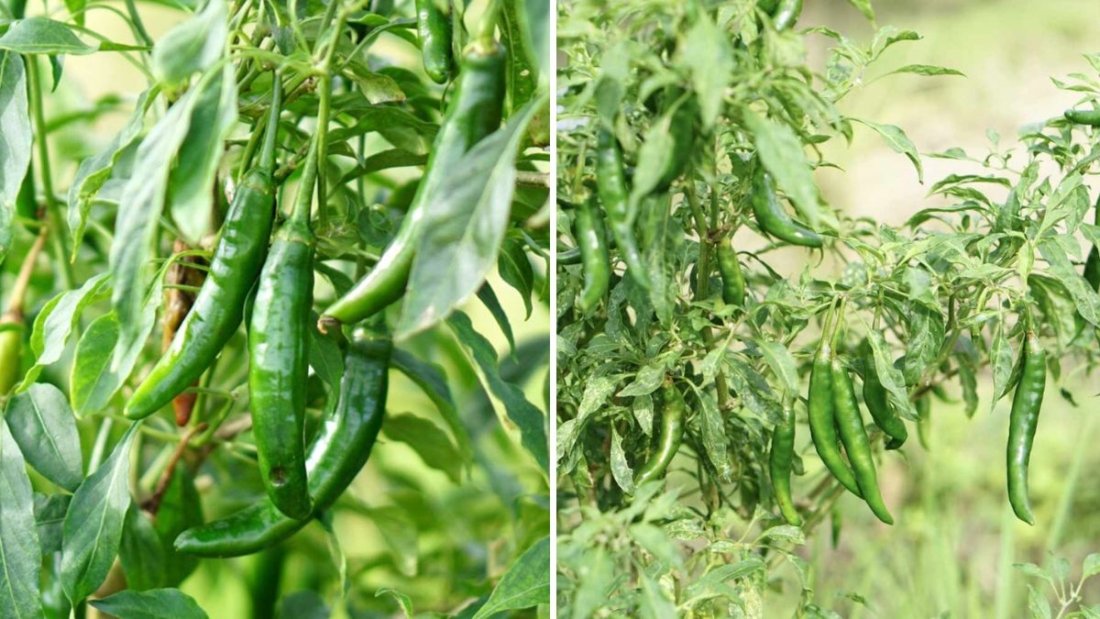
- Pick when they are bright yellow and firm for a mild, tangy taste.
- Leave them on the plant longer for sweeter and slightly hotter peppers.
Use scissors or pruning shears to cut peppers, leaving a short stem attached to avoid damaging the plant.
Tip: Frequent harvesting encourages the plant to produce more peppers!
11. Storing and Using Banana Peppers
After harvesting, banana peppers can be stored, preserved, or used fresh.
Storage Tips:
- Fresh: Store in a paper bag in the refrigerator for up to 10 days.
- Frozen: Slice and freeze in airtight containers for long-term storage.
- Pickled: Banana peppers are excellent for pickling — simply slice and store in vinegar with salt, sugar, and spices.
- Dried: Dehydrate for use in sauces or seasoning blends.
Culinary Uses:
- Add to sandwiches, salads, pizzas, or stir-fries.
- Stuff with cheese or meats for a delicious appetizer.
- Use pickled banana peppers as a tangy condiment.
12. Overwintering Your Banana Pepper Plants
If you live in a cold climate, you can keep your banana pepper plants alive through the winter and enjoy earlier harvests next season.
Steps:
- Before the first frost, prune your plant back to 6–8 inches.
- Move it indoors to a sunny window or under grow lights.
- Water sparingly and keep the soil slightly moist.
- Once spring returns, gradually reintroduce it to outdoor sunlight.
This way, your plant can live for several seasons, producing peppers even earlier each year.
13. Final Thoughts
Growing banana peppers is a fun, simple, and rewarding experience. Their cheerful yellow hue, mild taste, and versatility in cooking make them a must-have addition to any home garden. With a few containers, some good soil, and consistent care, you can enjoy an abundant harvest of these delicious, mild peppers all season long.