Taro (Colocasia esculenta) is a tropical plant prized for its delicious starchy roots and nutritious, edible leaves. Known as arbi in India, dasheen in the Caribbean, and kalo in Hawaii, this versatile crop is a staple in many cuisines worldwide. The best part? You don’t need a large farm or a tropical forest to grow taro successfully — you can cultivate it right at home in pots or containers!
In this complete guide, we’ll walk you through everything you need to know about growing taro at home, from choosing the right container and soil mix to planting, caring, and harvesting both its roots and lush green leaves.
1. Understanding the Taro Plant
Before you start growing taro, it’s essential to understand its nature. Taro is a tropical perennial plant that thrives in warm, humid environments with consistent moisture. Both the root (corm) and leaves are edible once cooked, but never consume them raw — they contain calcium oxalate crystals that can irritate your mouth and throat.
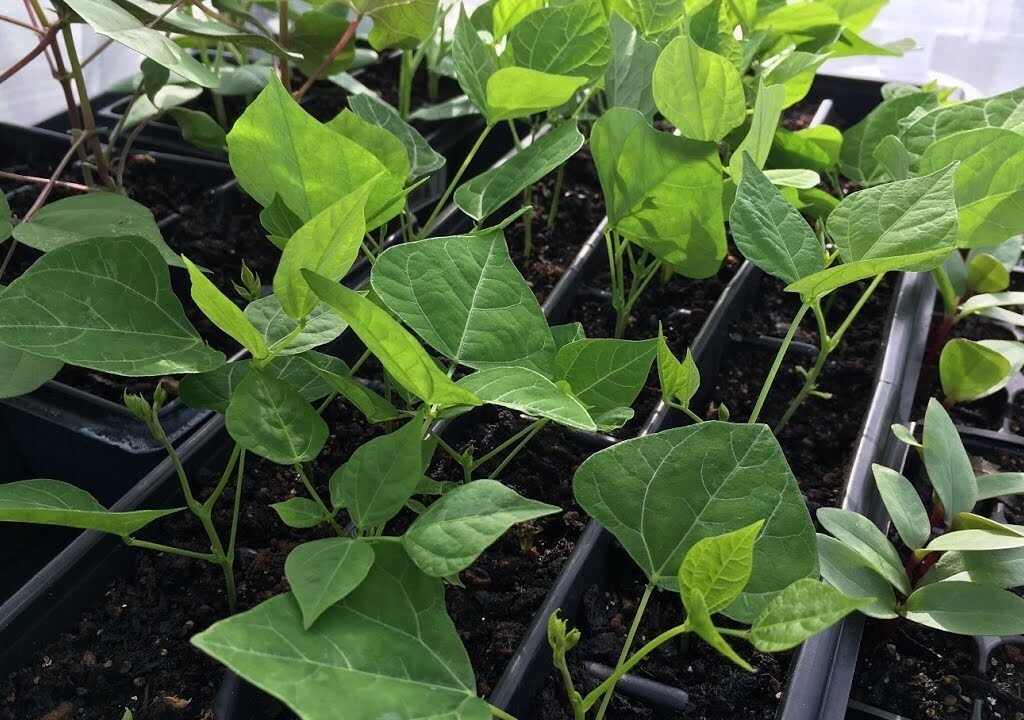
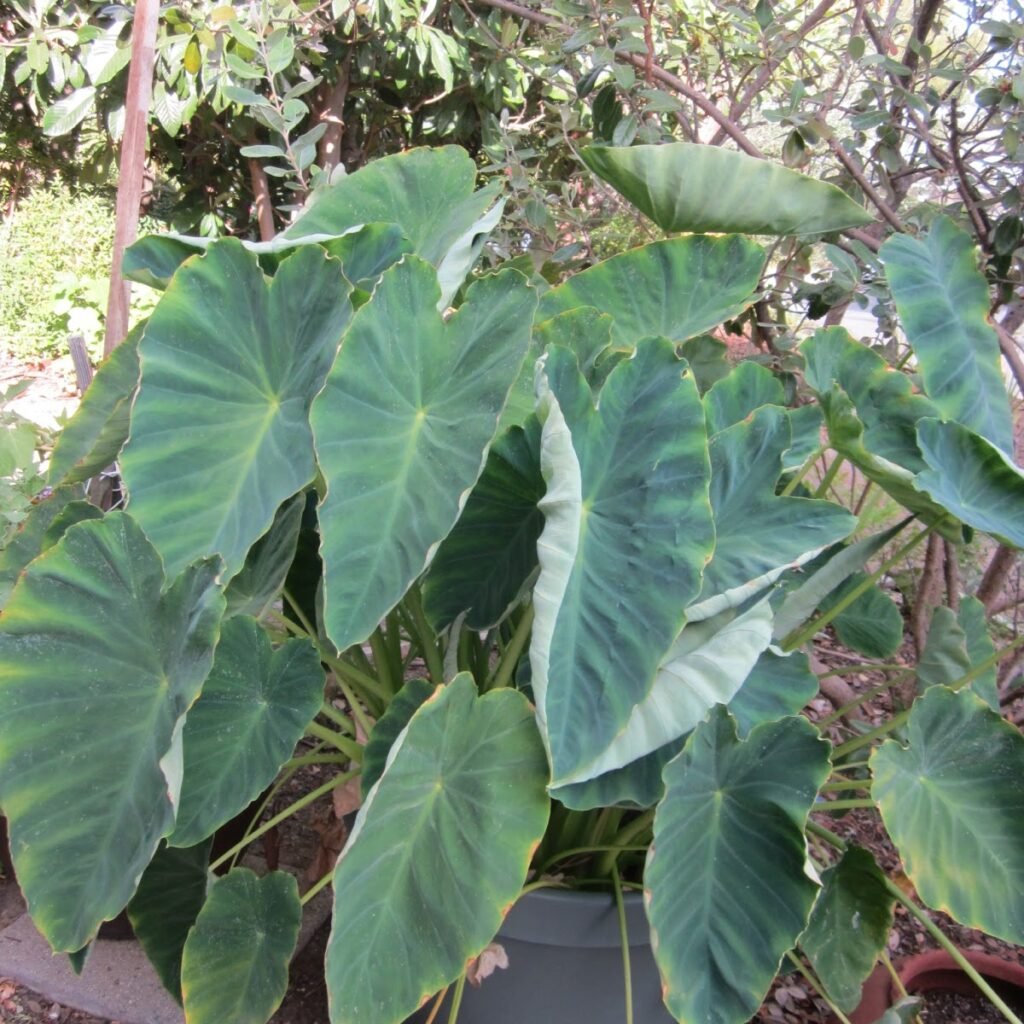
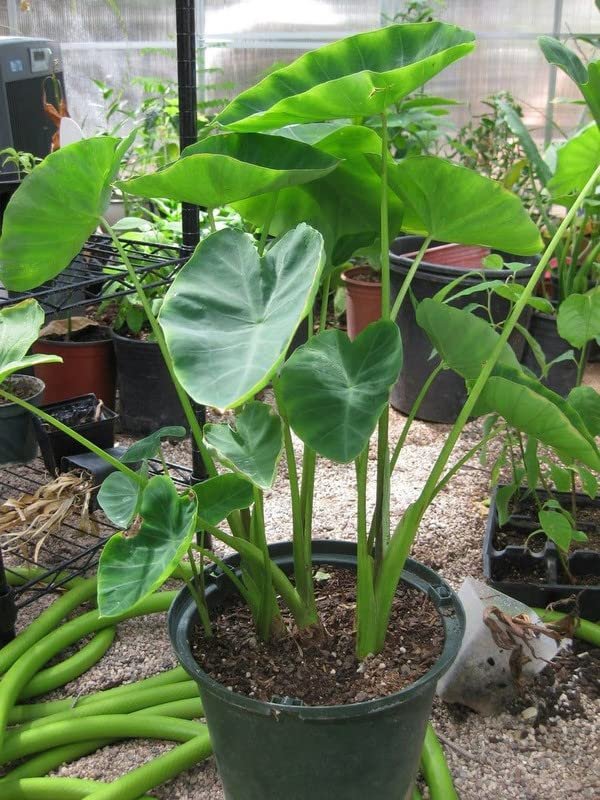
Taro has large, heart-shaped leaves that resemble elephant ears, making it both an ornamental and edible plant. It’s perfect for container gardening if you live in a warm region or can provide a cozy indoor space during cooler months.
2. Choosing the Right Pot and Location
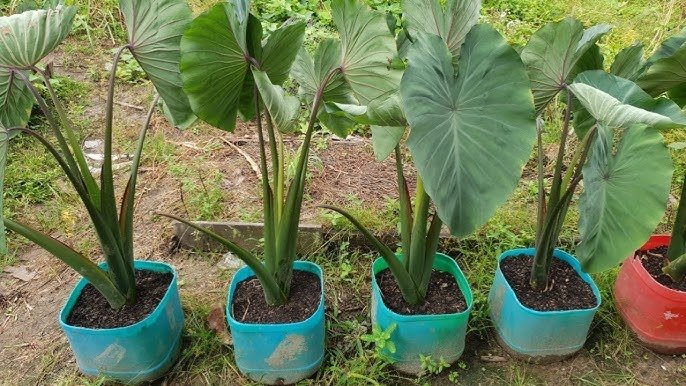
Taro plants need plenty of space for their roots to expand. Choose a large, deep container — at least 18 to 24 inches deep and 20 inches wide. The container should have drainage holes, but since taro loves moisture, you can keep the soil slightly wet at all times.
Ideal pot materials:
- Plastic or ceramic pots retain moisture well.
- If you use clay pots, water more frequently, as they dry out faster.
Placement:
Taro thrives in partial to full sunlight. Ideally, place your pot in a spot that receives 4–6 hours of bright, indirect sunlight daily. In cooler regions, it can be grown indoors near a sunny window or under grow lights.
3. Preparing the Perfect Soil Mix
Taro prefers rich, well-draining but moisture-retentive soil. It loves water, but the roots shouldn’t sit in stagnant water for too long.
Best soil mix for potted taro:
- 50% garden soil or loamy soil
- 25% compost or well-rotted manure
- 25% coco peat or organic matter for moisture retention
You can also add a handful of sand or perlite for drainage balance. Mix everything thoroughly before planting.
For a nutrient boost, mix in bone meal or vermicompost to support root development.
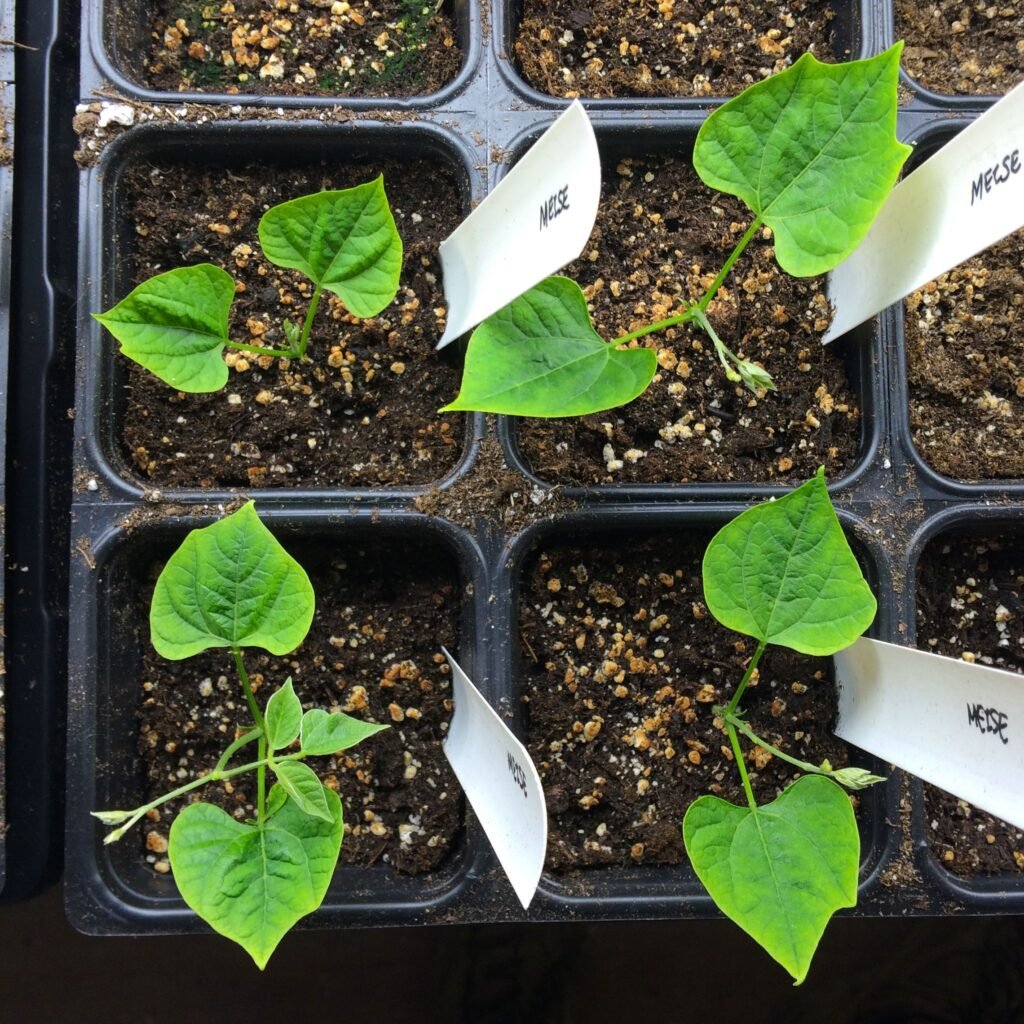
4. How to Plant Taro in Pots
You can start taro from either taro corms (roots) or offsets (baby plants) from a mature plant.
Step-by-step planting guide:
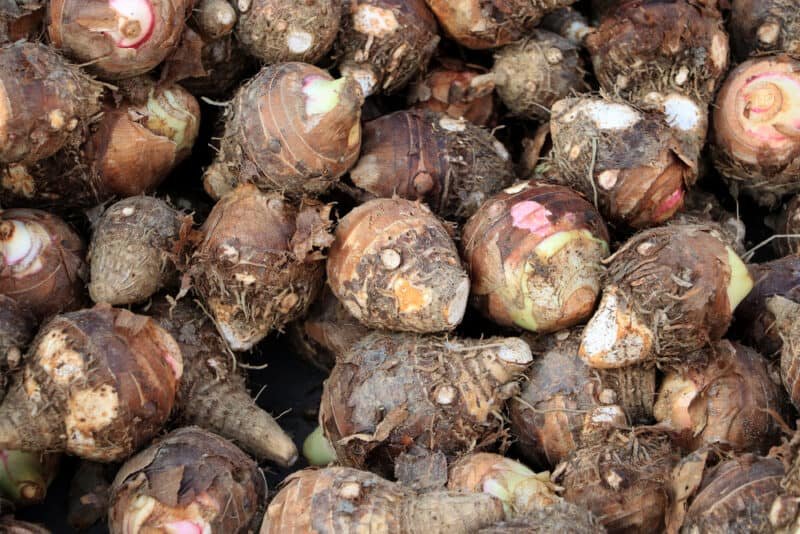
- Select a healthy corm: Choose one that’s firm, plump, and has at least one visible “eye” or bud. Avoid shriveled or moldy ones.
- Cut into pieces (optional): If the corm is large, cut it into chunks ensuring each piece has an eye. Let the pieces dry for a day before planting to avoid rotting.
- Planting depth: Bury the corm 4–6 inches deep in the center of the pot, with the eye facing upward.
- Water thoroughly: After planting, water generously to moisten the soil completely.
Keep the pot in a warm place (ideally above 20°C or 68°F). In a few weeks, you’ll see shoots emerging from the soil.
5. Watering and Moisture Management
Taro is a water-loving plant, often grown in paddy-like conditions in tropical regions. When growing it in pots, try to mimic that environment by keeping the soil consistently moist.
Watering tips:
- Water daily or every other day depending on temperature.
- The soil should never dry out completely.
- If you can, place a shallow tray under the pot to retain extra water for humidity.
- During the rainy season, ensure excess water can still drain away to prevent root rot.
If your environment is very dry, lightly mist the leaves to increase humidity.
6. Fertilizing for Healthy Growth
Taro plants are heavy feeders. To produce lush leaves and plump corms, feed them regularly with organic fertilizers.
Fertilizer schedule:
- At planting: Mix compost or cow dung into the soil.
- After 30 days: Apply liquid fertilizer or diluted fish emulsion once every two weeks.
- Mid-growth stage: Add a balanced NPK fertilizer (10-10-10) monthly to encourage root and leaf growth.
- Late stage: Reduce nitrogen feeding to allow the plant to focus on corm development.
Always water after fertilizing to prevent root burn.
7. Managing Pests and Diseases
Like most leafy vegetables, taro can be affected by pests such as aphids, spider mites, and leafhoppers.
Natural pest control tips:
- Spray neem oil once a week.
- Use a mild soap water spray for aphids.
- Check the underside of leaves regularly for pests or eggs.
Fungal diseases like leaf blight may appear in overly wet or shaded conditions. Ensure proper air circulation around the plant and avoid overhead watering.
8. Supporting Leaf Growth
Taro leaves are edible and can be harvested during the plant’s growing period. However, don’t cut too many leaves at once — the plant needs them for photosynthesis.
Tips for healthy leaves:
- Keep the soil nutrient-rich.
- Maintain consistent moisture.
- Avoid direct harsh afternoon sun that may scorch the leaves.
Young leaves can be harvested for cooking in stews and curries once the plant has matured for 8–10 weeks.
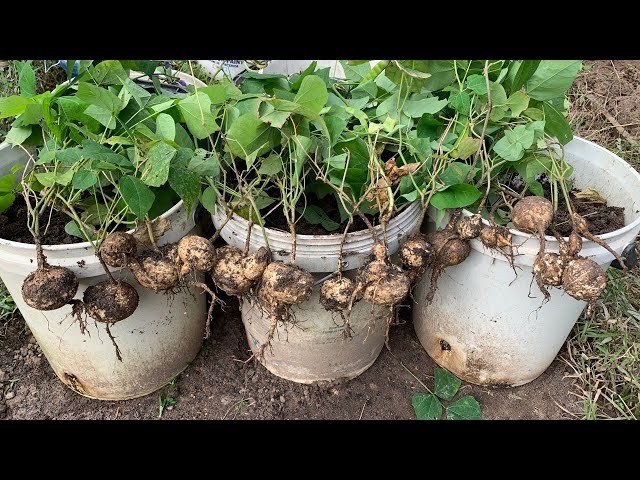
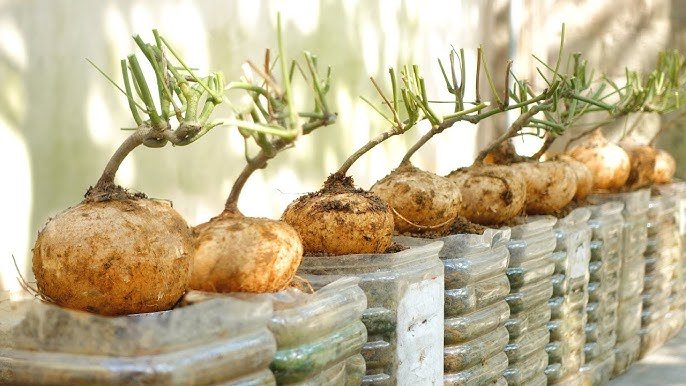
9. Harvesting Taro Roots
Taro takes around 8 to 10 months to reach maturity, depending on temperature and care.
Signs that your taro is ready for harvest:
- The lower leaves start to yellow and wither.
- The soil around the base may crack slightly as the corms expand.
How to harvest:
- Stop watering a week before harvest to allow the soil to dry slightly.
- Gently loosen the soil and lift the plant out of the pot.
- Shake off excess soil and carefully separate the corms.
Small side corms (baby taros) can be saved and replanted for the next crop.
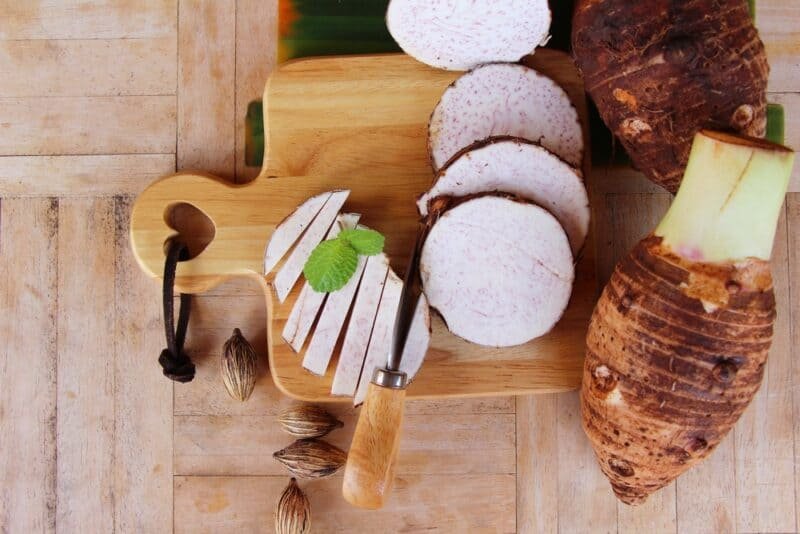
10. Using and Storing Taro
Once harvested, taro roots can be stored in a cool, dry place for 2–3 weeks. Avoid refrigerating them as it can cause chill injury.
Culinary uses:
- Taro roots: Can be boiled, roasted, or fried. They are delicious in curries, soups, or mashed as a side dish.
- Taro leaves: Must be boiled or steamed before eating. They are used in dishes like patra, laing (Philippines), or Hawaiian luau.
Always cook taro thoroughly to remove the calcium oxalate content that can cause itching or irritation.
11. Overwintering and Replanting
In tropical or subtropical regions, taro grows year-round. But if you live in a cooler climate, you’ll need to protect your plant during winter.
Tips for overwintering:
- Move the pot indoors before the first frost.
- Keep it in a warm, bright area.
- Water sparingly, just enough to keep the soil slightly moist.
Alternatively, you can dig up the corms, dry them, and store them in a cool place to replant next season.
12. Benefits of Growing Taro at Home
Growing taro in pots not only gives you a steady supply of roots and greens but also enhances your home’s greenery. Here are a few reasons to try it:
- Nutrient-rich food: Both taro roots and leaves are packed with vitamins, minerals, and fiber.
- Dual harvest: Enjoy both edible leaves and tubers from one plant.
- Decorative appeal: The large, heart-shaped leaves make it a stunning ornamental plant.
- Sustainable gardening: Growing your own taro reduces the need for store-bought vegetables.
Final Thoughts
Learning how to grow taro at home in pots is easier than you might think. With the right soil, regular watering, and a bit of patience, you can enjoy a lush green plant and a nutritious root harvest right from your balcony or backyard.
Taro is a wonderful addition to any home garden — it’s beautiful, beneficial, and bountiful. So grab a few corms, a large pot, and start your taro-growing journey today!