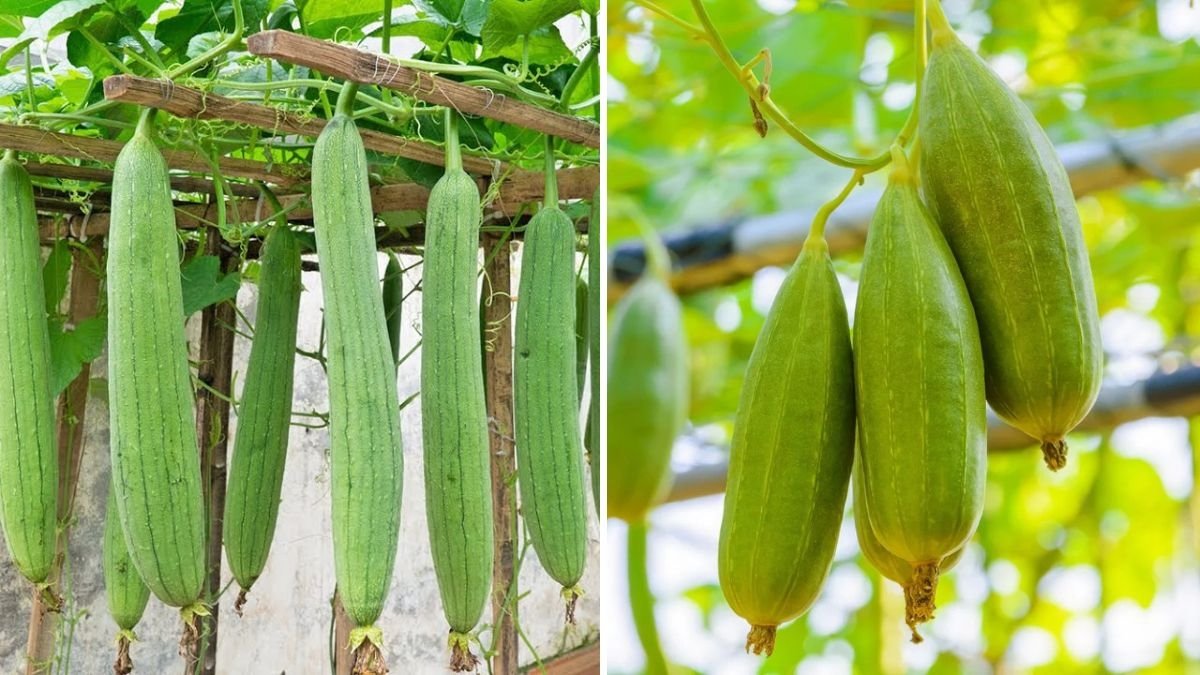
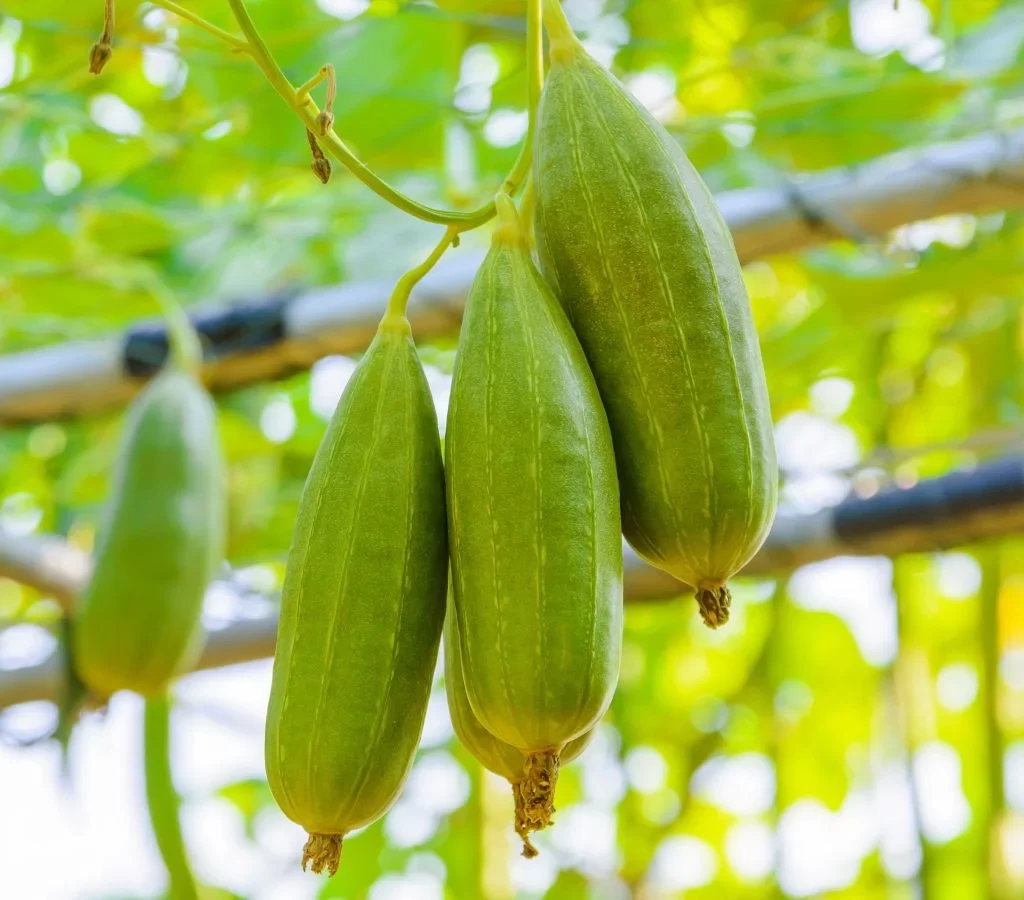
Sponge gourd, also known as Luffa or ridge gourd, is a versatile vegetable that is widely loved in kitchens across the world. It’s nutritious, rich in vitamins, and has multiple culinary uses — from curries to stir-fries. But growing sponge gourd at home can often seem challenging due to space constraints or improper techniques.
Inspired by the YouTube video “Try growing sponge gourd with this medium, I can’t believe there are so many fruits”, this guide will show you how even beginners can grow a bumper crop of sponge gourd. By using the right growing medium and proper care, your plants can produce an abundance of beautiful, healthy fruits.
This 1200-word guide will cover everything from choosing seeds to harvesting, making it perfect for urban gardeners and beginners.
Why Grow Sponge Gourd at Home?
Homegrown sponge gourd offers multiple benefits:
- Fresh and Nutritious: Packed with vitamins A, C, fiber, and antioxidants.
- High Yield: Proper techniques produce many fruits even in small spaces.
- Space-Saving: Can be grown on trellises, vertical supports, or terraces.
- Cost-Effective: Grow your own vegetables without buying from the market.
- Easy Maintenance: Once established, sponge gourd plants are hardy and productive.
With these advantages, growing sponge gourd at home becomes fun, productive, and rewarding.
Step 1: Choosing the Right Variety
Selecting the right variety is crucial for a high yield and tasty fruits. Popular varieties for home gardening include:

- Green Long Sponge Gourd: Classic variety, tender and sweet.
- Round Sponge Gourd: Compact, suitable for container gardening.
- Hybrid Varieties: High-yielding and disease-resistant.
Buy seeds from a trusted nursery or online supplier to ensure healthy germination and strong plants.
Step 2: Choosing the Ideal Growing Medium
The key to an abundant harvest, as highlighted in the video, is the right growing medium. Sponge gourd thrives in loose, nutrient-rich soil that supports root growth and moisture retention.
Recommended Medium:
- 40% garden soil or composted soil
- 30% well-rotted organic matter (cow dung, vermicompost, kitchen compost)
- 20% cocopeat or peat moss for water retention
- 10% sand or perlite for drainage
Benefits of this Medium:
- Provides essential nutrients for rapid growth
- Retains moisture without waterlogging
- Encourages healthy, large, and abundant fruits
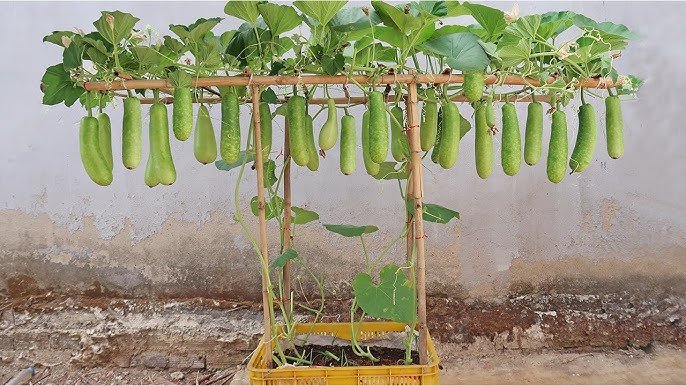
This medium can be used in containers, grow bags, raised beds, or even terraces.
Step 3: Preparing Containers or Beds
Sponge gourd can be grown in beds, containers, or bags, depending on space:

- Containers: Minimum 20–25 liters capacity, with drainage holes.
- Grow Bags: Reusable, breathable, and ideal for terraces or balconies.
- Raised Beds: Ensure proper depth (12–18 inches) for strong root development.
Proper container choice allows the plant to spread and climb, producing more fruits efficiently.
Step 4: Preparing Seeds for Sowing
Before planting, prepare sponge gourd seeds for faster germination:
- Soak seeds in lukewarm water for 12–24 hours.
- This softens the hard outer shell and speeds up sprouting.
- Choose healthy seeds free from damage or disease.
Pre-soaking seeds ensures uniform germination and strong seedlings.
Step 5: Sowing Seeds
Planting sponge gourd seeds is easy:
- Fill your container or bed with the prepared medium.
- Sow 2–3 seeds per pot or 2–3 inches apart in beds.
- Cover lightly with ½ inch of soil.
- Water gently to settle the soil.
Seeds usually germinate in 7–10 days under optimal conditions.
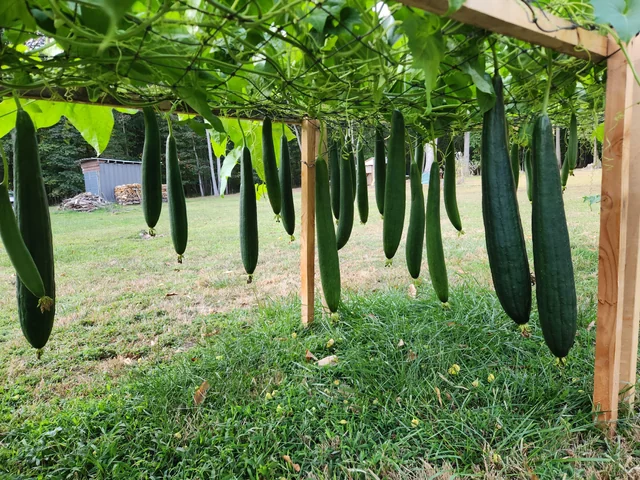
Step 6: Providing Support for Climbing
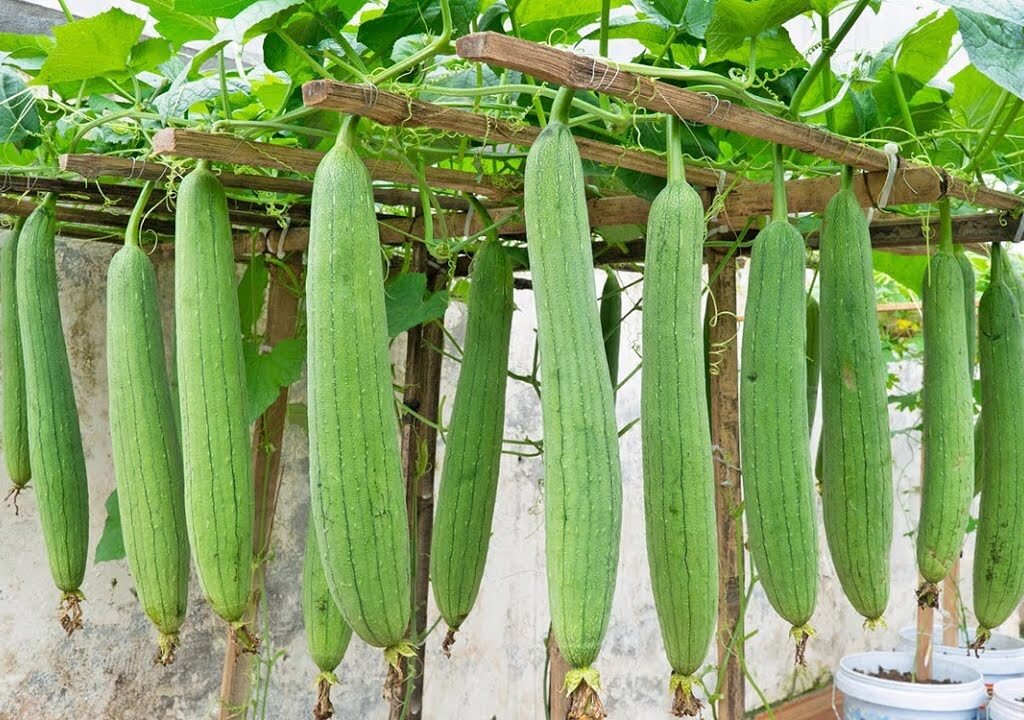
Sponge gourd is a climbing vine, so providing support is essential for fruit development:

- Use a trellis, netting, or bamboo sticks to allow vines to climb.
- Train vines gently to wrap around the support as they grow.
- Vertical growth prevents fruits from touching the ground, reducing rot and pests.
Proper support encourages more flowers and fruits per plant.
Step 7: Watering and Moisture Management
Consistent watering is key for juicy, tender sponge gourd:
- Water regularly 2–3 times per week, more in hot weather.
- Keep the soil evenly moist, avoiding waterlogging.
- Mulch with dry leaves or straw to retain moisture and control temperature.
Well-watered plants produce larger, healthier fruits.
Step 8: Fertilization for Abundant Fruits
Fertilization ensures strong growth and a high yield of sponge gourd:
- Use organic fertilizers like vermicompost tea or cow dung slurry every 10–15 days.
- Side-dress with potash-rich materials like banana peel powder or wood ash to encourage flowering and fruiting.
- Avoid excessive nitrogen; it produces more leaves but fewer fruits.
Fertilized plants grow rapidly, flower abundantly, and bear more fruits.
Step 9: Sunlight and Temperature Requirements
Sponge gourd thrives in warm climates with adequate sunlight:

- Provide 6–8 hours of sunlight daily.
- Protect young plants from strong afternoon sun in very hot regions.
- Moderate temperatures (20–30°C) encourage better flowering and fruiting.
Good sunlight ensures healthy growth and sweet, tender fruits.
Step 10: Pollination Tips
Sponge gourd flowers are male and female, and proper pollination is essential:
- Bees and natural pollinators help transfer pollen from male to female flowers.
- In areas with low pollinator activity, gently transfer pollen using a small brush.
- Adequate pollination ensures fruit set and higher yields.
Regular flower observation helps you maximize fruit production.
Step 11: Pest and Disease Management
While sponge gourd is hardy, it may face pests or diseases:
| Problem | Solution |
|---|---|
| Aphids | Spray neem oil weekly |
| Whiteflies | Use insecticidal soap or neem solution |
| Powdery mildew | Ensure good airflow and avoid wetting leaves excessively |
| Fruit rot | Harvest regularly and avoid waterlogged soil |
Organic care ensures healthy, chemical-free fruits for your family.
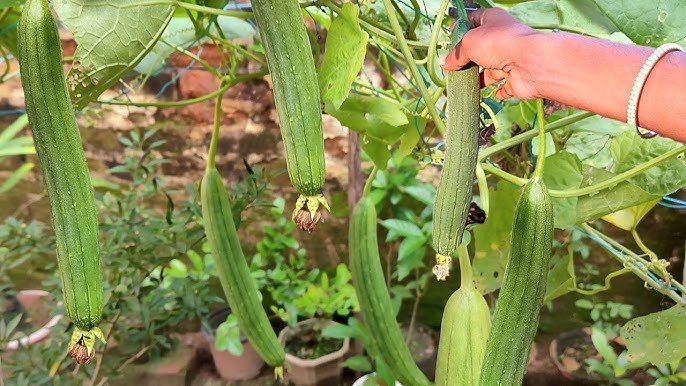
Step 12: Harvesting Sponge Gourd
The best part is harvesting your homegrown sponge gourd:

- Fruits are usually ready 50–60 days after sowing.
- Pick young, tender fruits for best taste.
- Avoid letting fruits overgrow, as they become fibrous and less palatable.
Regular harvesting encourages continuous fruiting throughout the season.
Step 13: Tips for Continuous Abundant Harvest
- Succession Planting: Sow new seeds every 2–3 weeks.
- Pruning: Trim excess leaves and old vines to improve airflow and sunlight penetration.
- Soil Enrichment: Add compost after each harvest to maintain fertility.
- Companion Planting: Grow beans or leafy greens nearby for space optimization and pest control.
Following these tips ensures bountiful, beautiful, and nutritious sponge gourd harvests.
Conclusion: Grow Many Beautiful Sponge Gourds Easily at Home
Growing sponge gourd using the right medium is simple, productive, and incredibly rewarding. With proper seed selection, a nutrient-rich medium, vertical support, watering, and care, anyone can enjoy a garden full of abundant, tender, and delicious sponge gourds.
Whether you live on a terrace, balcony, or small backyard, this method allows you to maximize space and enjoy fresh vegetables at home. Start today, and experience the joy of harvesting many beautiful fruits from your own garden!
Leave A Comment