Many people dream of growing their own vegetables, but not everyone has a garden. Apartments, terraces, and small balconies often limit where you can plant. Fortunately, vertical gardening or wall gardening has made it possible for anyone to grow fresh, organic vegetables — even without a traditional garden.
Inspired by the video “No need for a garden – Turn your wall into a delicious vegetable garden!”, this article will guide you step by step to transform any empty wall into a lush, productive vegetable garden. By the end, you’ll see how easy and fun it is to grow your own food while saving space and adding beauty to your home.
Why Choose a Wall Garden?
Wall gardens, also known as vertical gardens or living walls, offer several advantages:
- Space-Saving: Perfect for small apartments or homes without yards.
- Fresh Produce at Hand: Grow vegetables right on your terrace or balcony.
- Aesthetic Appeal: Green walls improve the look of your home.
- Better Air Quality: Plants naturally purify air and reduce heat around walls.
- Beginner-Friendly: Requires minimal tools and effort once set up.
With these benefits, it’s easy to see why turning a wall into a vegetable garden is ideal for modern urban living.
Step 1: Choose the Right Wall
Not every wall is suitable for a vegetable garden. Consider these factors:
- Sunlight: Most vegetables need 5–6 hours of sunlight. Choose a wall that gets sufficient sun.
- Strength: Ensure the wall can support hanging pots or vertical structures.
- Accessibility: Place the garden where you can easily water, harvest, and maintain plants.
- Protection from Harsh Weather: A wall facing north in hot climates or south in cooler regions often works well.
Once you’ve chosen the right wall, you’re ready to plan your vertical garden structure.
Step 2: Decide on a Vertical Gardening Structure
Several methods can help you turn a wall into a vegetable garden. Choose one based on space, budget, and aesthetic preferences:

- Hanging Pots or Planters: Simple hooks or shelves with pots.
- Pocket Planters: Fabric or felt pockets attached to the wall, perfect for leafy greens.
- Trellises and Lattice: Ideal for climbing plants like beans, peas, and cucumbers.
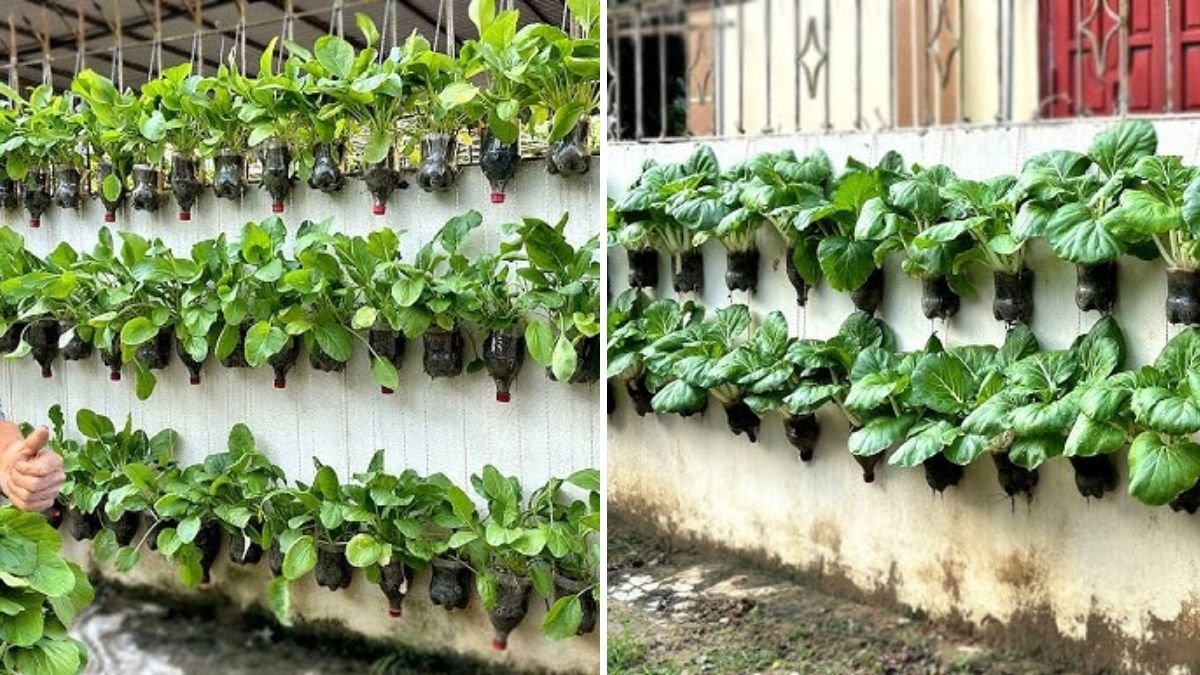
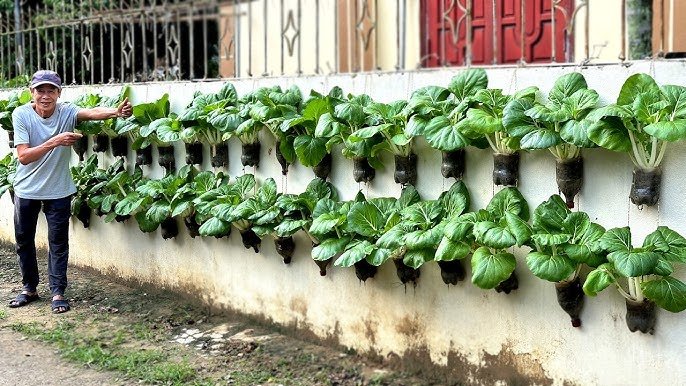
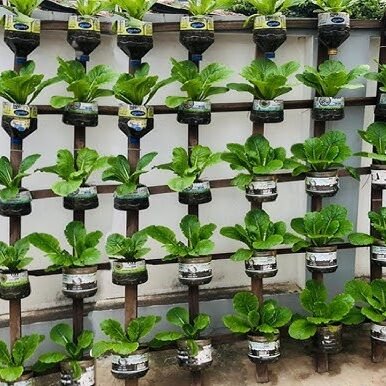
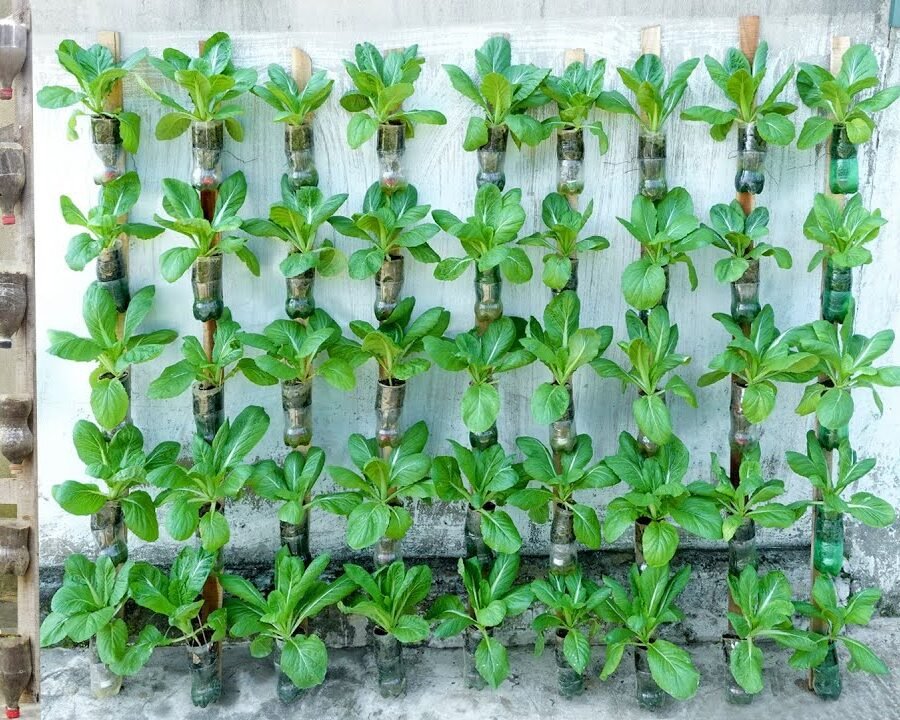
- Recycled Materials: Use old bottles, crates, or pallets for an eco-friendly wall garden.
Vertical gardening structures allow plants to grow upward, keeping leaves and fruits off the ground while maximizing limited space.
Step 3: Select Vegetables Suitable for Wall Gardening
Not all vegetables thrive in vertical setups. Choose plants that grow well in containers or climb easily:
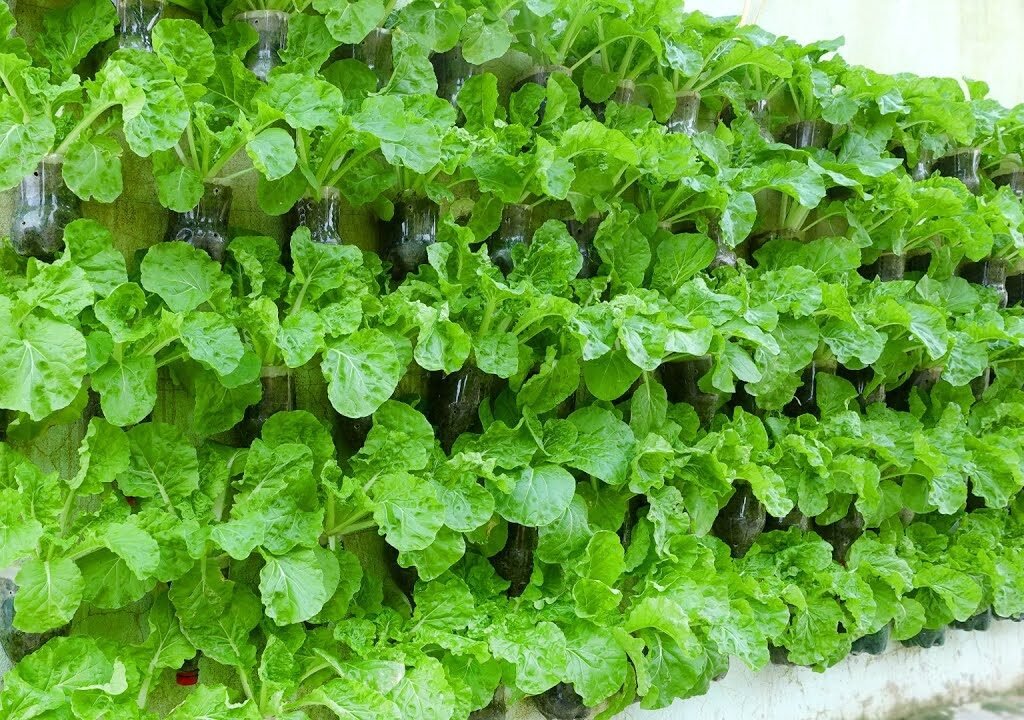
Leafy Greens:
- Spinach
- Lettuce
- Kale
- Fenugreek (Methi)
Climbing Vegetables:
- Beans (French beans, long beans)
- Peas
- Cucumbers
- Small pumpkin or squash varieties
Compact Vegetables:
- Cherry tomatoes
- Zucchini (bush varieties)
- Bell peppers
- Radishes
Leafy greens and climbing plants are the easiest and most productive choices for vertical walls.
Step 4: Prepare Soil and Fertilizer
Vegetables grown on walls need nutrient-rich, well-draining soil. Since pots and pockets have limited space, soil fertility is crucial.

Ideal Soil Mix:
- 40% garden soil or cocopeat
- 40% compost (cow dung, vermicompost, or organic kitchen waste)
- 20% sand or perlite for drainage
Fertilizer Tips:
- Mix bone meal, neem cake, or wood ash for added nutrients.
- Use liquid compost tea for regular feeding.
- Banana peel powder or crushed eggshells can improve growth naturally.
This combination ensures your vegetables grow fast, healthy, and tasty.
Step 5: Planting on the Wall
Now it’s time to put your wall garden together:
- Leafy Greens: Sow seeds directly into pockets or pots.
- Climbers: Plant at the base near trellises or hooks so vines can climb upward.
- Compact Plants: Plant seedlings in pots attached to shelves or racks.
Keep spacing in mind — overcrowding reduces airflow, sunlight, and yields. Water gently after planting to settle the soil.
Step 6: Watering Your Wall Garden
Watering is crucial because wall-mounted containers dry out faster than ground soil.
Watering Tips:

- Use a watering can with a spout for gentle watering.
- Consider drip irrigation or self-watering pots for convenience.
- Check soil moisture daily, especially in hot weather.
- Mulch the top layer with dry leaves or straw to retain water longer.
Consistent watering ensures steady growth and healthy fruits and leaves.
Step 7: Sunlight and Temperature
Most vegetables need 5–6 hours of sunlight daily. Make sure your wall garden receives sufficient light.
- Partial shade vegetables: Spinach, fenugreek, and lettuce can tolerate 3–4 hours of sunlight.
- Full sun vegetables: Tomatoes, cucumbers, peppers, and beans need full sun for maximum yield.
In very hot climates, use a shade net during peak afternoon hours to protect delicate plants from scorching.
Step 8: Supporting Climbing Plants
For climbers like beans, peas, or cucumbers:
- Attach small trellises, ropes, or netting to the wall.
- Train vines upward gently.
- Tie the stems loosely using soft twine if needed.
Proper support ensures the plants grow vertically and produces more fruits while saving space.
Step 9: Fertilization for a Healthy Wall Garden
Since vegetables grow in limited soil, regular fertilization is necessary.
- Use organic fertilizers like vermicompost tea or cow dung slurry every 10–15 days.
- Add potassium-rich inputs like banana peel powder to improve flowering and fruiting.
- Apply calcium (eggshell powder) to prevent blossom-end rot in tomatoes and peppers.
Regular feeding ensures vigorous growth, bigger yields, and healthier vegetables.

Step 10: Pest and Disease Management
Even vertical gardens are susceptible to pests like aphids, whiteflies, and powdery mildew.
Organic Solutions:
- Spray neem oil weekly for insect control.
- Mix garlic and chili solution to deter pests.
- Remove infected leaves immediately.
- Ensure good airflow to prevent fungal diseases.
Hanging vegetables off the ground already reduces soil-borne pests and rot, making wall gardens cleaner and healthier.
Step 11: Harvesting Your Wall Vegetables
Harvesting is easy with a wall garden.
- Leafy greens: Pick young leaves regularly to encourage more growth.
- Climbers: Harvest beans or peas once fully formed; regular picking encourages continuous production.
- Fruit-bearing plants: Pick tomatoes, peppers, and cucumbers when they reach ideal size and color.
Regular harvesting improves plant health and ensures a steady supply of fresh vegetables throughout the season.
Step 12: Tips for Maximizing Wall Garden Success
- Rotate crops every season to maintain soil fertility.
- Use recycled materials like bottles, crates, or old jute bags for an eco-friendly garden.
- Keep a watering schedule to avoid drought stress.
- Intercrop compatible vegetables to increase productivity.
- Decorate the wall creatively while planting for a visually pleasing garden.
Following these tips ensures your vertical garden is productive, beautiful, and sustainable.
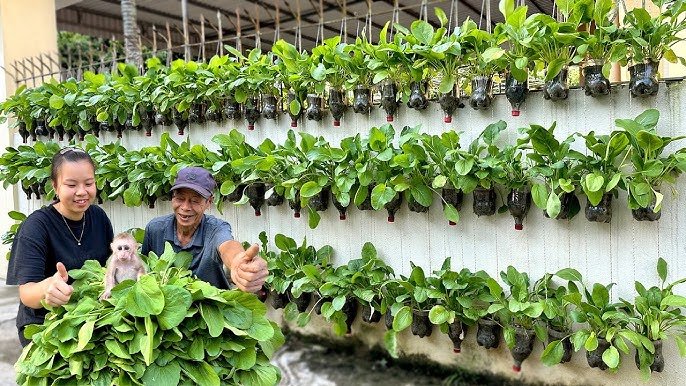
Conclusion: Transform Your Wall into a Vegetable Paradise
No garden? No problem! A simple wall can become a lush vegetable garden producing fresh, organic greens, fruits, and vegetables. Vertical gardening is not just space-saving; it’s beginner-friendly, sustainable, and aesthetically pleasing.

By following these steps — choosing the right wall, preparing soil, planting suitable vegetables, and caring for them properly — you can enjoy a bountiful harvest right at home. Imagine harvesting fresh spinach, beans, cucumbers, and tomatoes without leaving your terrace!
Start today and experience the joy of turning a simple wall into a delicious vegetable garden, transforming your home into a green paradise.
Leave A Comment