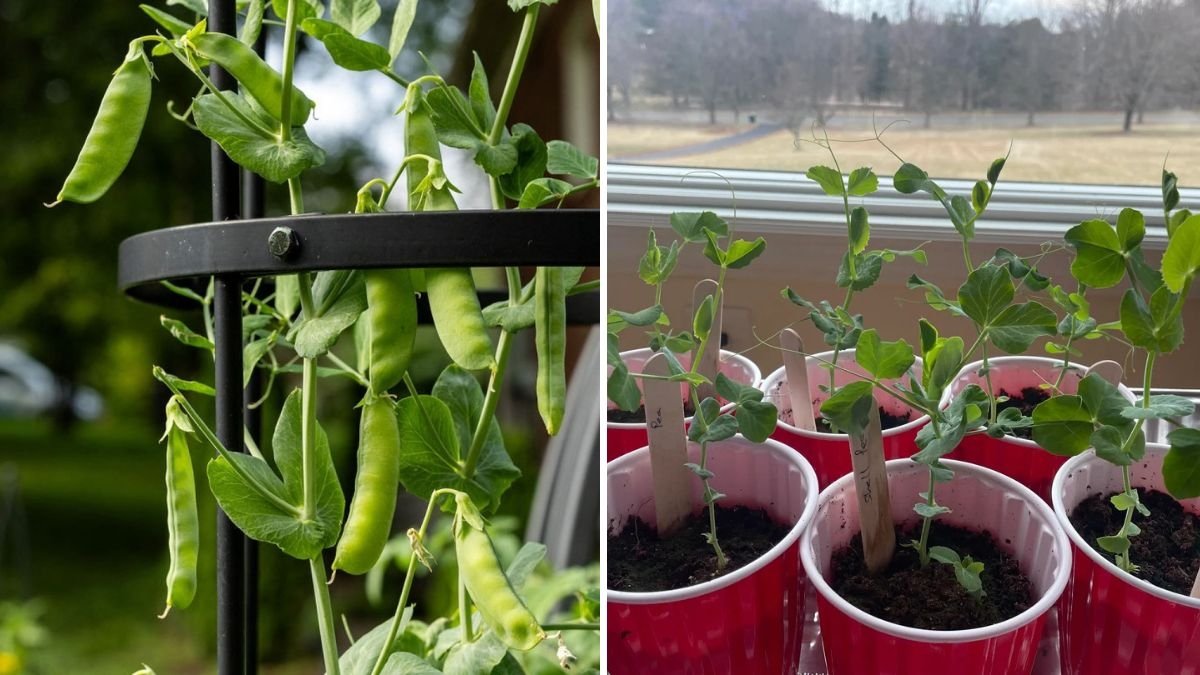
Nothing tastes quite like fresh, homegrown garden peas plucked straight from the vine. Sweet, crisp, and bursting with flavor, peas are a true delight for gardeners and food lovers alike. Whether you’re a beginner or a seasoned grower, this peas growing masterclass will guide you through everything you need to know to grow the sweetest garden peas ever—from seed to harvest.
In this comprehensive guide, you’ll learn how to choose the best varieties, prepare your soil, care for your plants, and maximize sweetness in every pod using simple yet powerful gardening techniques.
Why Grow Your Own Garden Peas?
Garden peas are among the most rewarding vegetables to grow. They thrive in cool weather, enrich the soil with nitrogen, and are packed with vitamins A, C, and K. Best of all, homegrown peas are incredibly sweet compared to store-bought ones, which lose their sugar content soon after harvest.
Growing peas also offers several benefits:
- Early harvests: They’re among the first crops ready in spring.
- Soil health: As legumes, peas fix nitrogen, improving soil fertility.
- Low maintenance: They’re easy to grow with minimal pest problems.
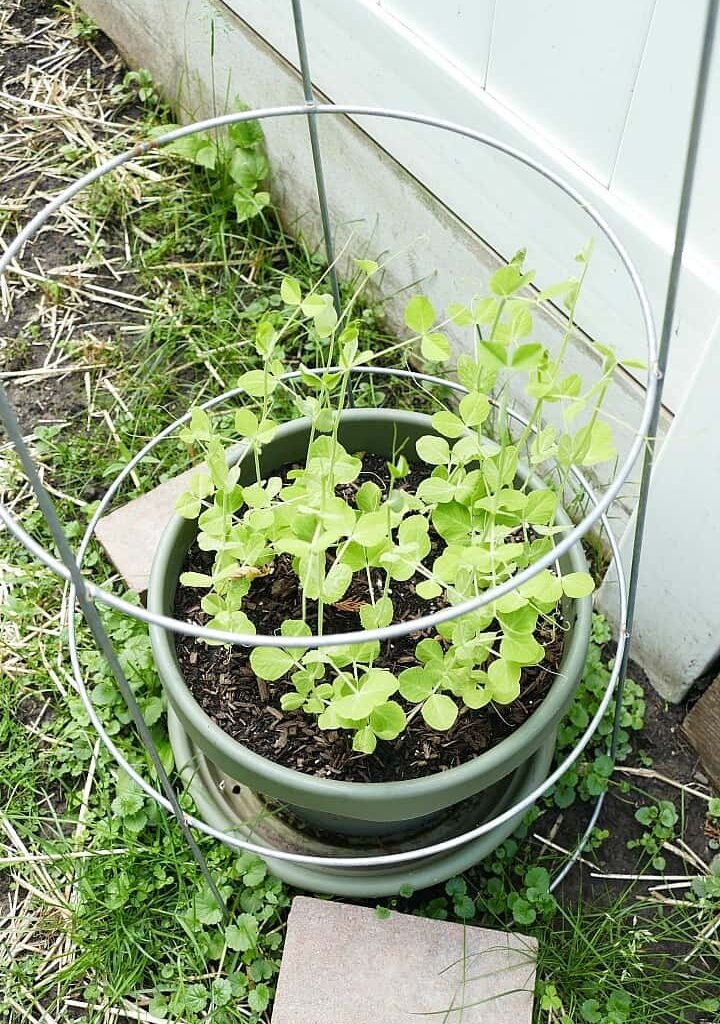
- Versatility: Peas can be grown in garden beds, raised containers, or trellises.
With a little care and attention, you can enjoy a steady harvest of sweet, tender peas all season long.
Step 1: Choosing the Right Variety
There are several types of peas, each offering unique textures and flavors. For the sweetest results, choose varieties suited to your climate and growing space.
1. Garden Peas (English Peas):
- Classic peas grown for their sweet, round seeds.
- Pods are not edible but seeds are delicious when fresh or cooked.
- Varieties: Green Arrow, Lincoln, Little Marvel.
2. Sugar Snap Peas:
- Both pods and peas are edible.
- Crunchy, juicy, and naturally sweet.
- Varieties: Sugar Ann, Sugar Snap, Cascadia.
3. Snow Peas:
- Flat, tender pods harvested before the peas mature.
- Perfect for stir-fries and salads.
- Varieties: Oregon Sugar Pod, Mammoth Melting Sugar.
If your goal is to grow the sweetest peas possible, go for sugar snap peas or early-maturing English pea varieties.
Step 2: Preparing the Soil
Sweet peas grow best in loamy, well-drained soil that’s rich in organic matter. To enhance flavor and productivity, soil preparation is key.
Soil preparation steps:
- Loosen the soil: Dig or till the soil 8–10 inches deep to improve drainage.
- Add compost: Mix in 2–3 inches of compost or well-rotted manure to enrich fertility.
- Check pH: Peas prefer a slightly acidic to neutral soil (pH 6.0–7.5).
- Avoid fresh manure: It promotes leafy growth at the expense of pods.
Before planting, rake the soil smooth and remove any large clumps or stones.
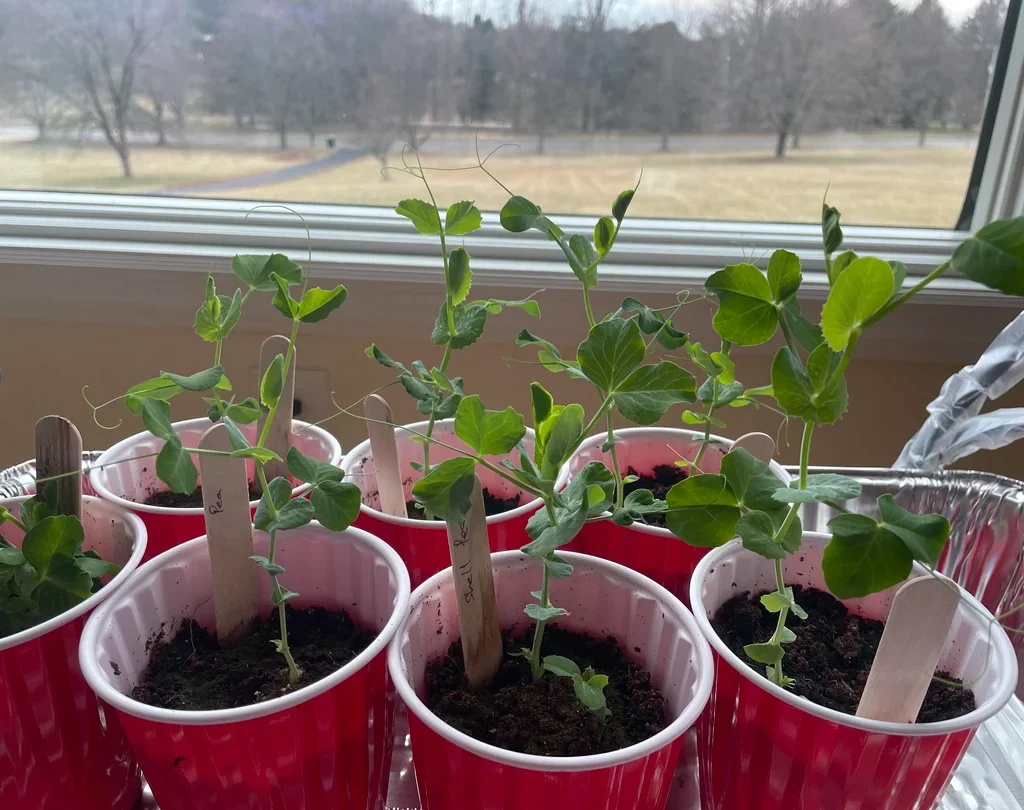
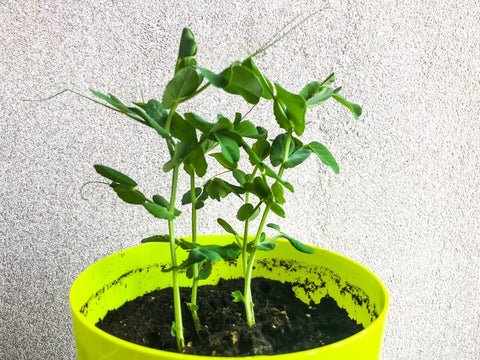
Step 3: When and How to Plant Pea Seeds
Peas are a cool-season crop, which means they thrive in spring or fall when temperatures are mild.
Best planting time:
- Sow seeds 2–4 weeks before the last frost date in spring.
- For fall crops, plant 8–10 weeks before the first expected frost.
Planting steps:
- Soak seeds: Soak peas in water for 6–8 hours before planting to speed up germination.
- Plant depth: Sow seeds 1 inch deep in the soil.
- Spacing: Space seeds 2 inches apart in rows about 12–18 inches apart.
- Water gently: Keep the soil moist but not soggy.
Peas typically germinate in 7–10 days, depending on temperature and soil conditions.
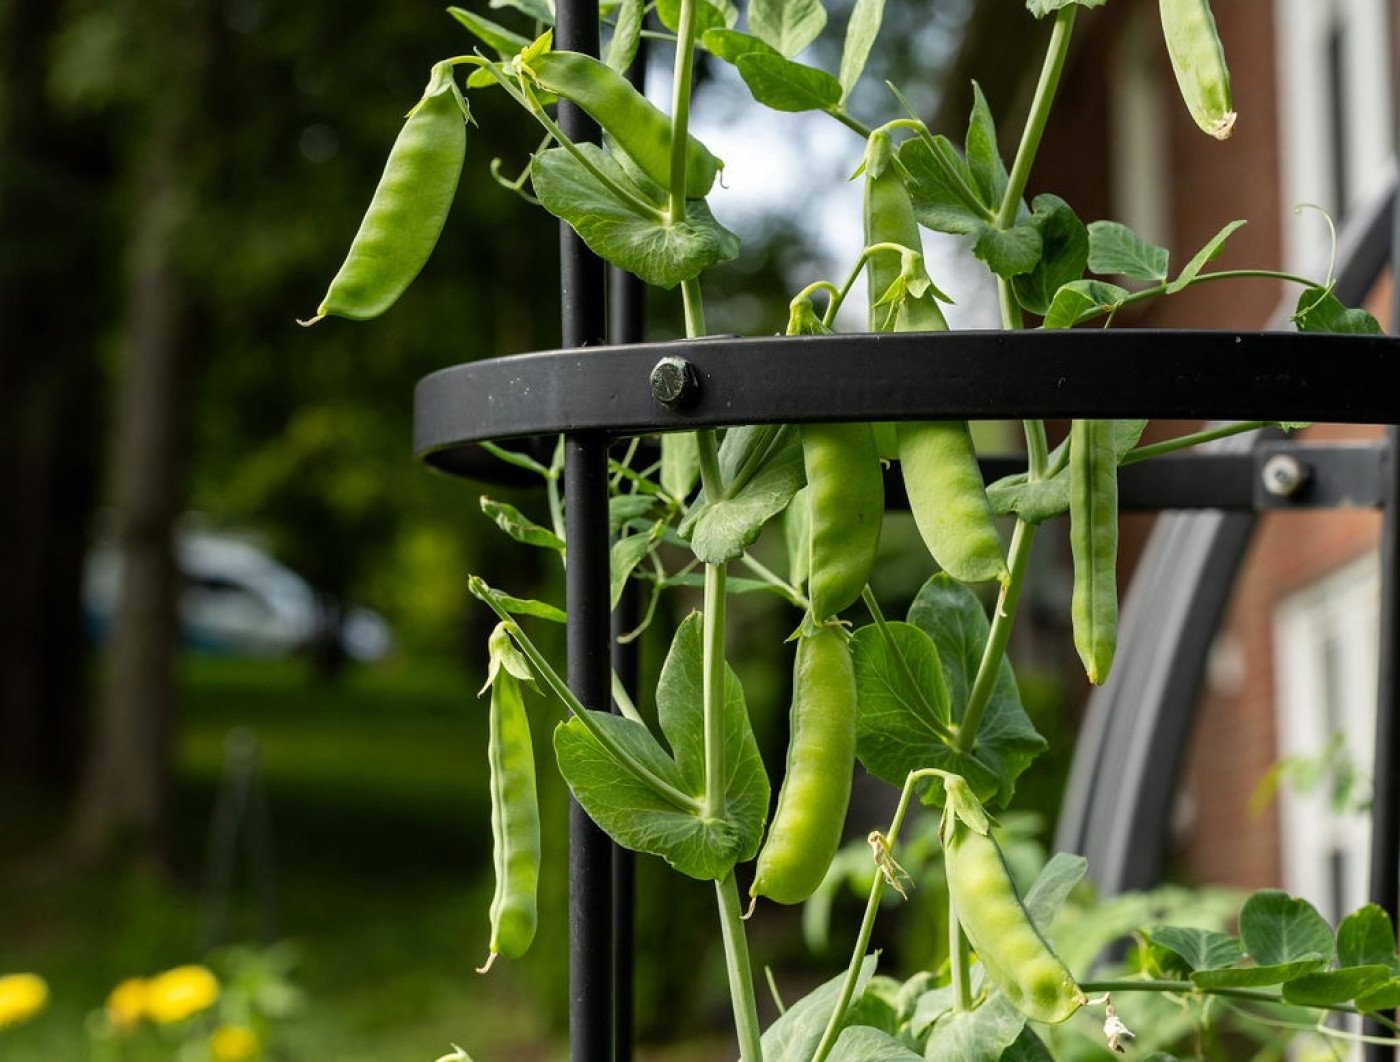
Step 4: Supporting the Plants

Most pea varieties, especially climbing types, need support as they grow.
Support options:
- Trellises: Simple wooden or metal trellises provide excellent vertical space.
- Netting: Stretch garden netting between poles for a lightweight option.
- Stakes or strings: Tie plants gently as they climb for better stability.
Supporting your peas keeps them upright, prevents rot, and allows better air circulation, resulting in healthier, sweeter pods.
Step 5: Watering and Moisture Management
Consistent watering is crucial for growing sweet, plump peas. However, overwatering can cause root rot and fungal diseases.
Watering tips:
- Keep the soil evenly moist, not waterlogged.
- Water early in the morning to let foliage dry during the day.
- Mulch around plants to conserve moisture and regulate temperature.
As the peas start flowering and forming pods, increase watering slightly to support pod development.
Step 6: Fertilizing for Maximum Sweetness
Peas are light feeders because they can fix nitrogen from the air through their root nodules. However, they still benefit from a balanced nutrient supply.
Fertilizer guide:
- Before planting: Mix in compost or a slow-release organic fertilizer.
- Mid-season boost: Apply a compost tea or diluted fish emulsion during flowering.
- Avoid high-nitrogen fertilizers: They promote leafy growth instead of sweet pods.
For naturally sweeter peas, add potassium- and phosphorus-rich amendments like banana peel compost or bone meal during the flowering stage.
Step 7: Sunlight and Temperature Requirements
Peas prefer cool weather and full sunlight for 6–8 hours per day. Too much heat can make pods tough and reduce sweetness.
Ideal growing conditions:
- Temperature: 13°C–24°C (55°F–75°F).
- Sun exposure: At least 6 hours of direct sunlight daily.
- Partial shade: In hot climates, provide light shade during peak afternoon sun.
Maintaining moderate temperatures and good air circulation is key to keeping your peas crisp and sweet.
Step 8: Pest and Disease Control
Though peas are relatively trouble-free, certain pests and diseases can affect them if not managed early.
Common pests:
- Aphids: Cause curling leaves; control with neem oil spray.
- Pea weevils: Damage pods; use floating row covers early in the season.
- Slugs and snails: Feed on young shoots; deter them with crushed eggshells or sand barriers.
Common diseases:
- Powdery mildew: Avoid overhead watering; ensure good airflow.
- Root rot: Prevent by ensuring soil drainage.
Crop rotation and proper spacing can greatly reduce pest and disease problems.
Step 9: Flowering and Pollination
Peas are self-pollinating, meaning they don’t rely on insects for fruit set. However, bees can help improve pod development by enhancing cross-pollination.
During flowering:
- Keep the soil evenly moist.
- Avoid disturbing the plants.
- Maintain consistent temperatures to prevent flower drop.
Healthy flowers lead to plump, sweet pods—so this stage is crucial for flavor development.
Step 10: Harvesting Garden Peas
Timing your harvest correctly is essential for getting the sweetest peas.
How to know when to harvest:
- Garden peas: Pods should be bright green, full, and slightly firm when pressed.
- Sugar snap peas: Pick when pods are plump but before peas harden inside.
- Snow peas: Harvest when pods are flat but crisp.
Pick peas early in the morning when sugar levels are highest. Use two hands to avoid damaging the vine—hold the stem and gently snap the pod off.
Regular harvesting encourages the plant to produce more pods.
Step 11: Maximizing Sweetness After Harvest
The sweetness of peas depends not only on how they’re grown but also on how quickly they’re eaten after harvest.
Post-harvest tips:
- Peas begin converting sugar to starch within hours of being picked.
- For best flavor, eat them immediately after harvest.
- If storing, refrigerate peas right away or blanch and freeze them to preserve sweetness.
Frozen peas retain much of their natural sugar and can be used in soups, stir-fries, and salads year-round.
Step 12: Saving Seeds for the Next Season
To save seeds from your best pea plants:
- Allow a few pods to fully mature and dry on the vine.
- Harvest the pods once they turn brown and brittle.
- Remove seeds and air-dry them for several days.
- Store in a cool, dry place in airtight containers.
These saved seeds will give you vigorous, disease-resistant plants for your next crop.

Bonus Tips for Growing the Sweetest Peas
- Plant early: Peas grown in cool weather develop more sugar and better texture.
- Harvest often: The more you pick, the more pods your plants produce.
- Rotate crops: Don’t plant peas in the same spot every year to prevent soil-borne diseases.
- Add organic mulch: It keeps soil cool and preserves moisture, essential for sweetness.
Final Thoughts
Growing garden peas is both simple and deeply satisfying. With the right soil preparation, consistent care, and timely harvesting, you can enjoy baskets full of tender, sweet peas that outshine anything you’ll find in stores.
This peas growing masterclass proves that anyone can grow the sweetest peas ever—whether in a backyard bed, raised planter, or even a small container garden. From sowing seeds to savoring your first handful of fresh peas, every step brings you closer to the true joy of homegrown flavor.
So grab your seeds, prepare your garden, and start your journey toward growing the sweetest garden peas ever—your taste buds will thank you!
Leave A Comment